Just a little side project: assembling a 10" dovetail saw, a 12" carcase saw, and a 16" tenon saw.
I made the handles from quartersawn white oak. The blades and hardware are from Blackburn Tools.
Just a little side project: assembling a 10" dovetail saw, a 12" carcase saw, and a 16" tenon saw.

I made the handles from quartersawn white oak. The blades and hardware are from Blackburn Tools.

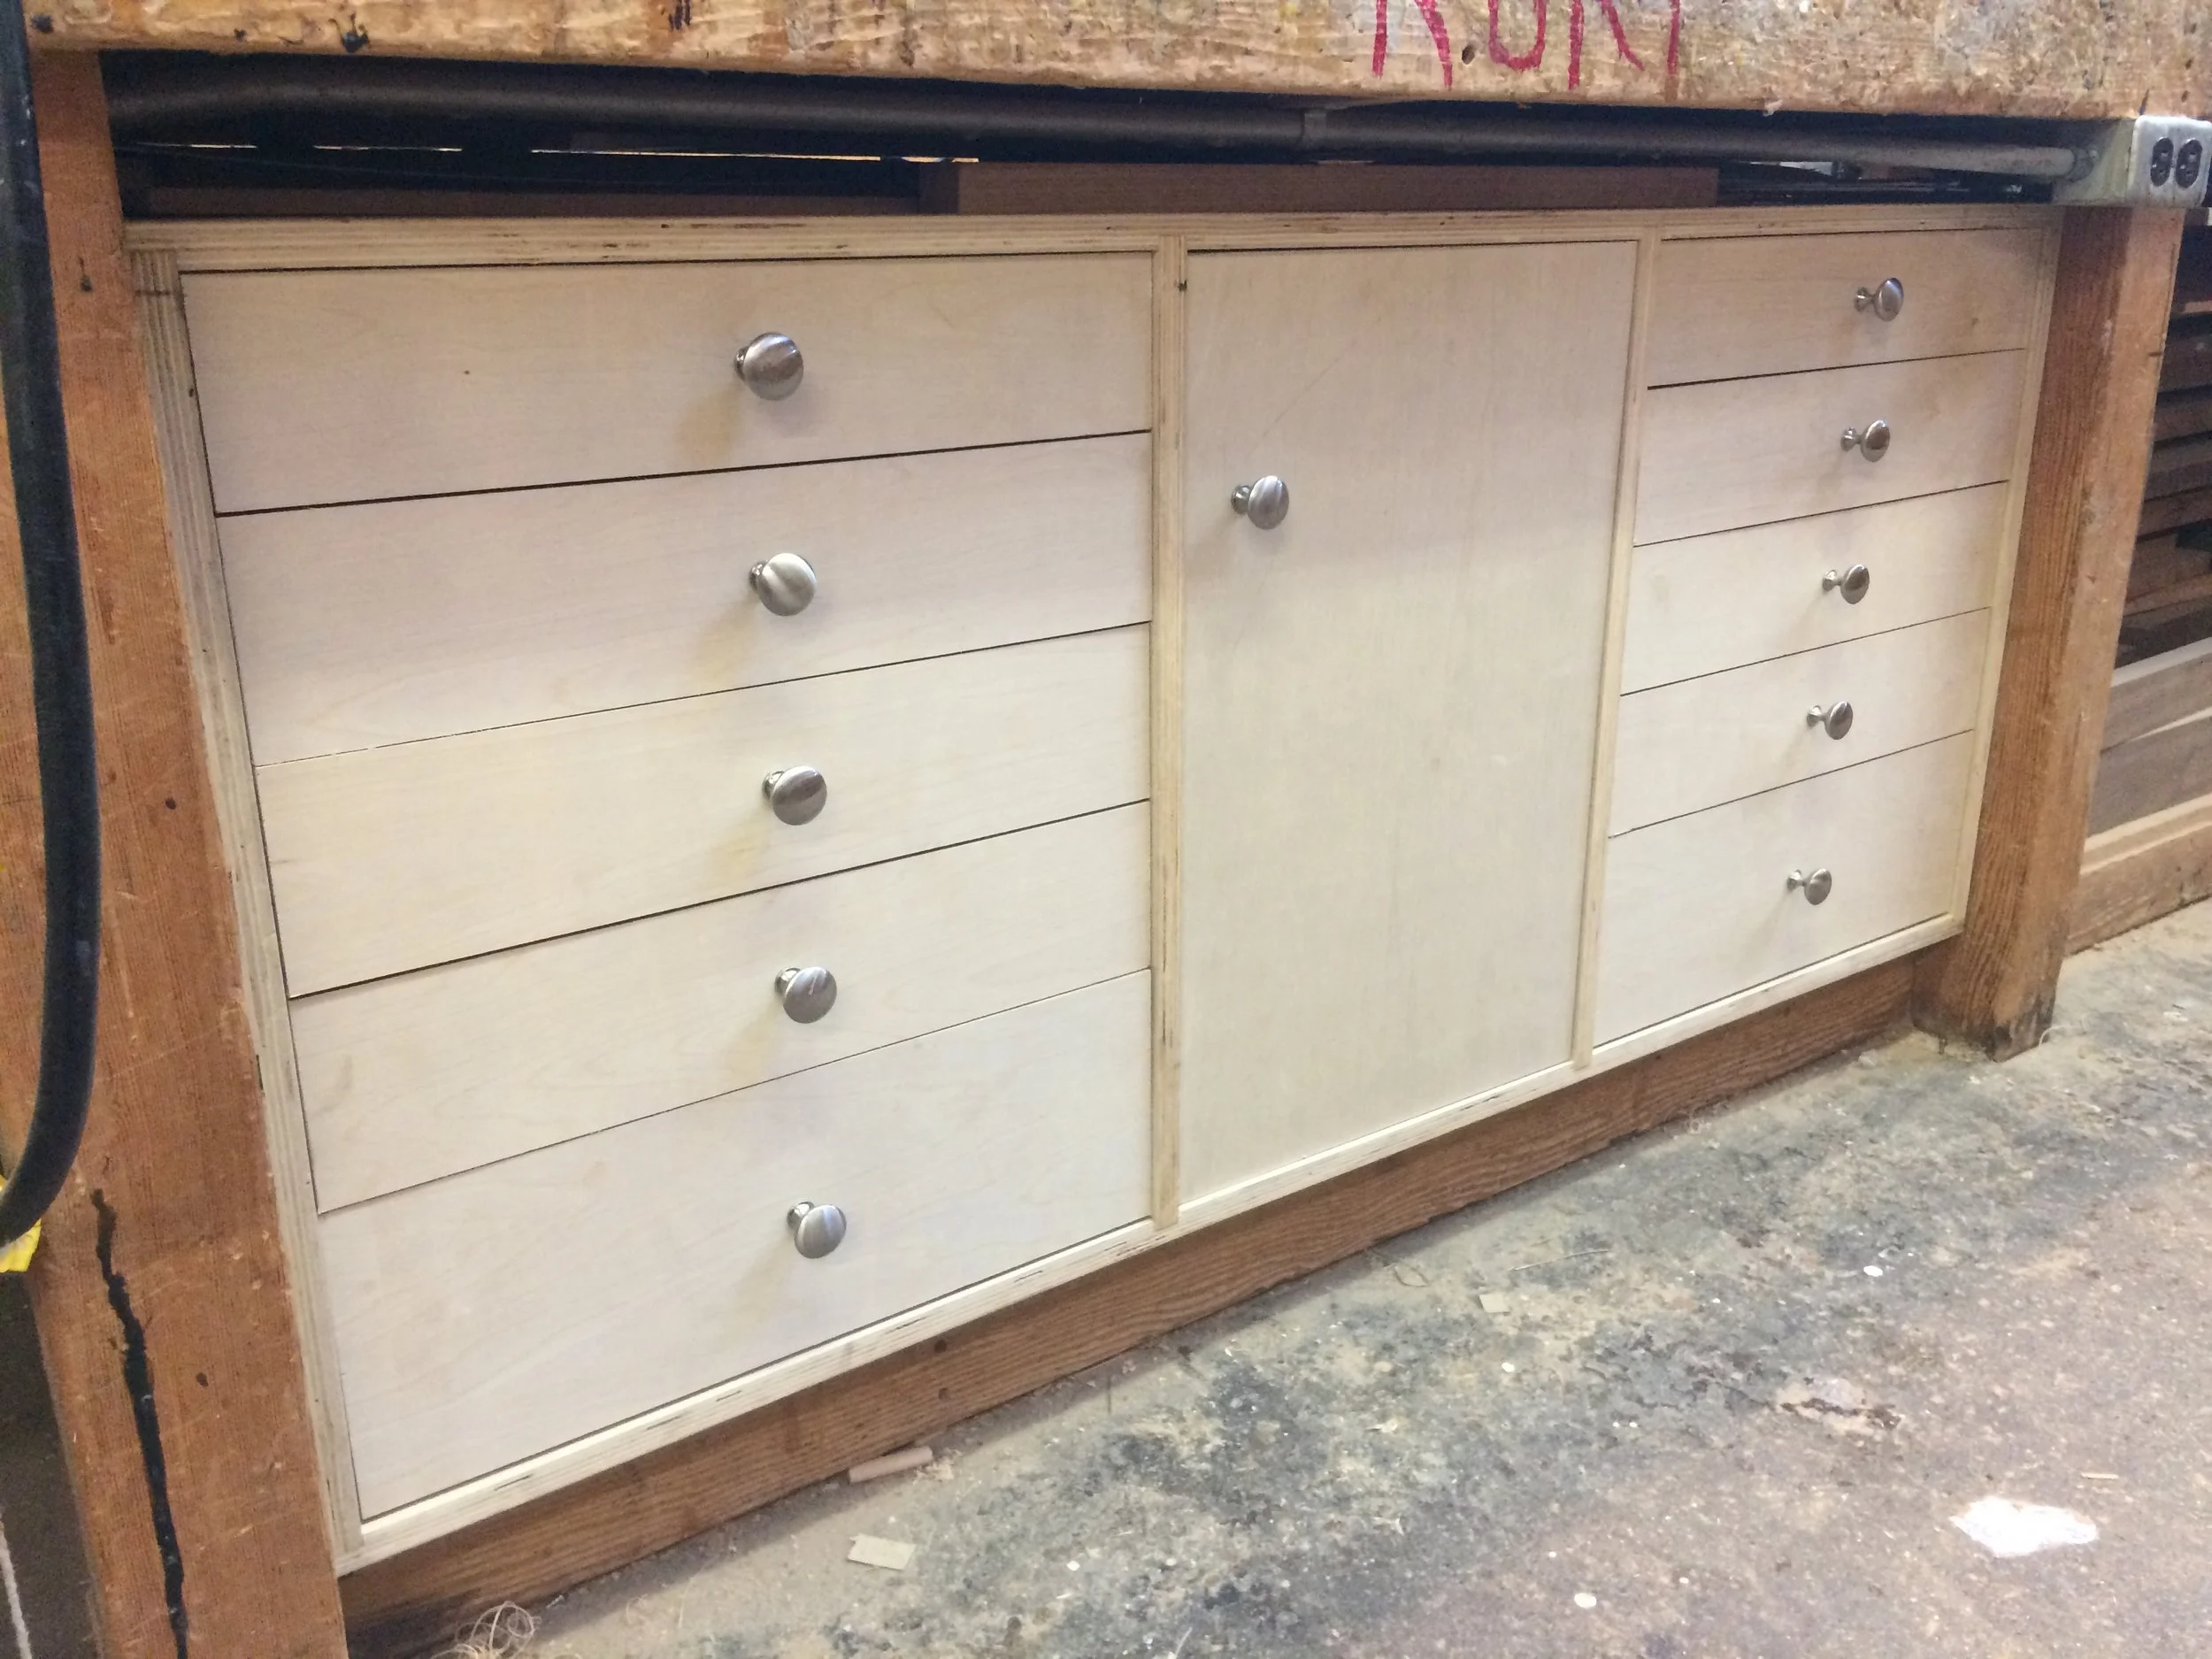


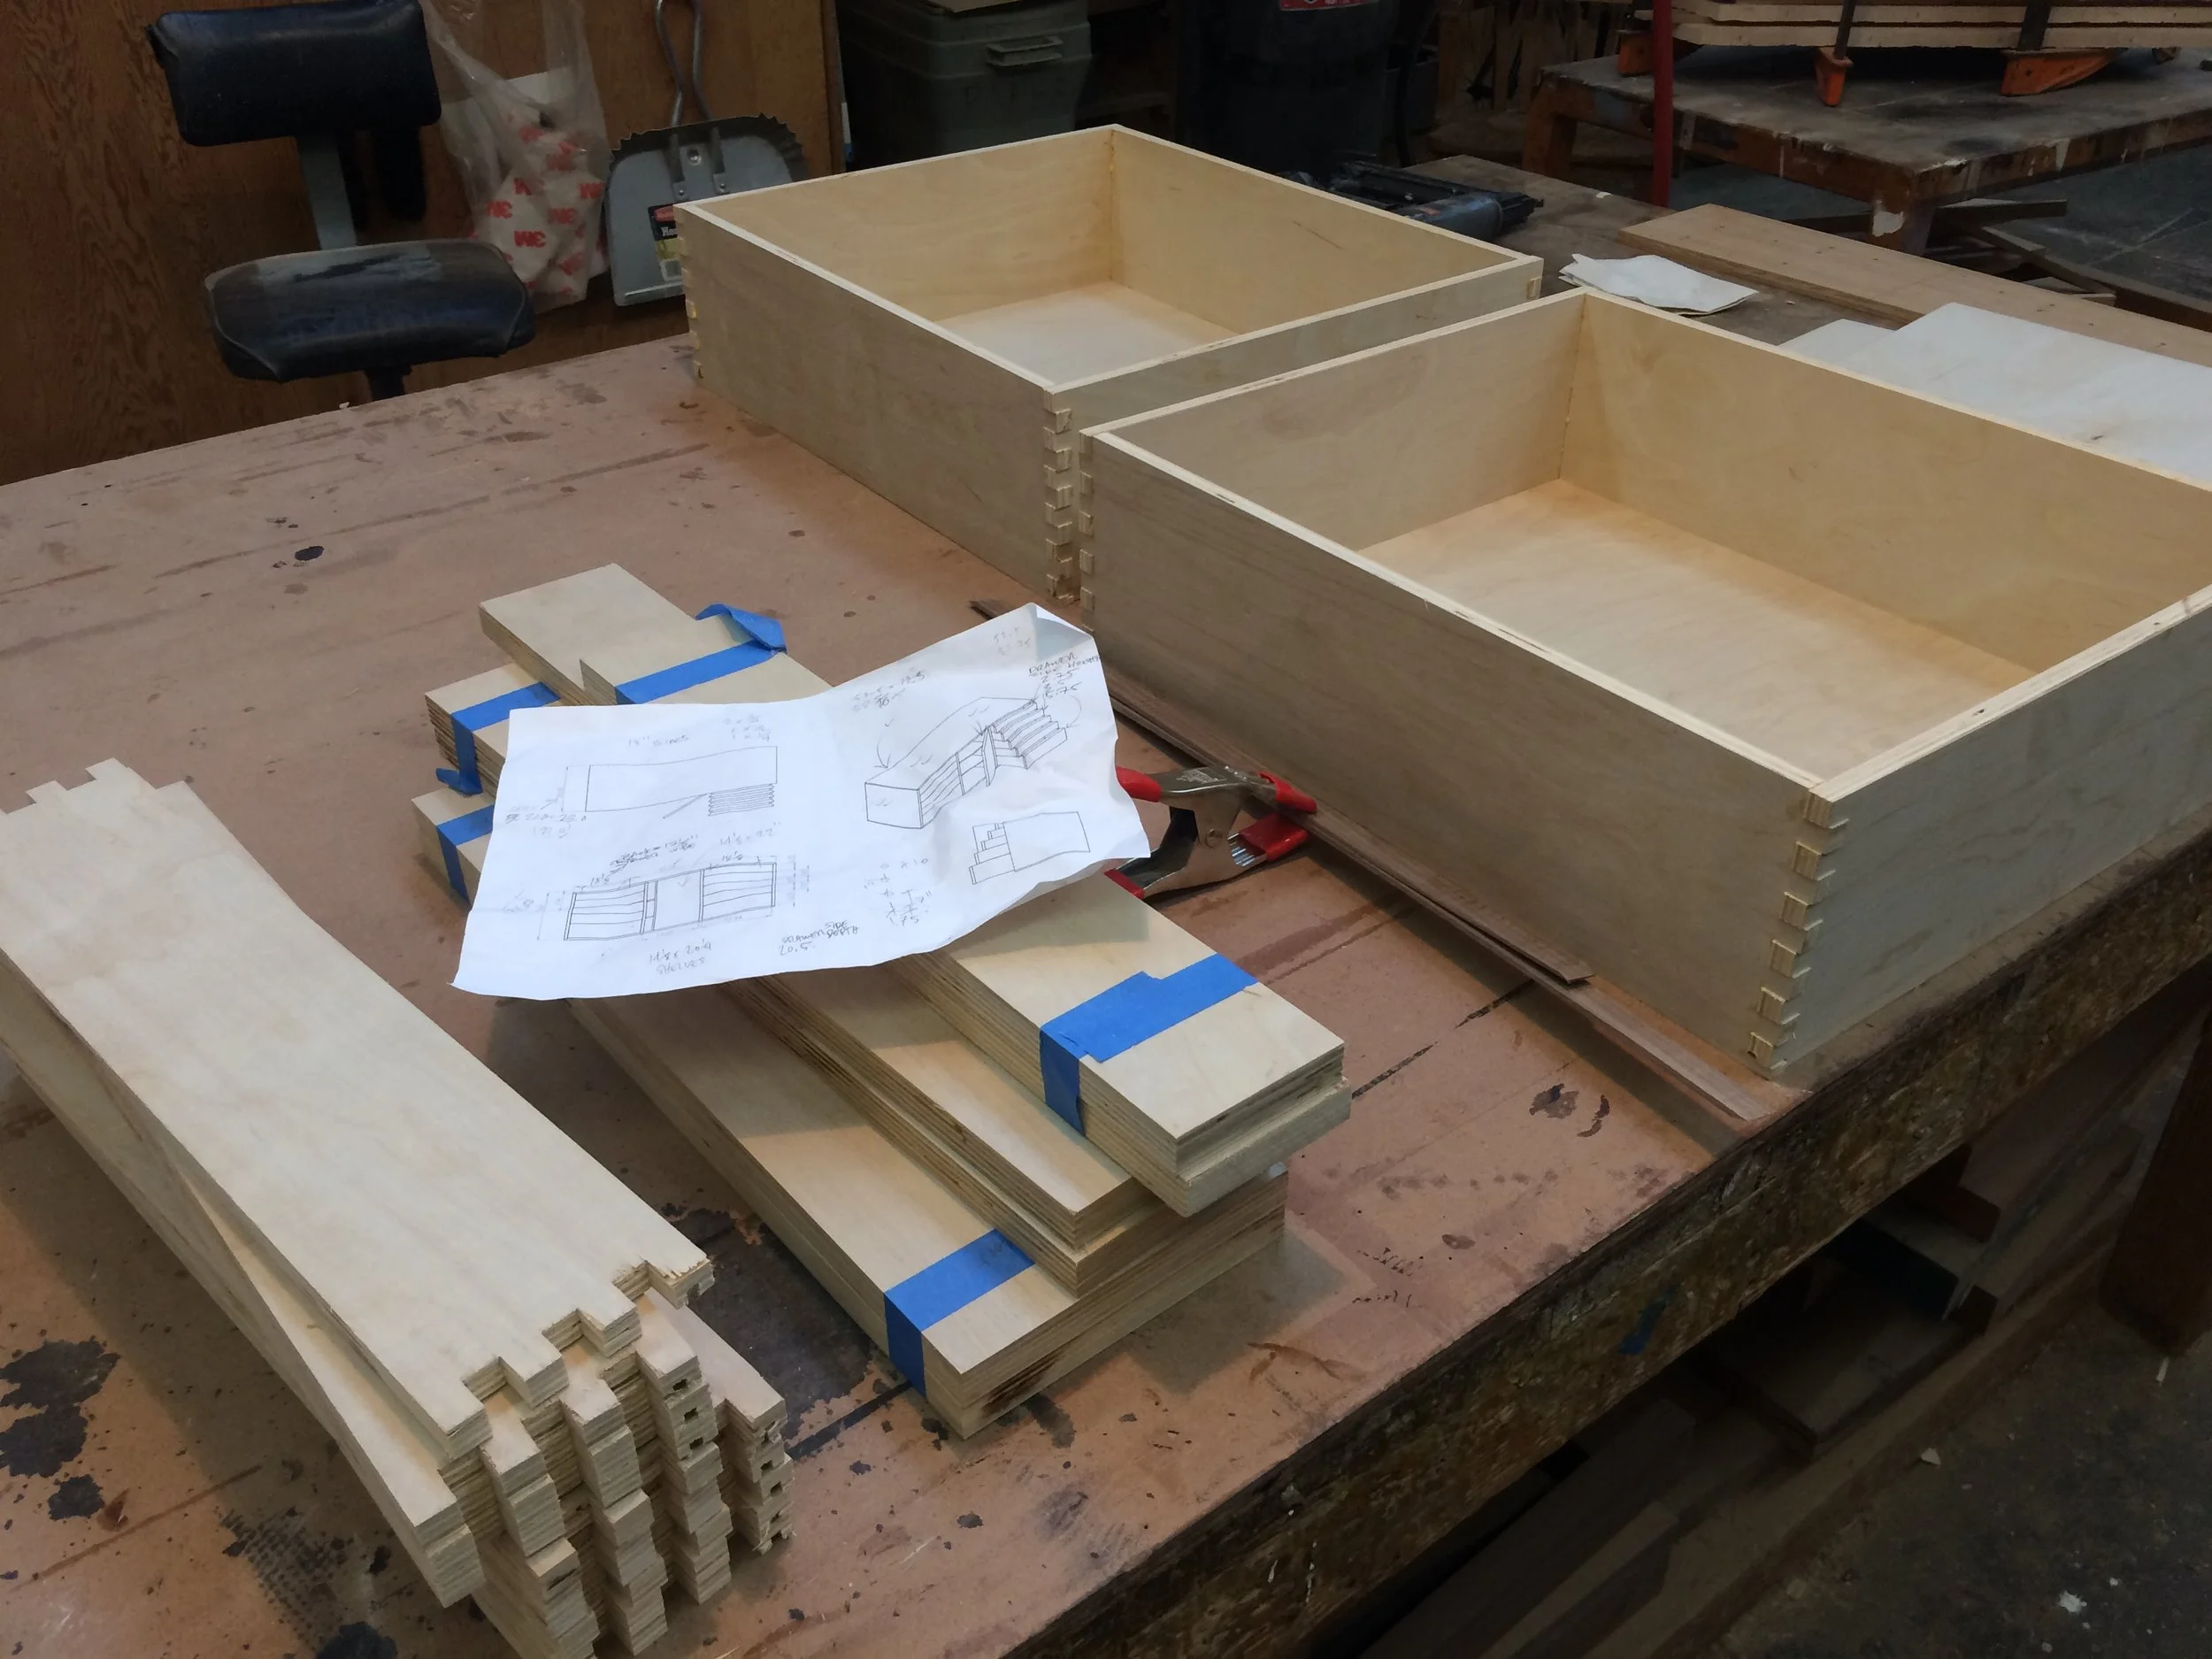
Building a set of drawers to organize my tools at the shop, I am working quickly and with inexpensive plywood. Trying to be pragmatic, this has actually been a struggle between "good enough" and the high standards of quality and craftsmanship I strive to maintain.


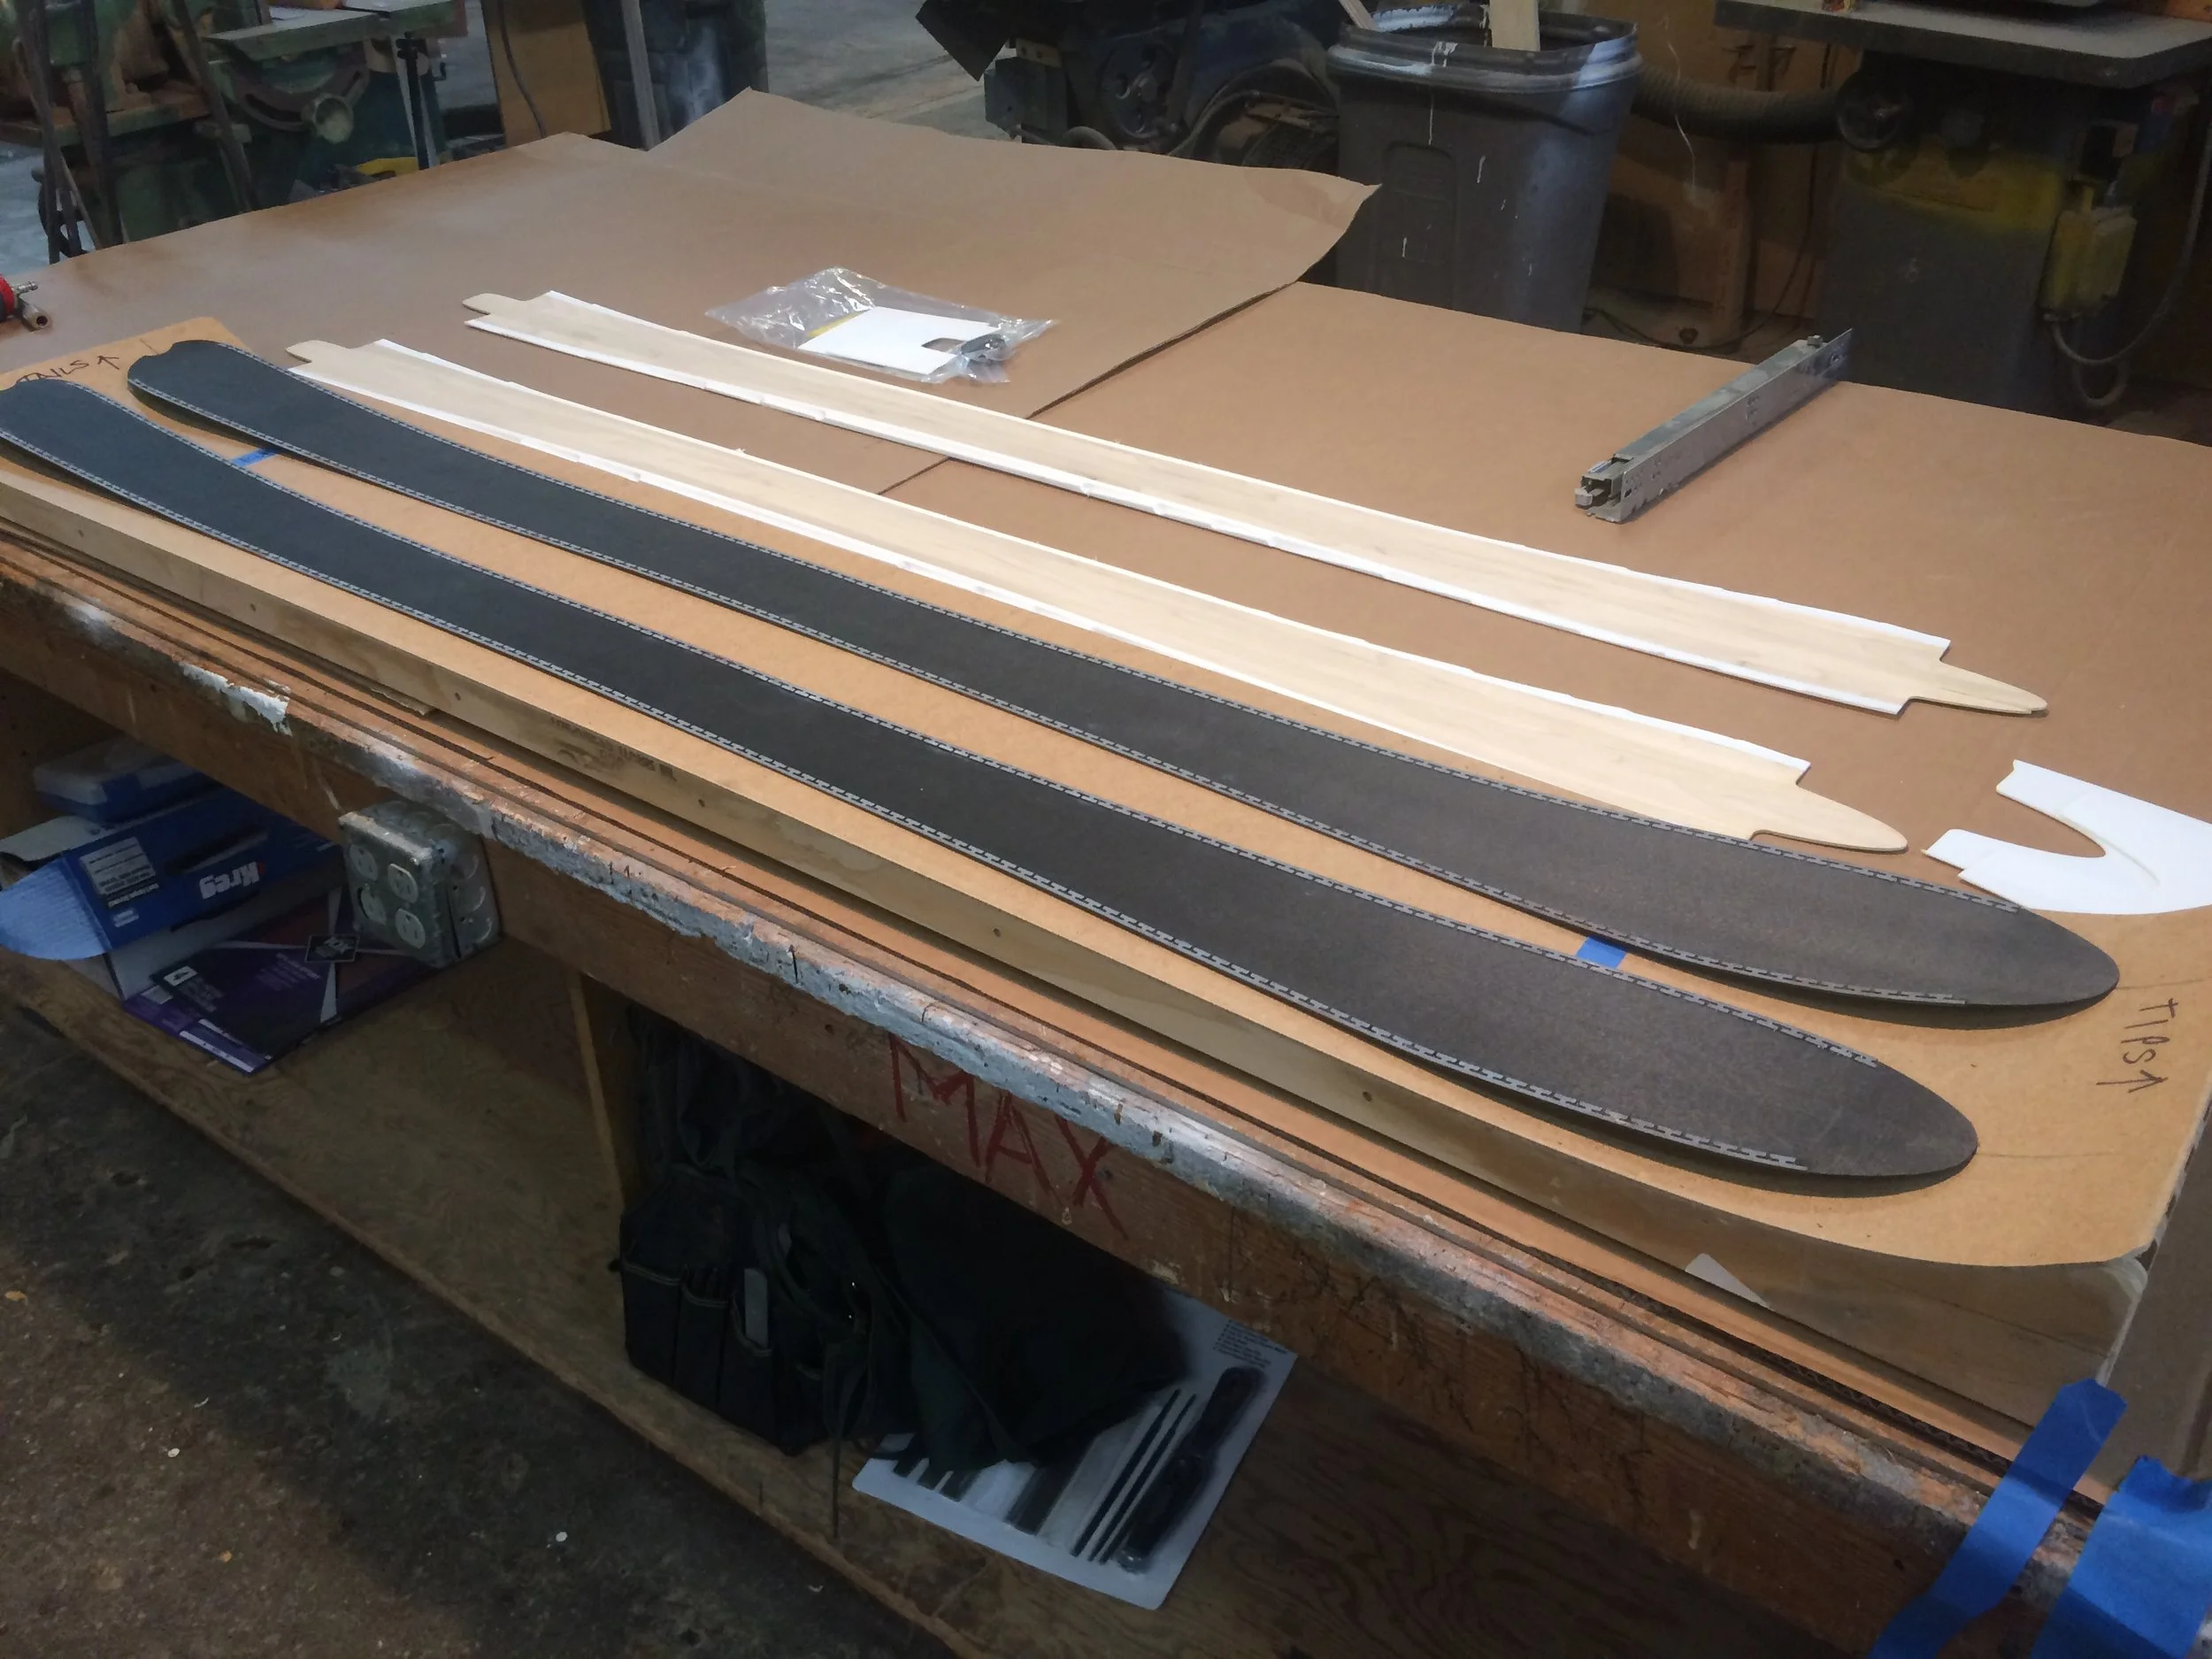
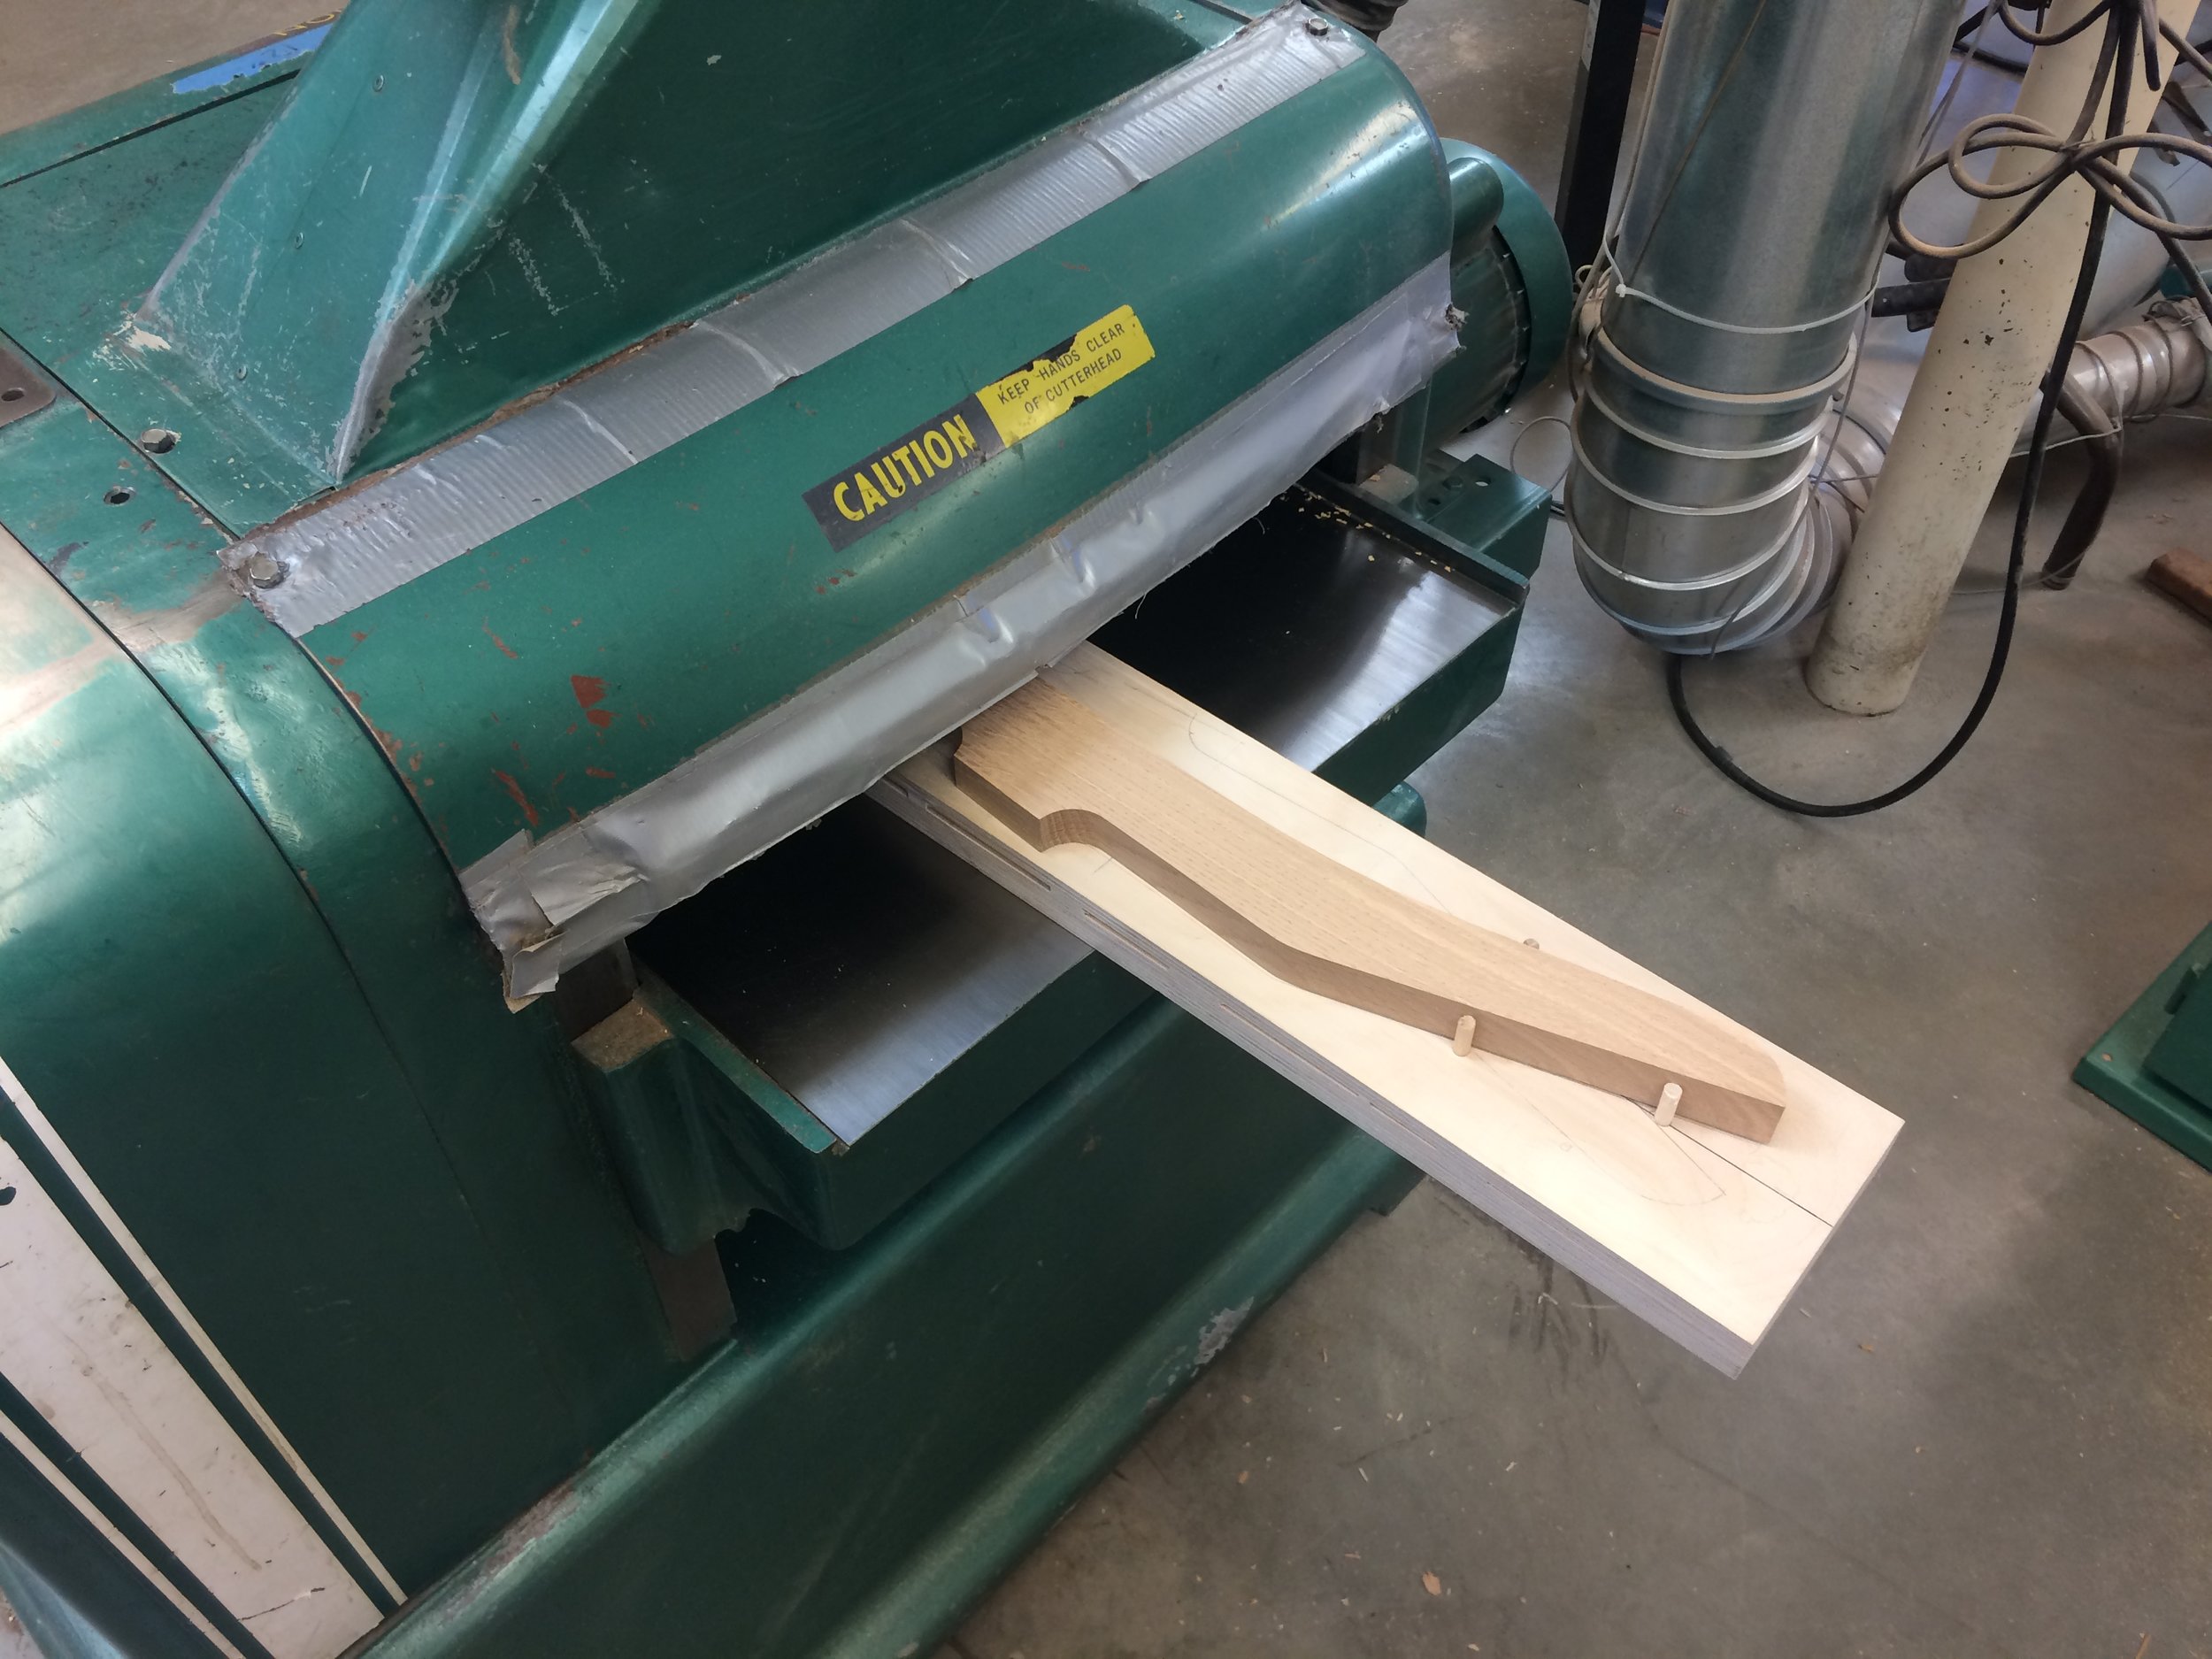
Getting things set up for a new pair of homemade skis.
Oh, hello there. I am back at it, this time at the Heartwood Cooperative Woodshop in West Berkeley. First order of business is a plywood cabinet to for my personal tools. Quick, cheap, and functional.


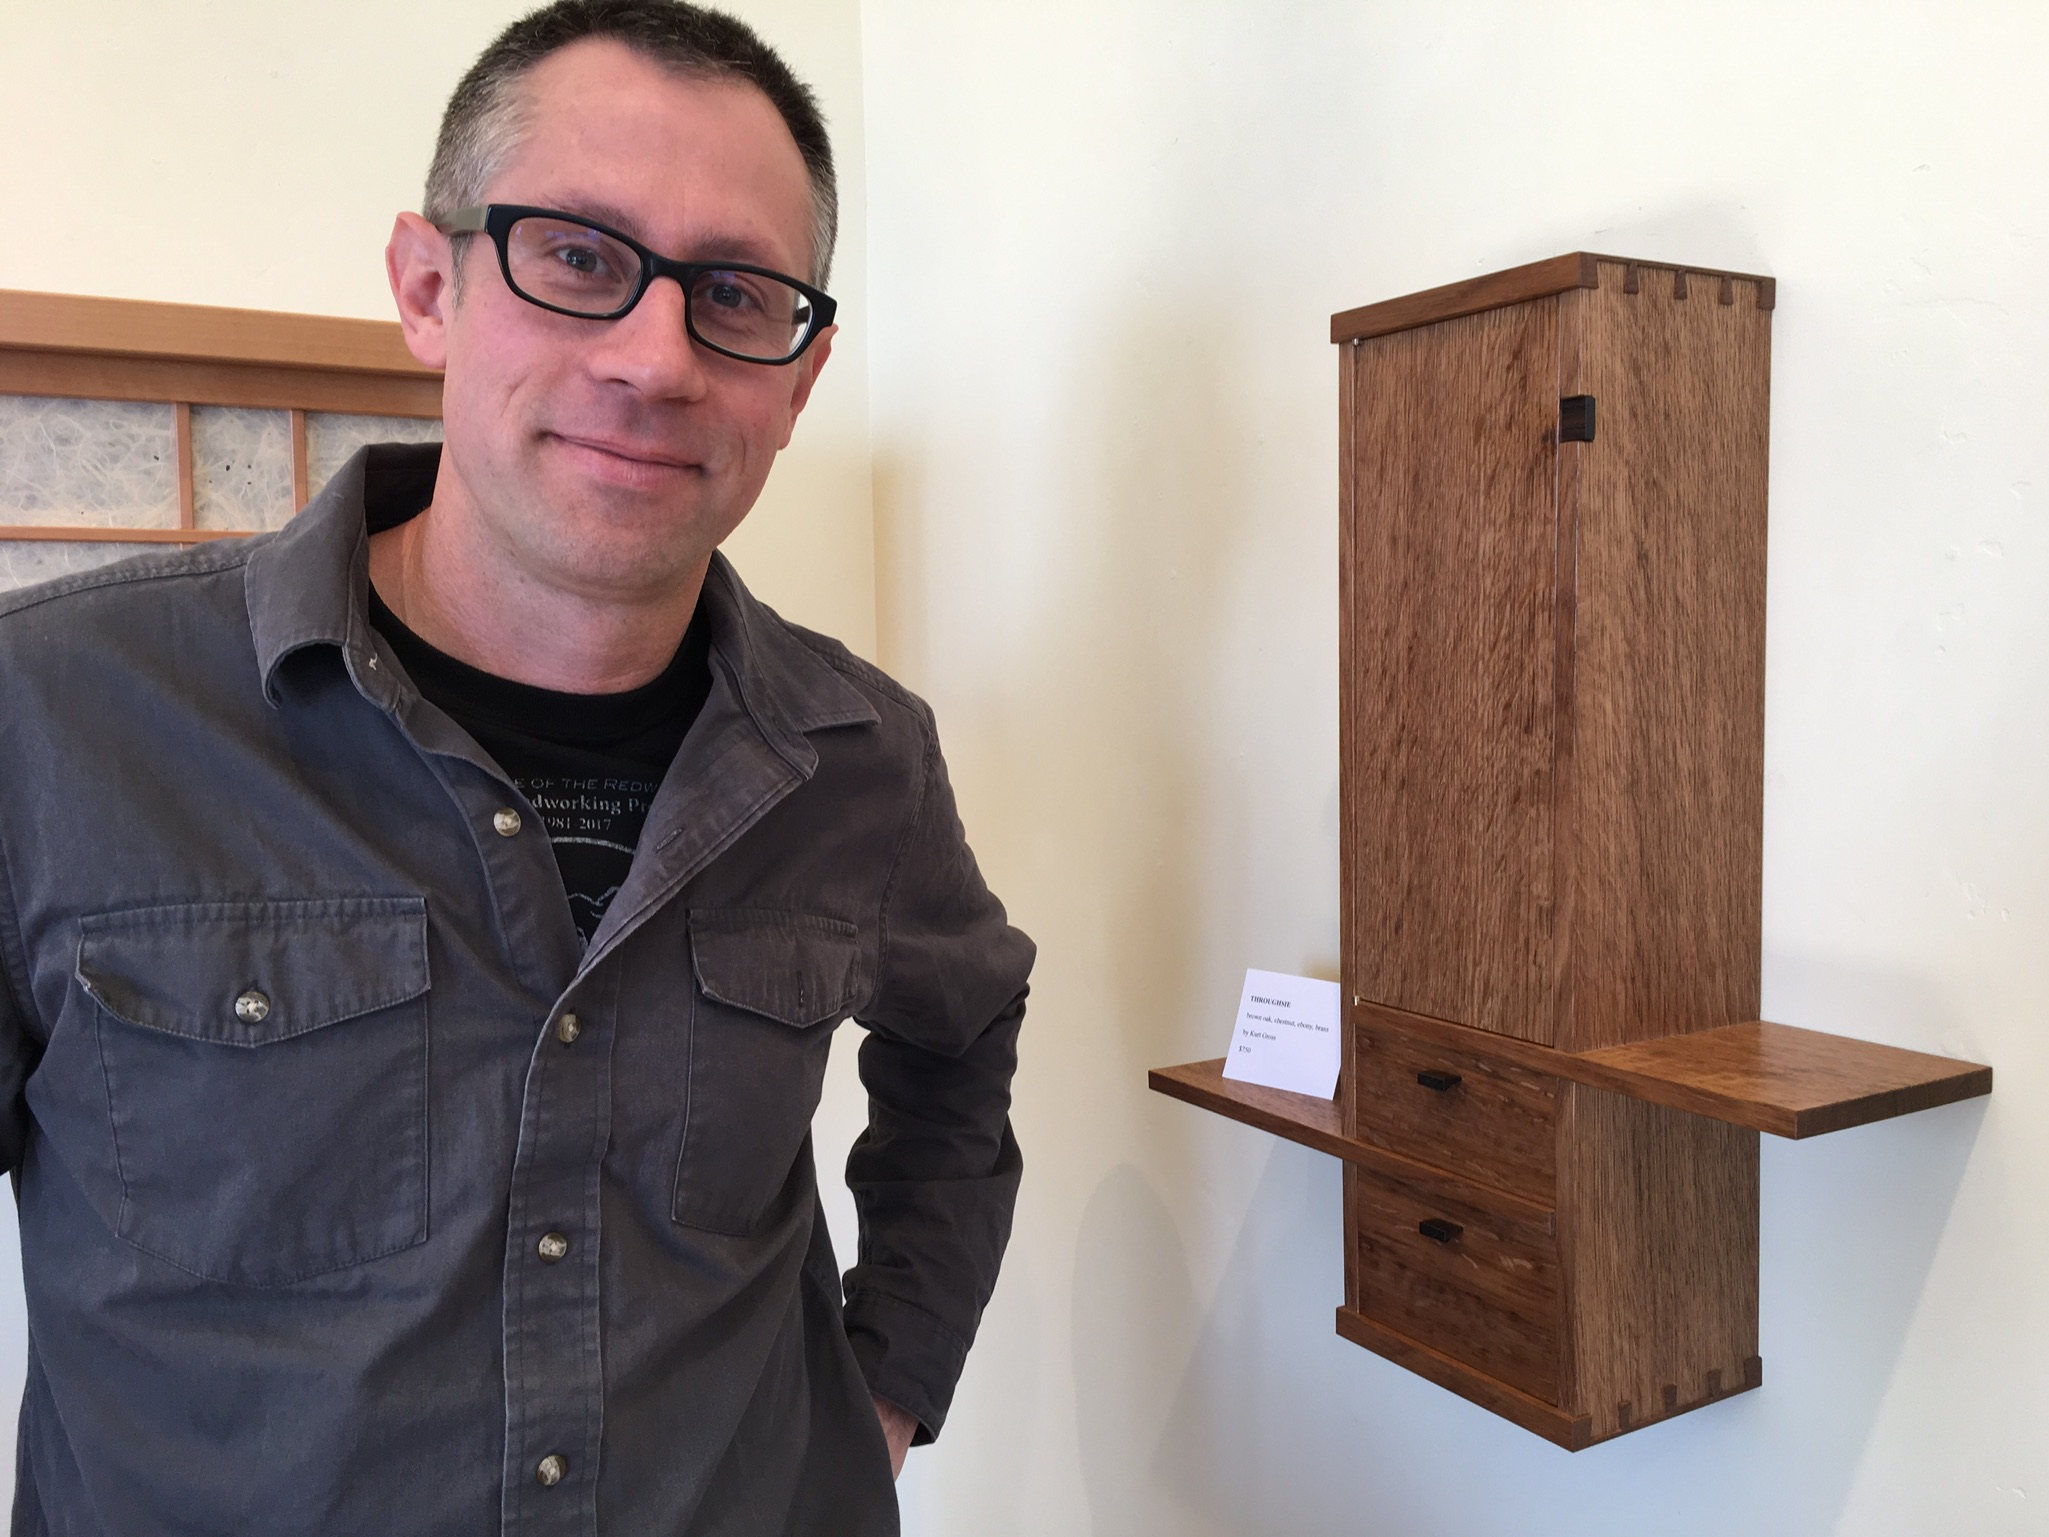
Headed to the Highlight Gallery in Mendocino shortly for the annual Spring exhibition.
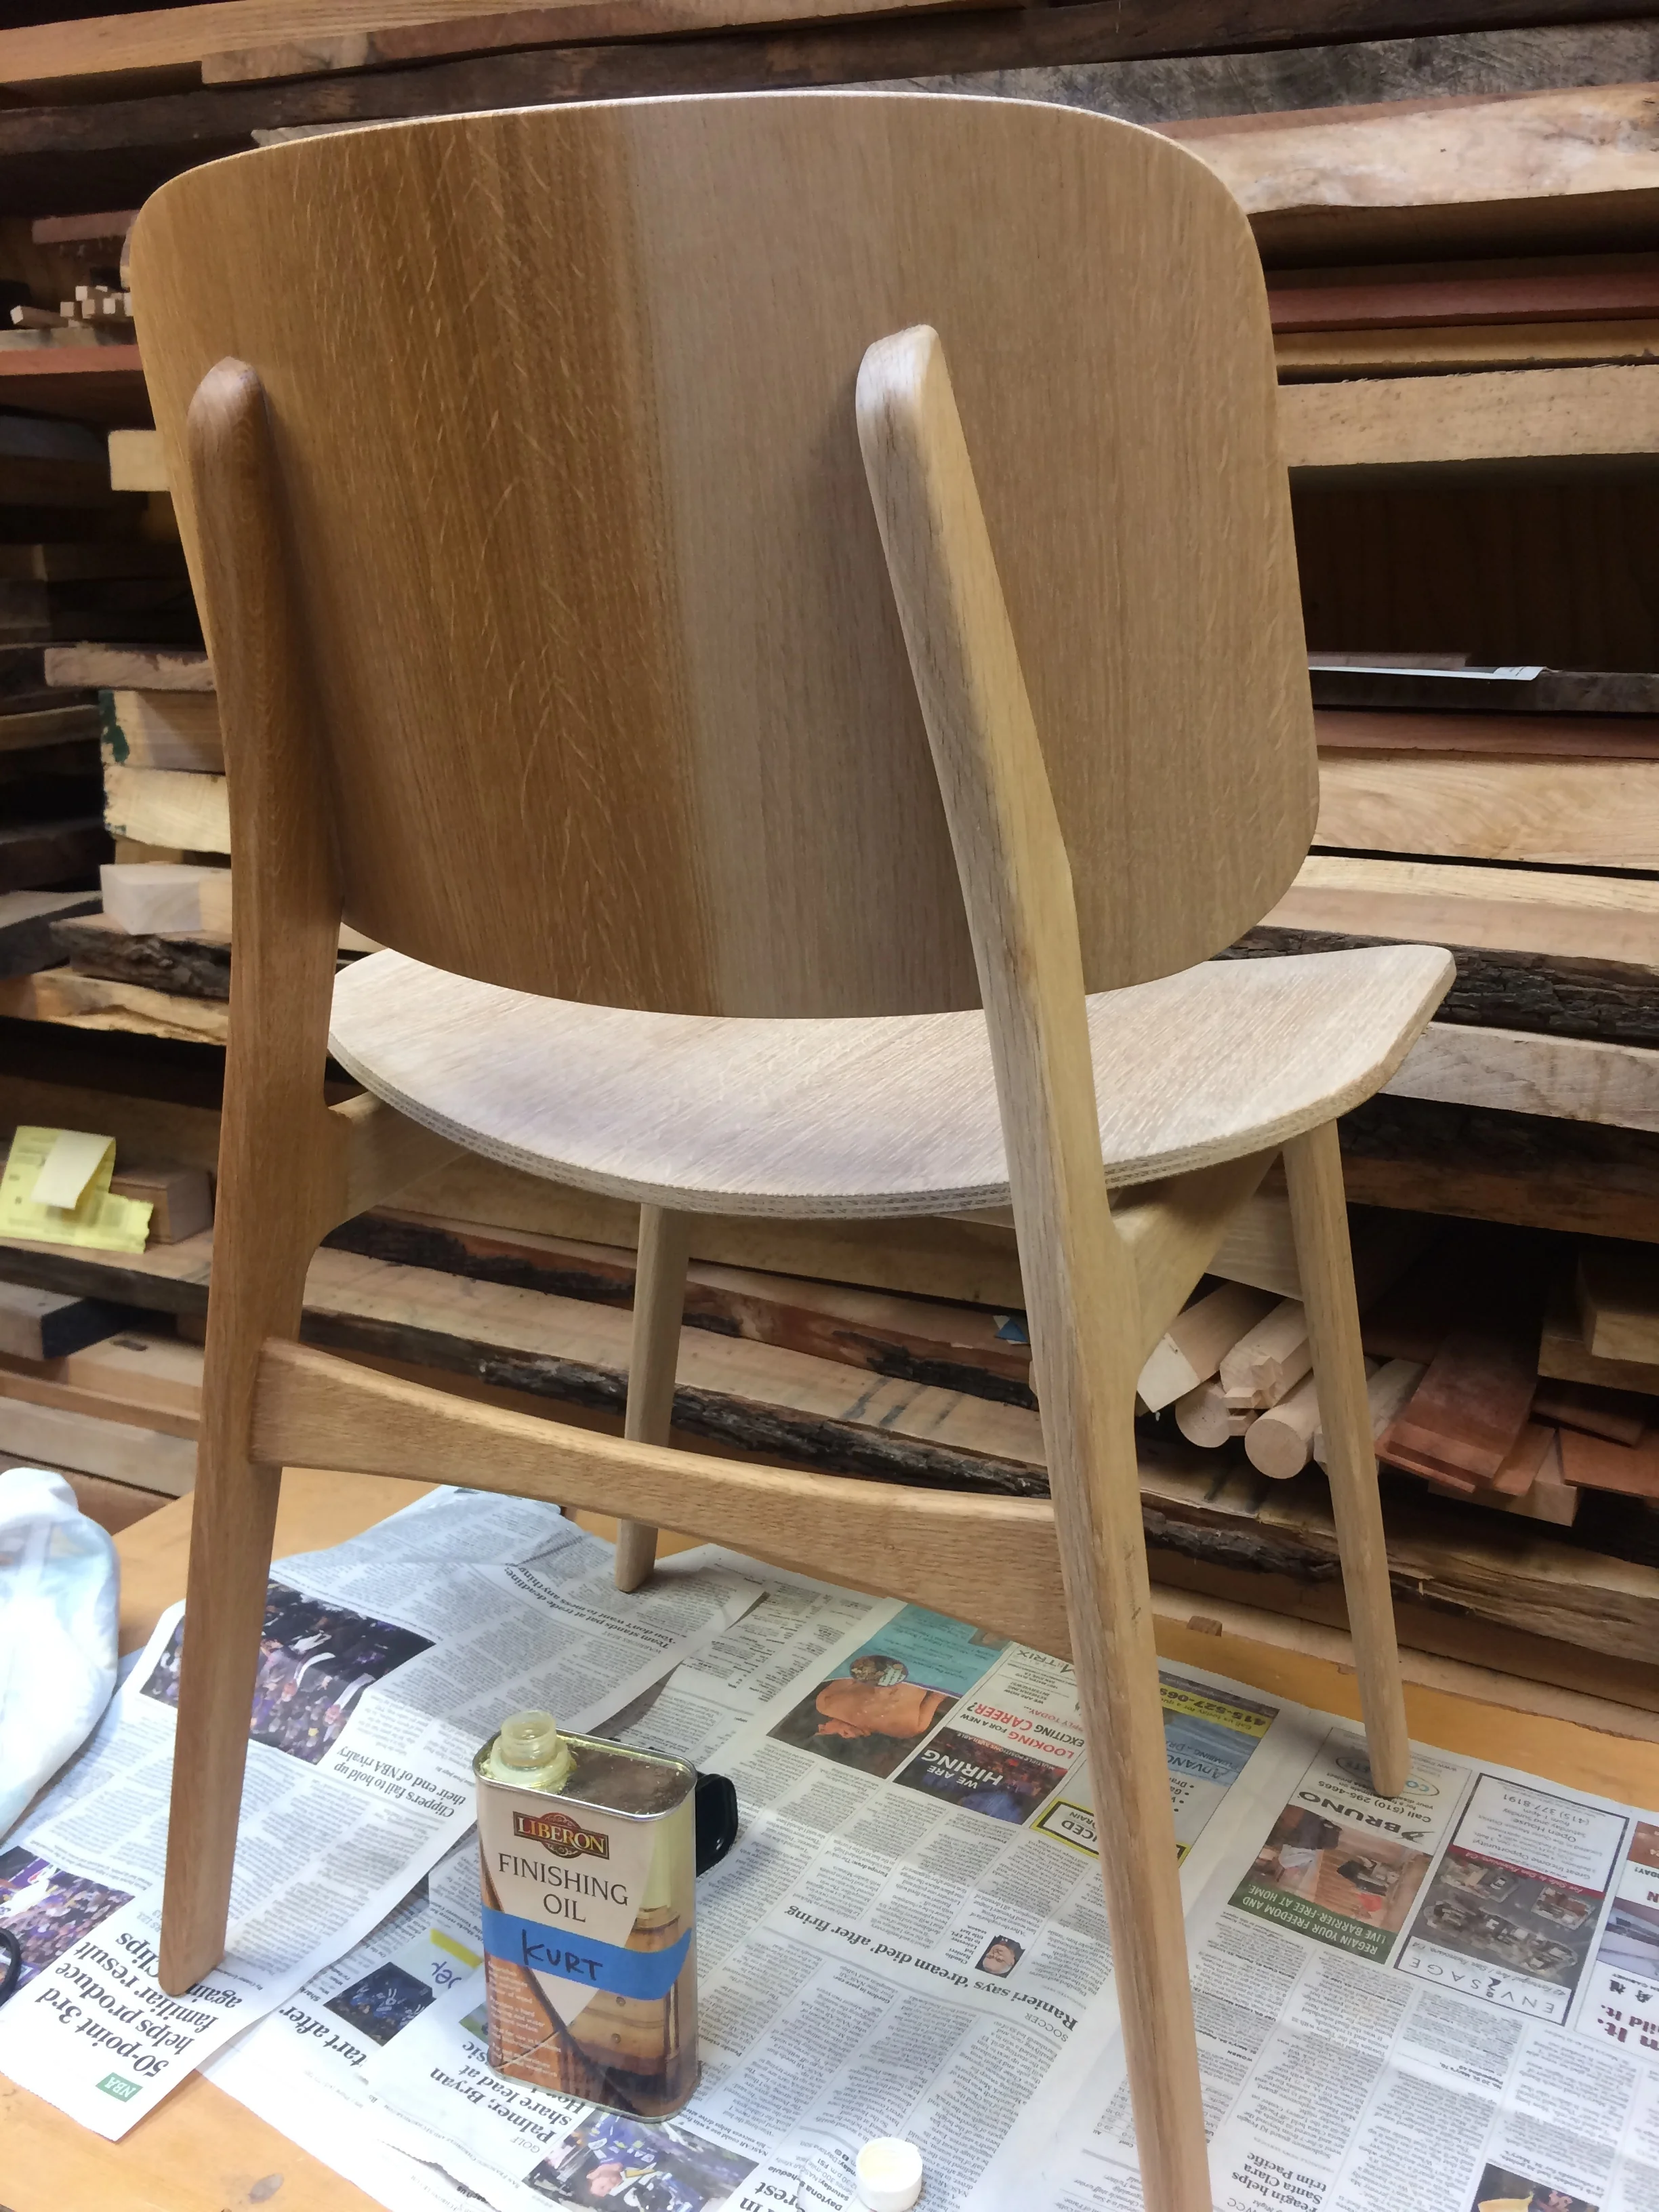
The first coat of oil goes on...
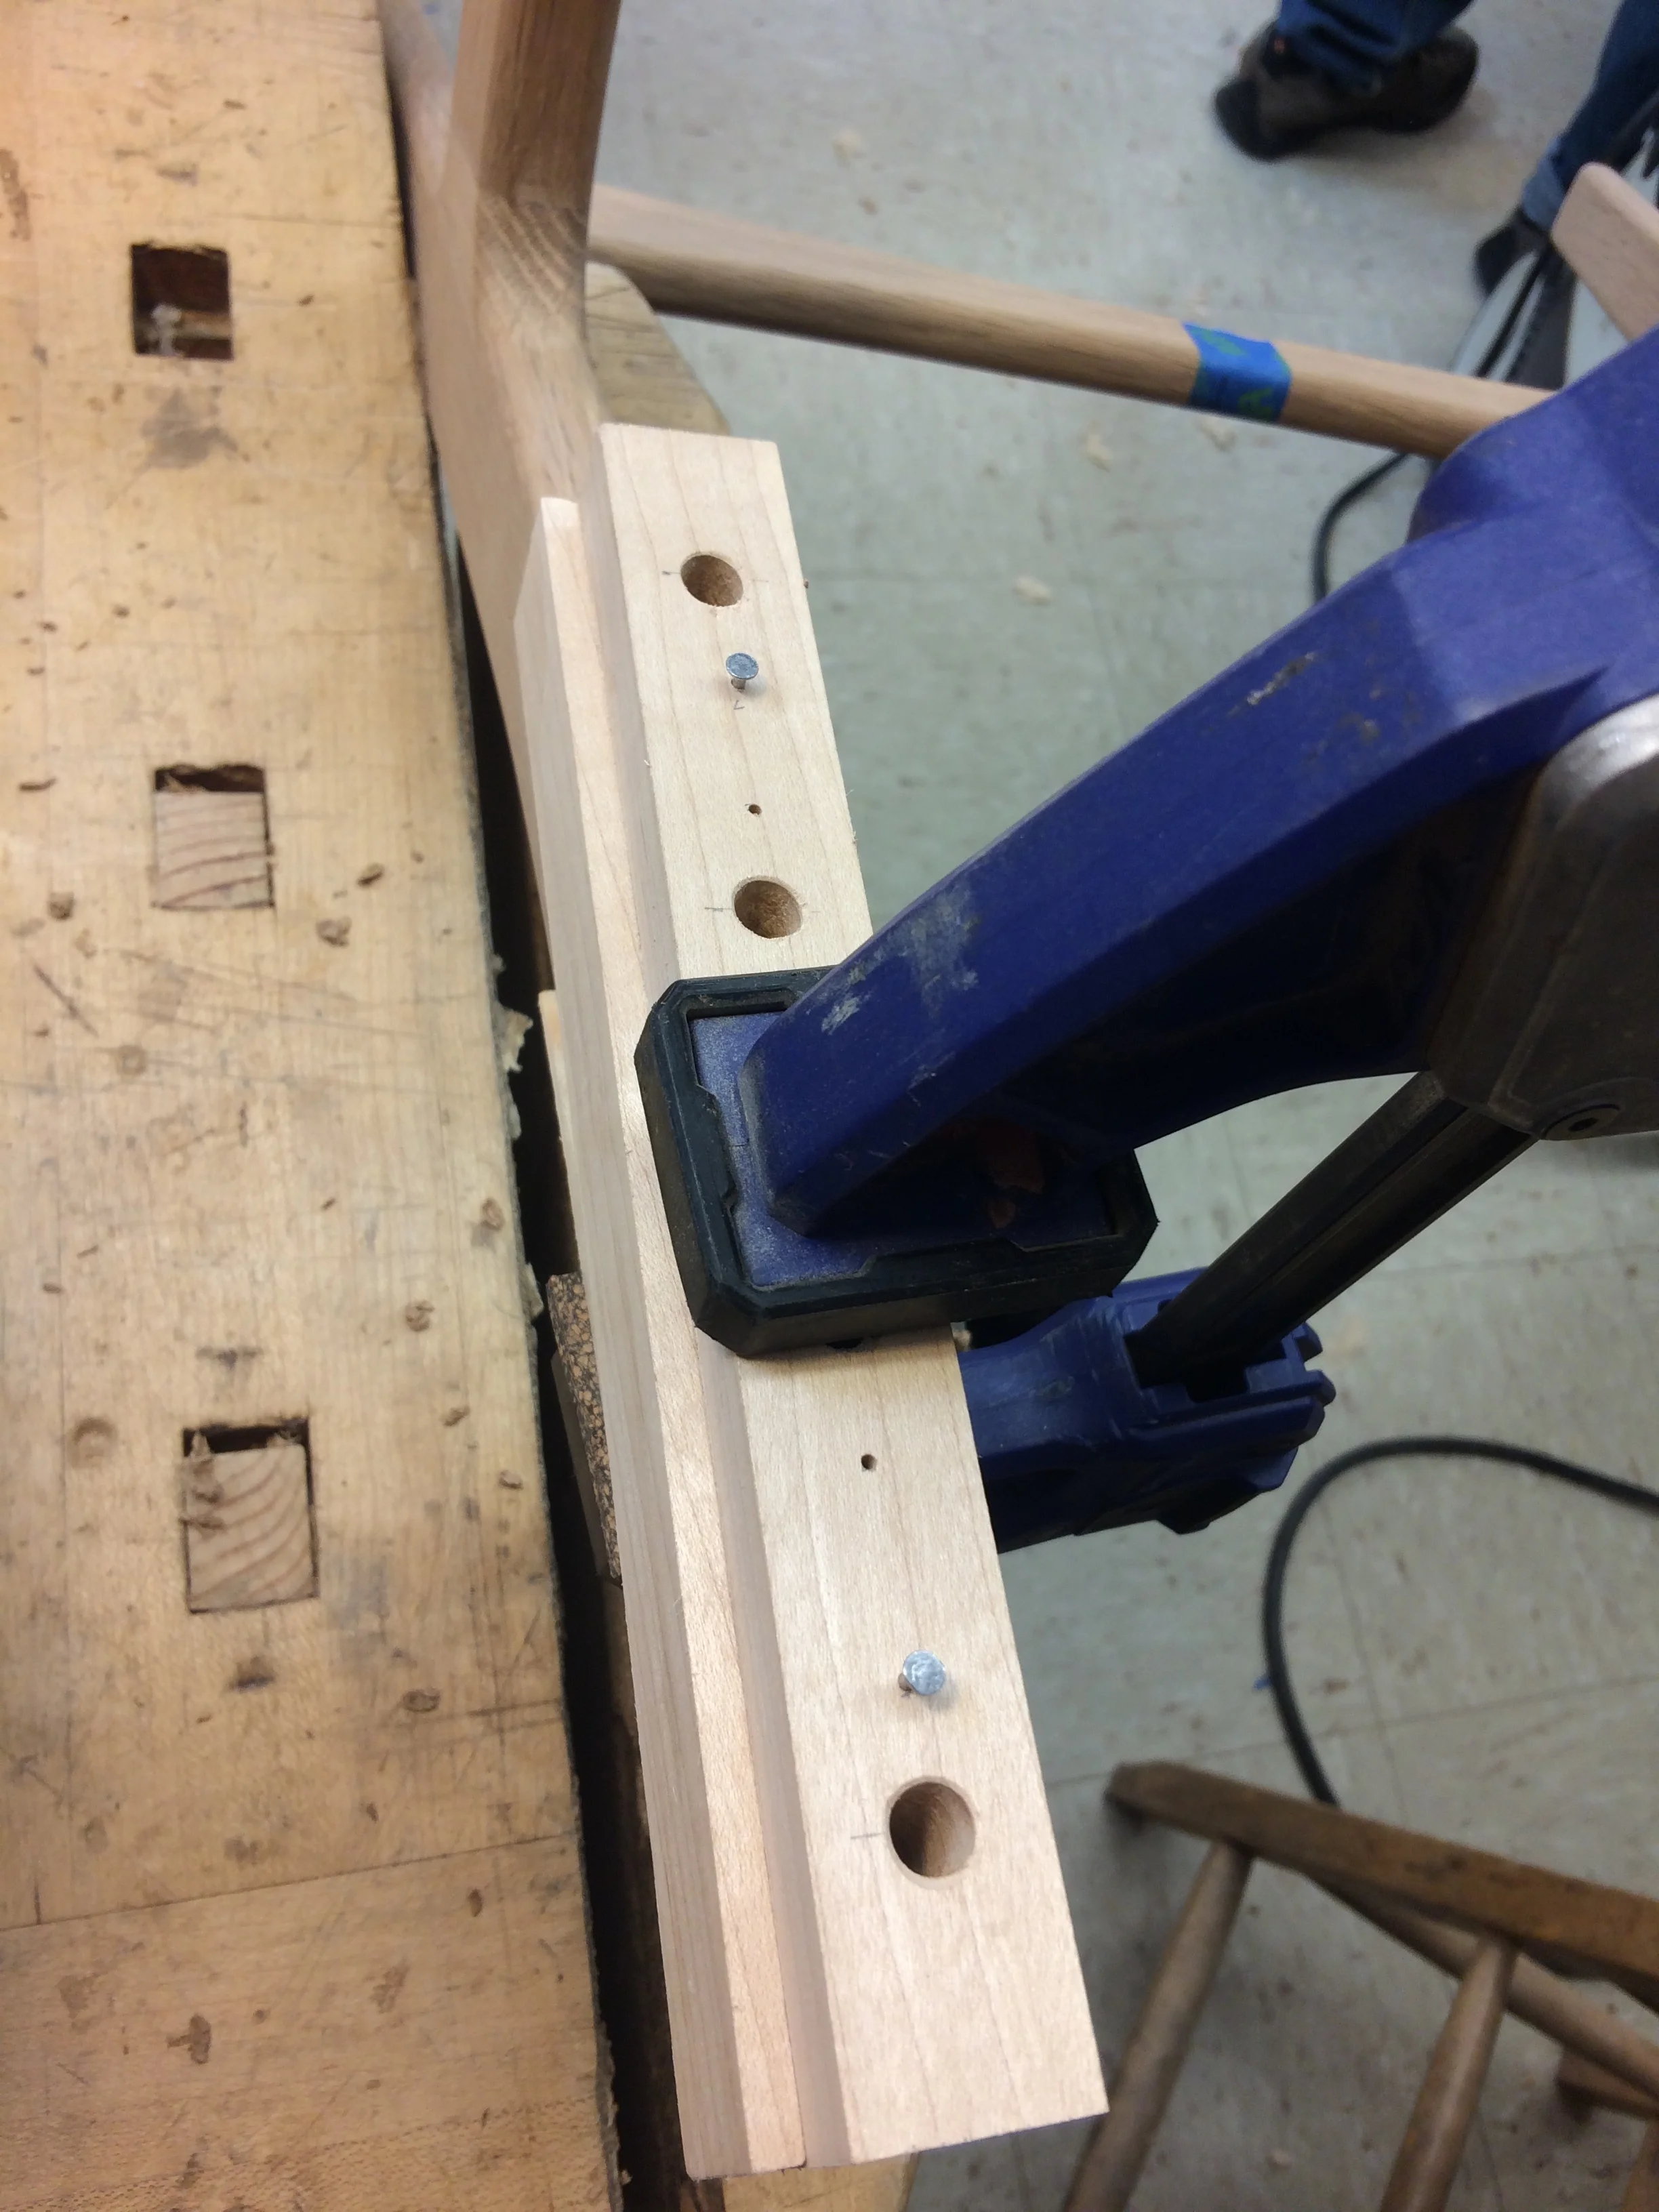
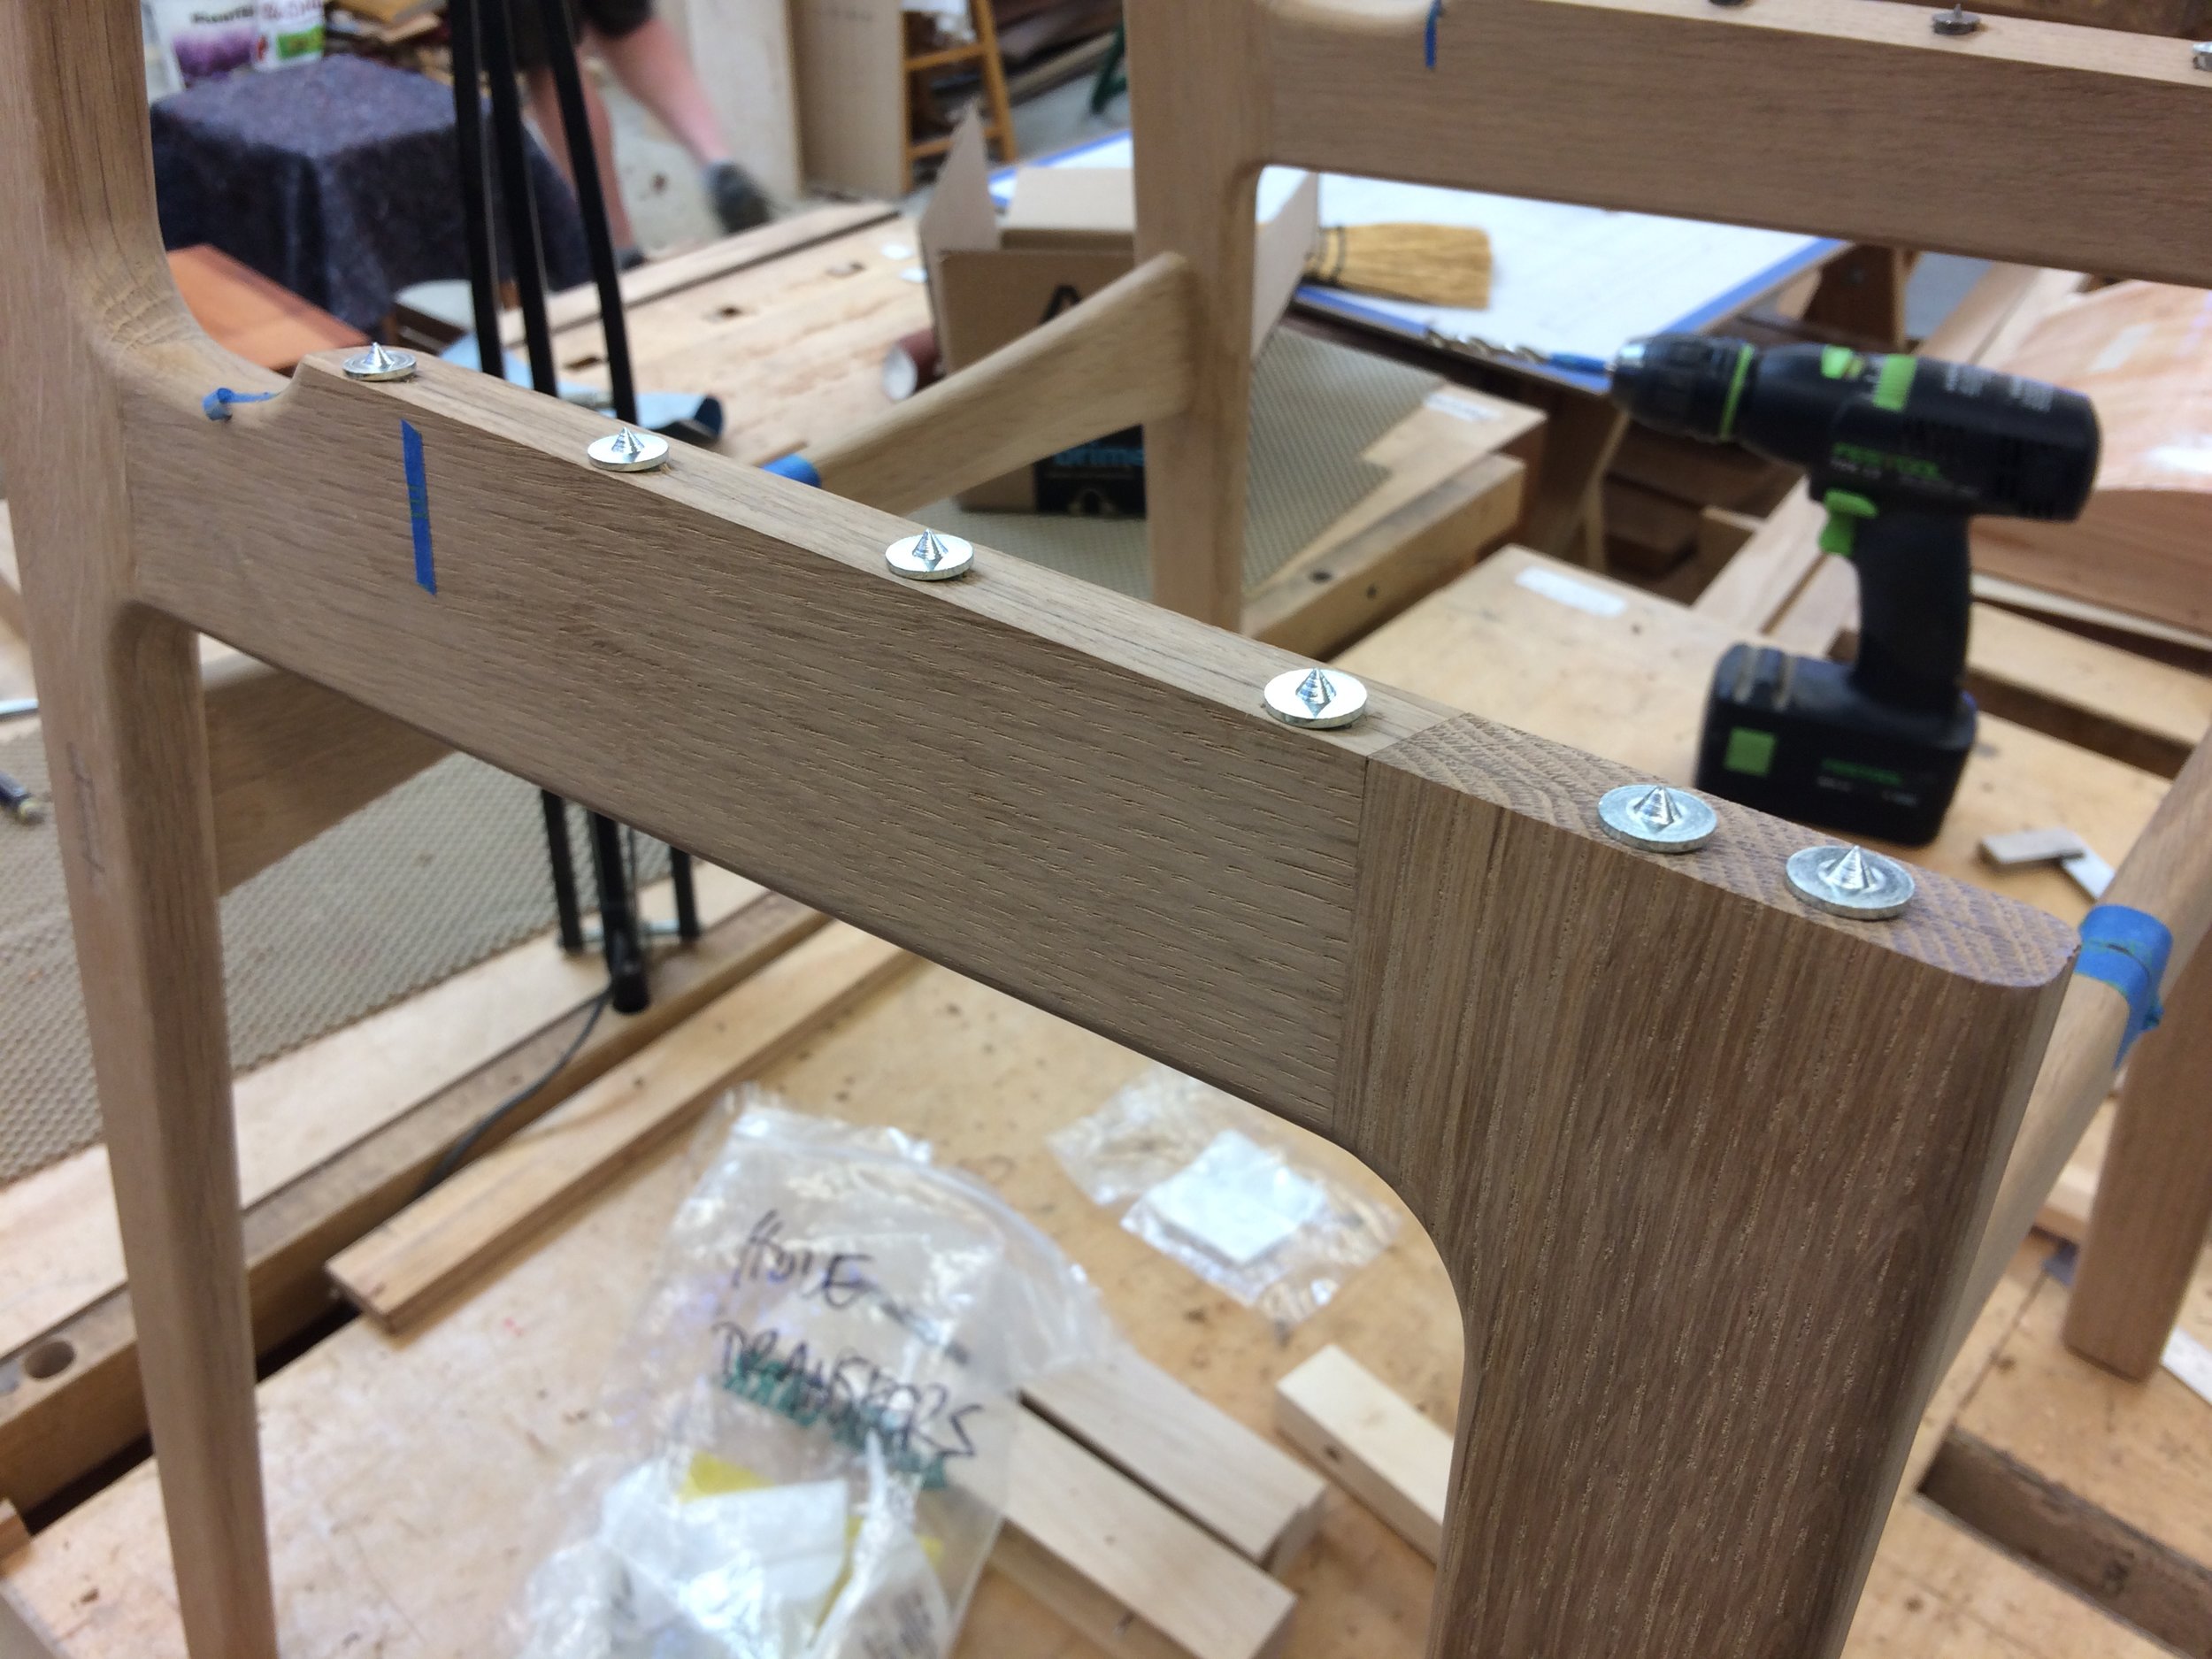
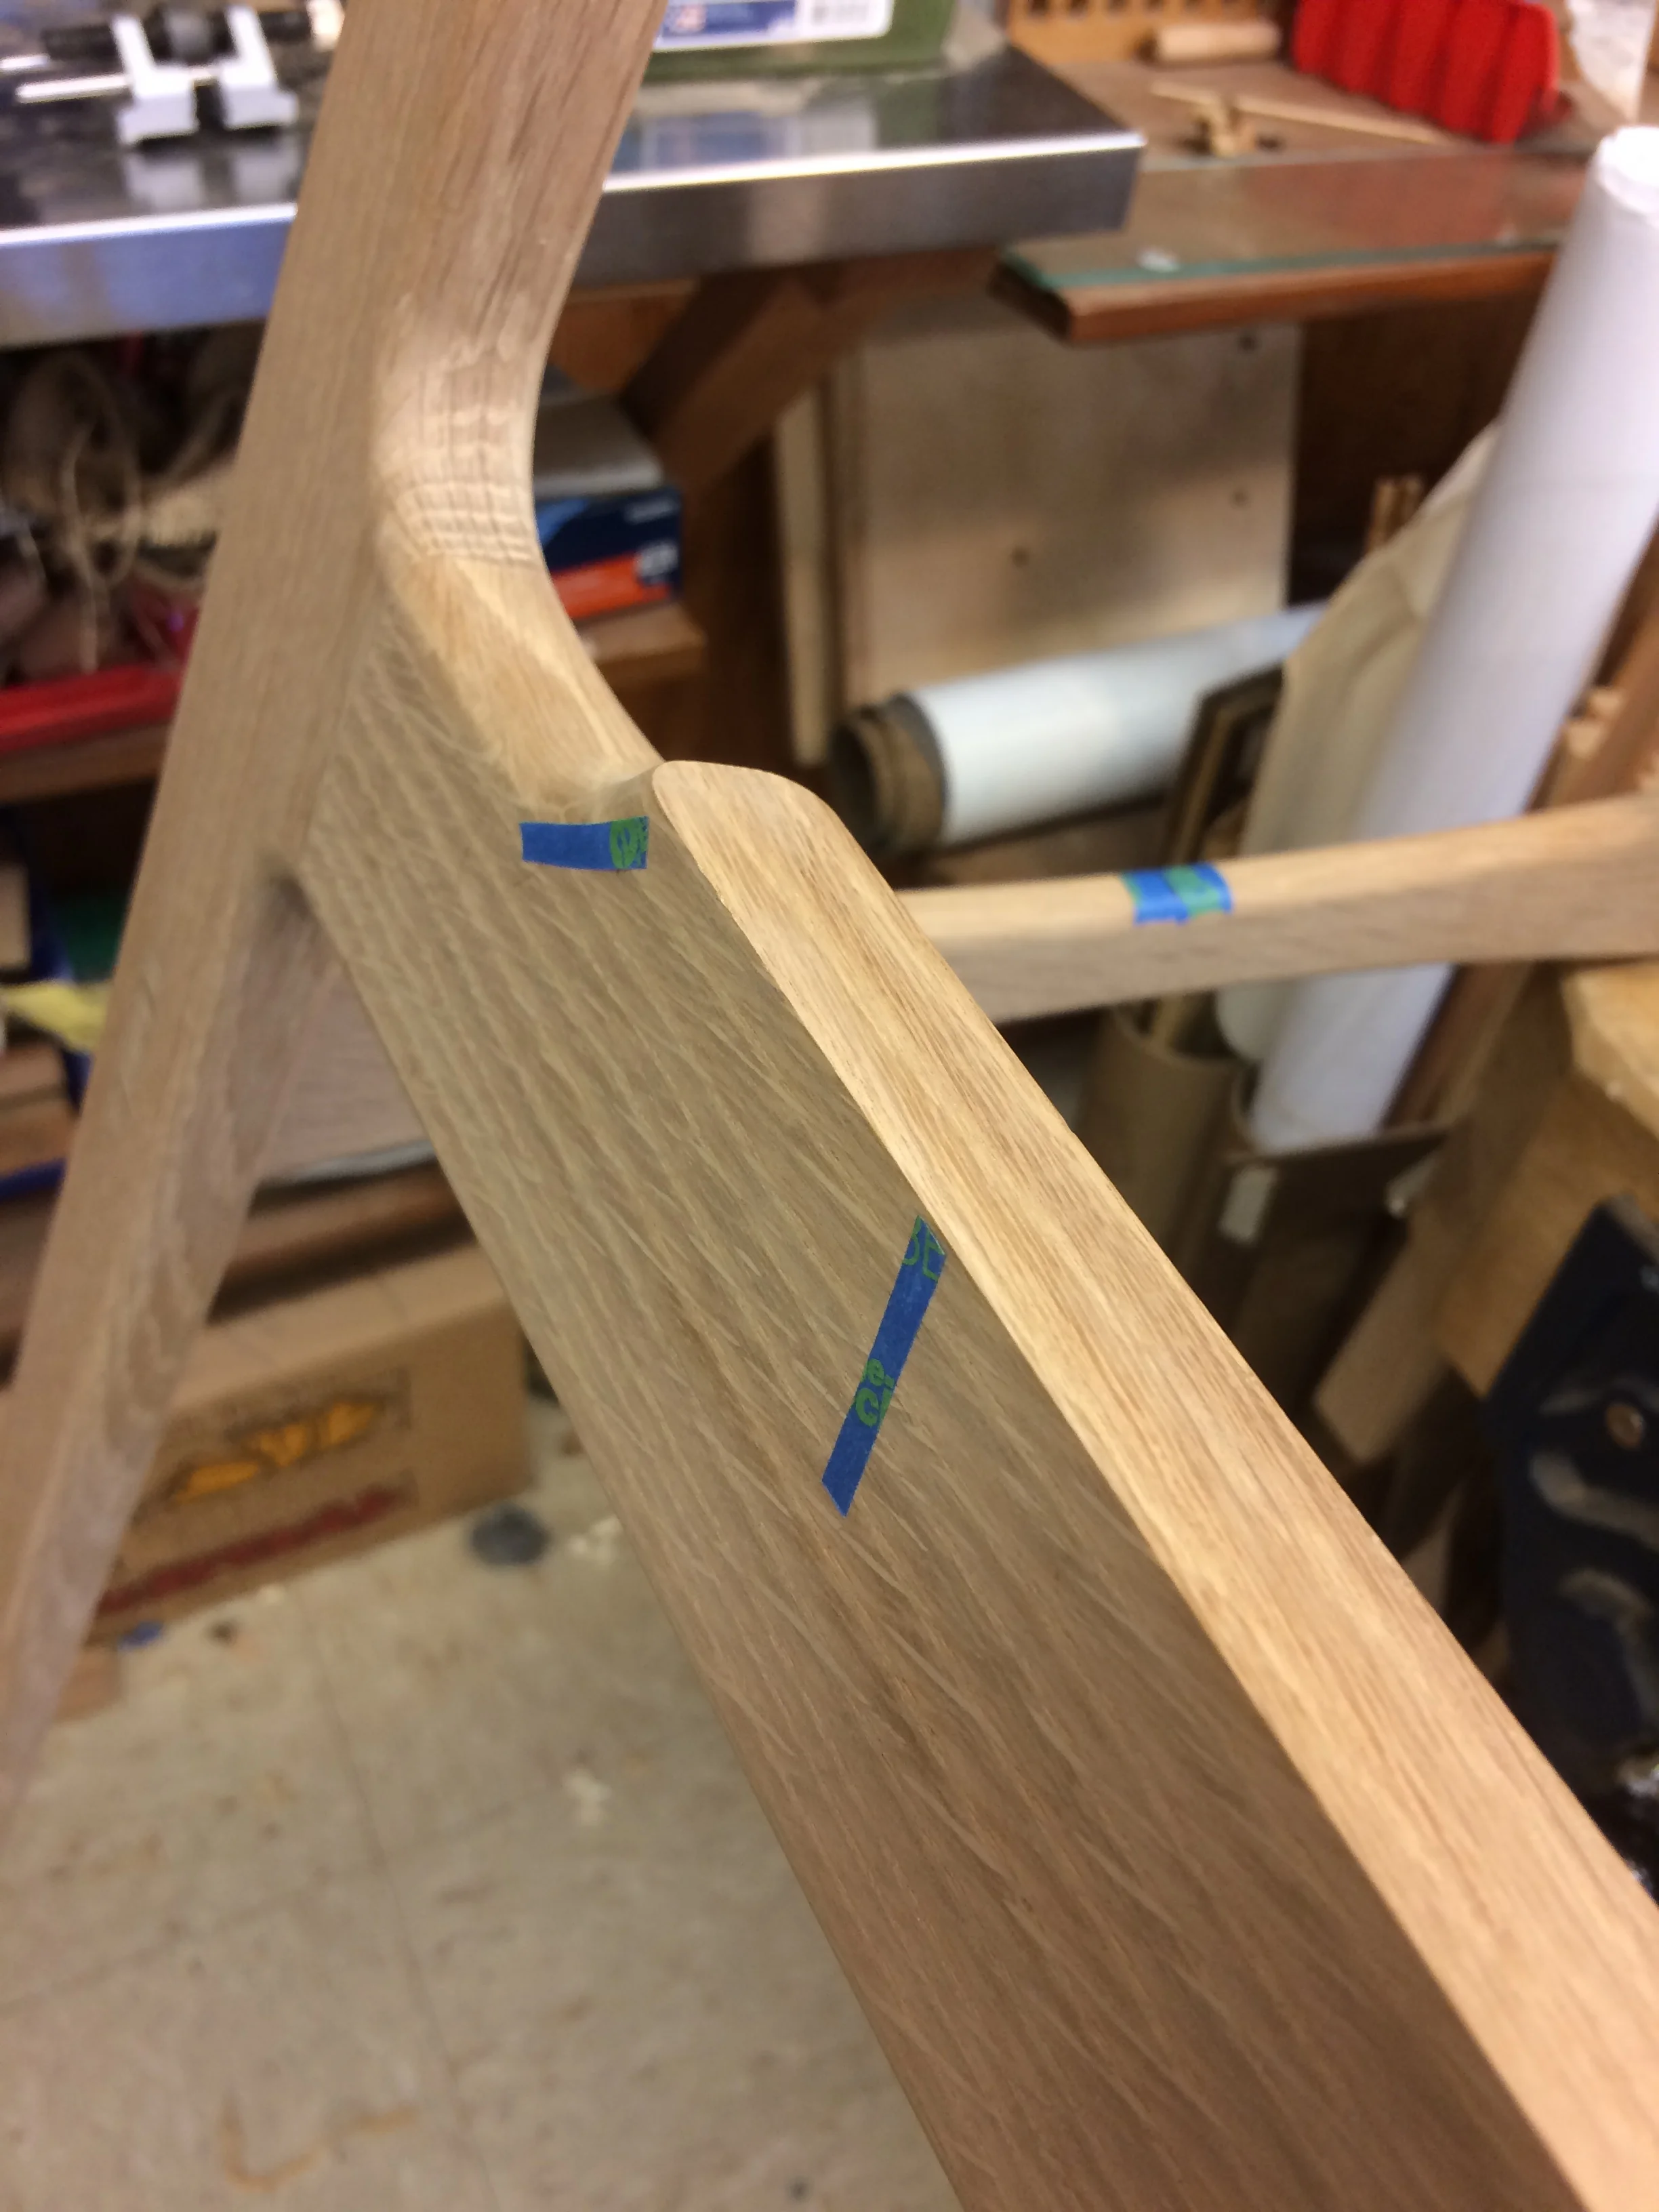
A custom jig ensures the holes are drilled in the correct orientation relative to the joint.
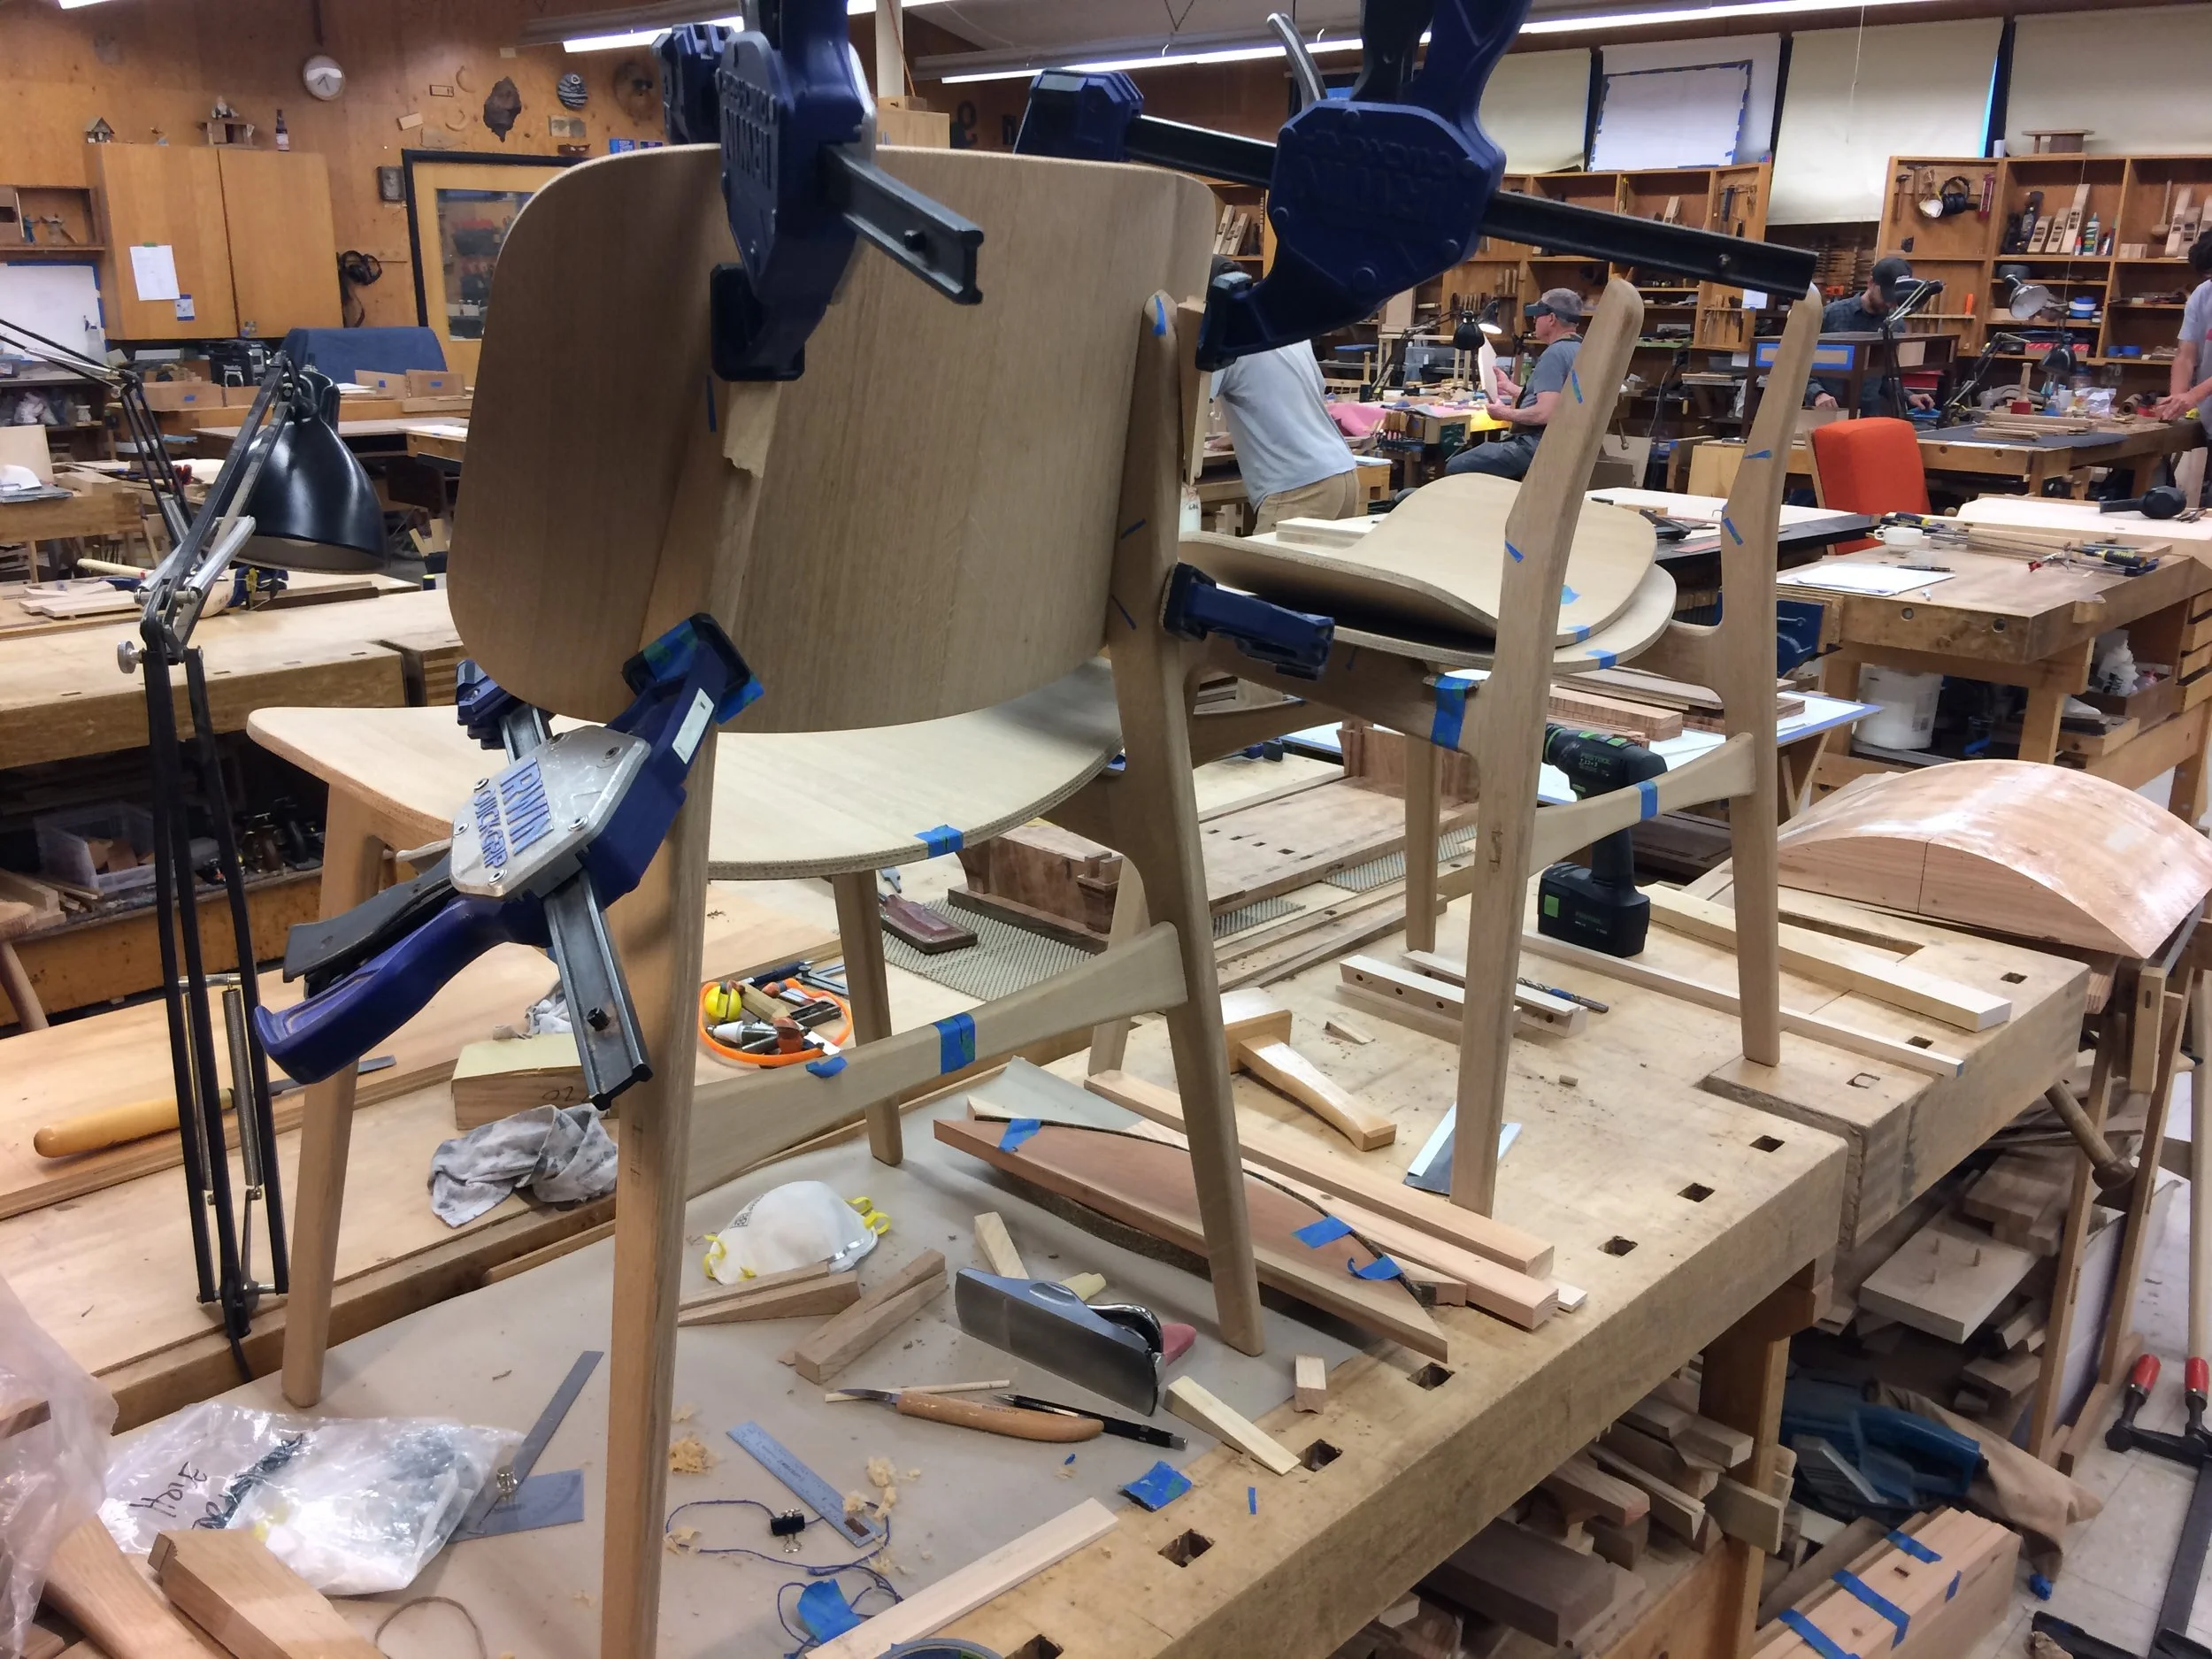
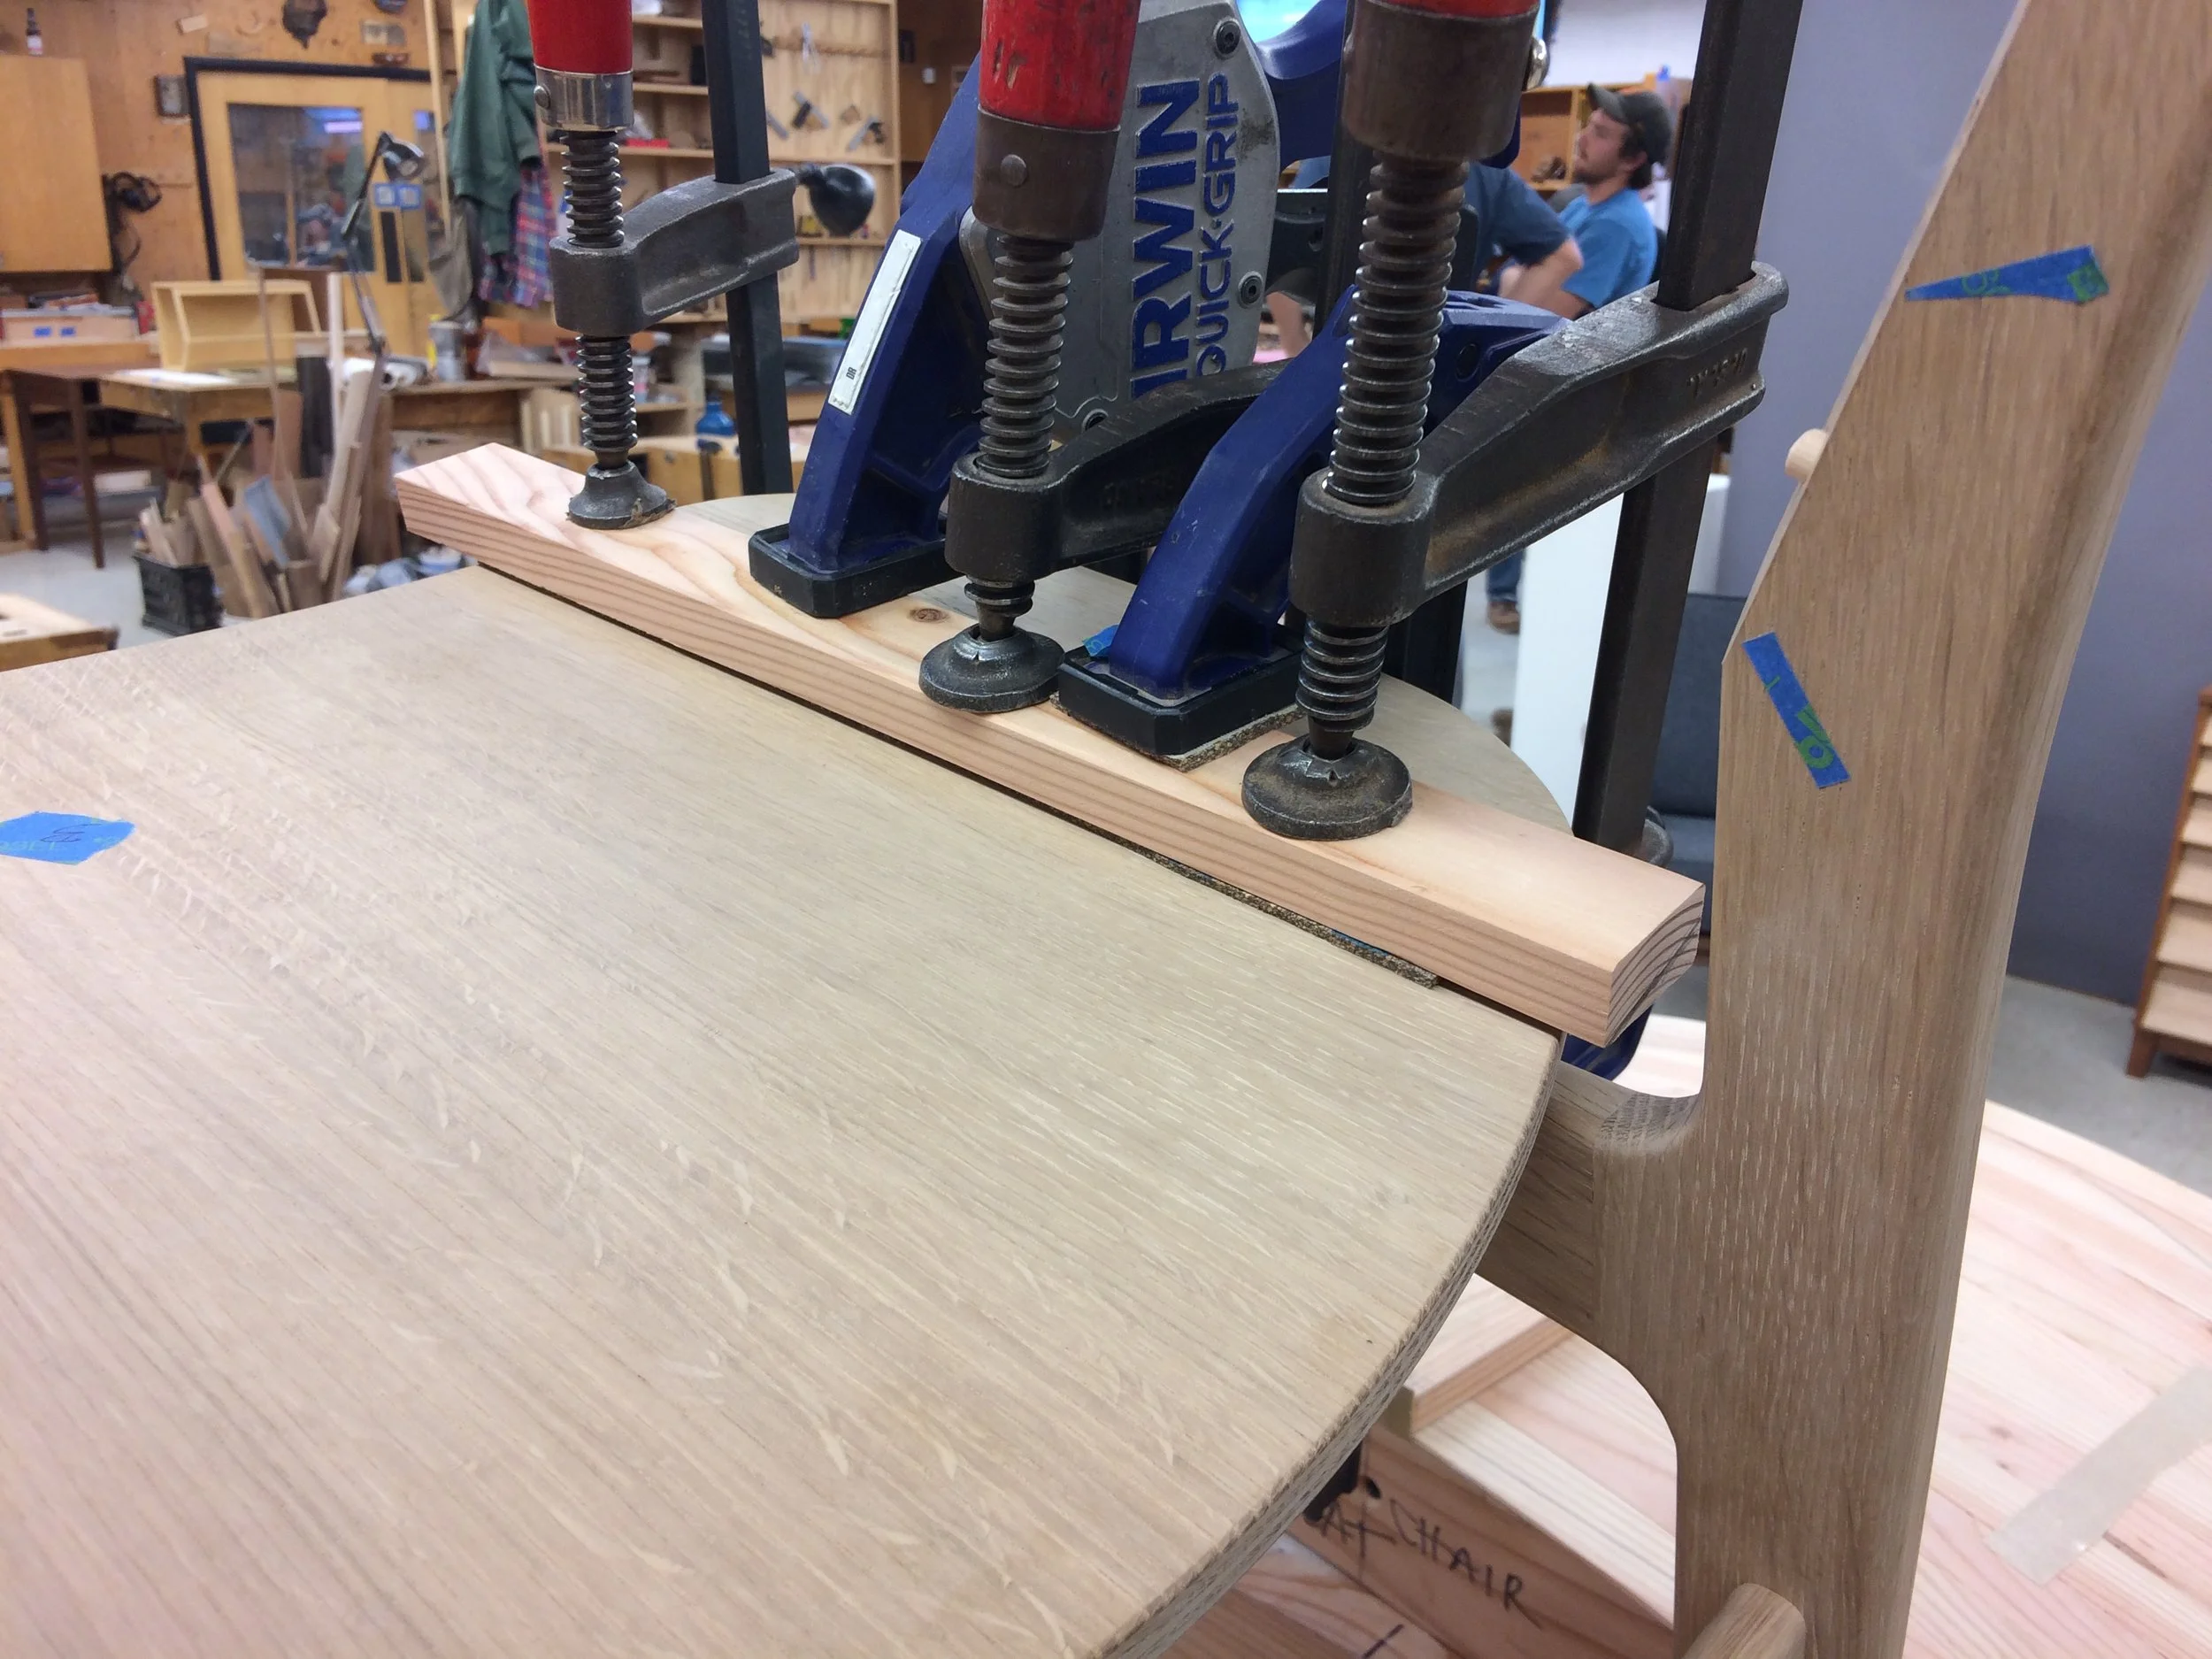
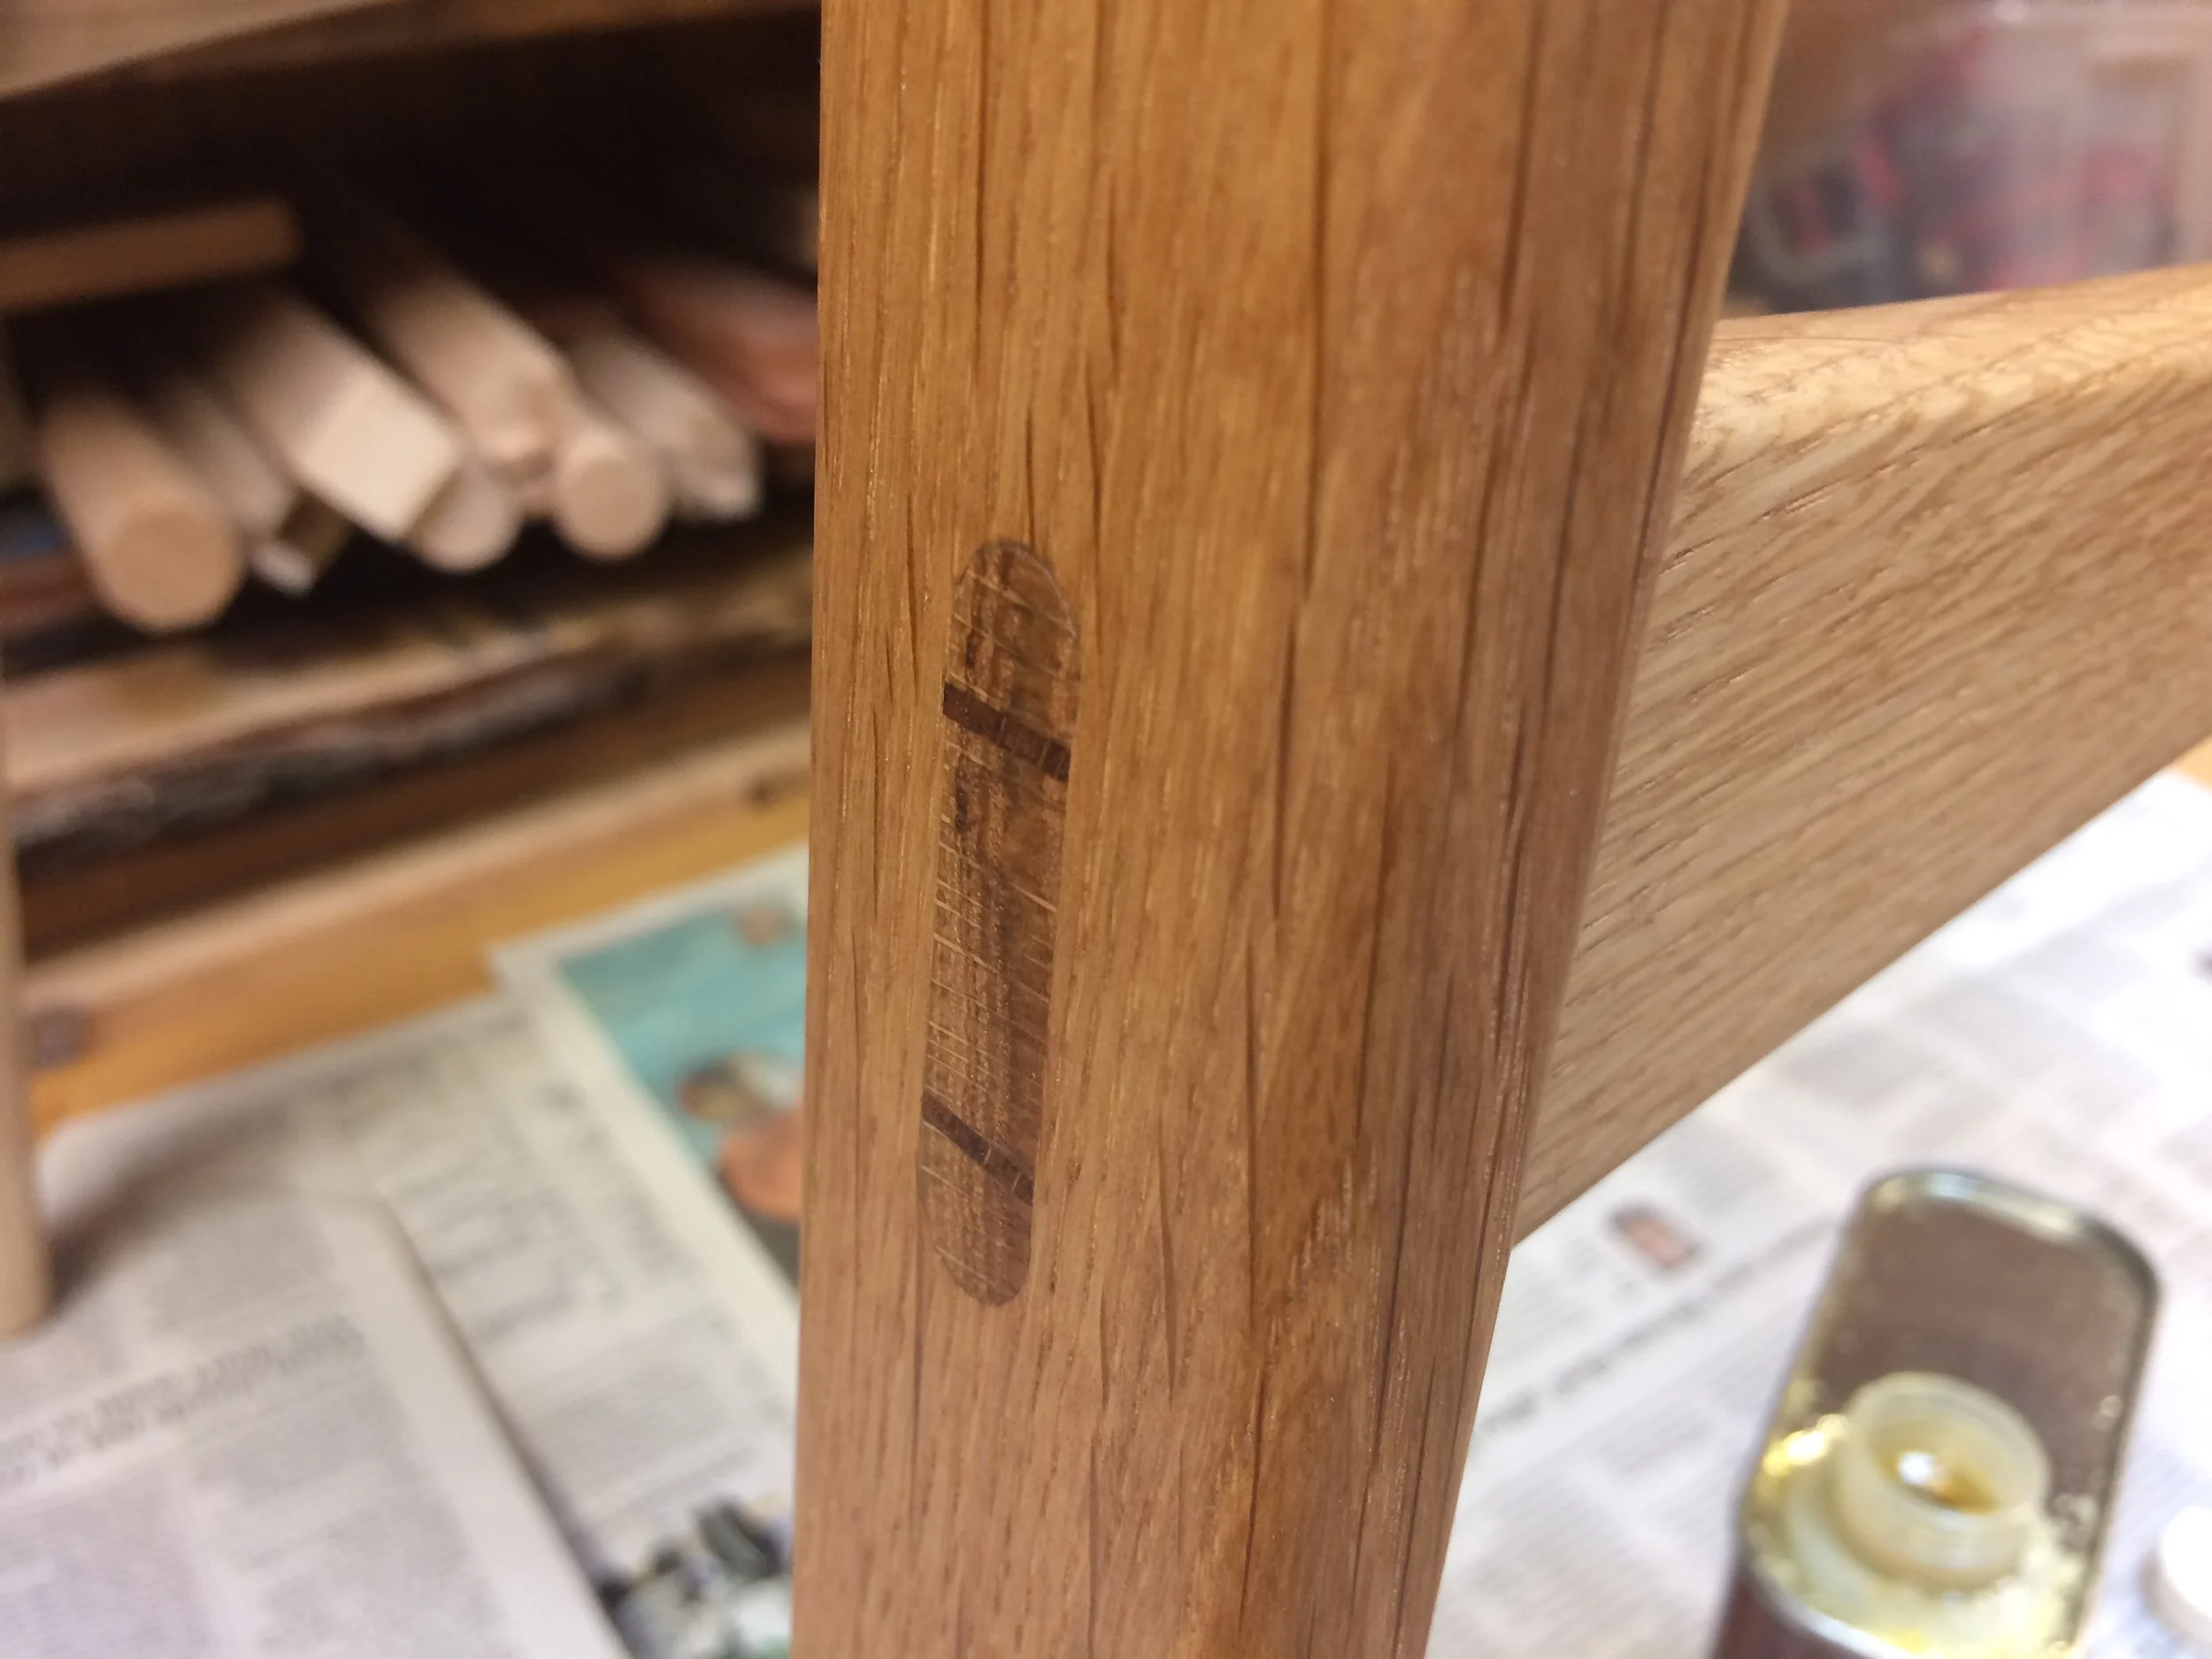
High spots are marked for hand planing to create a perfectly mating joint with the seat shell.

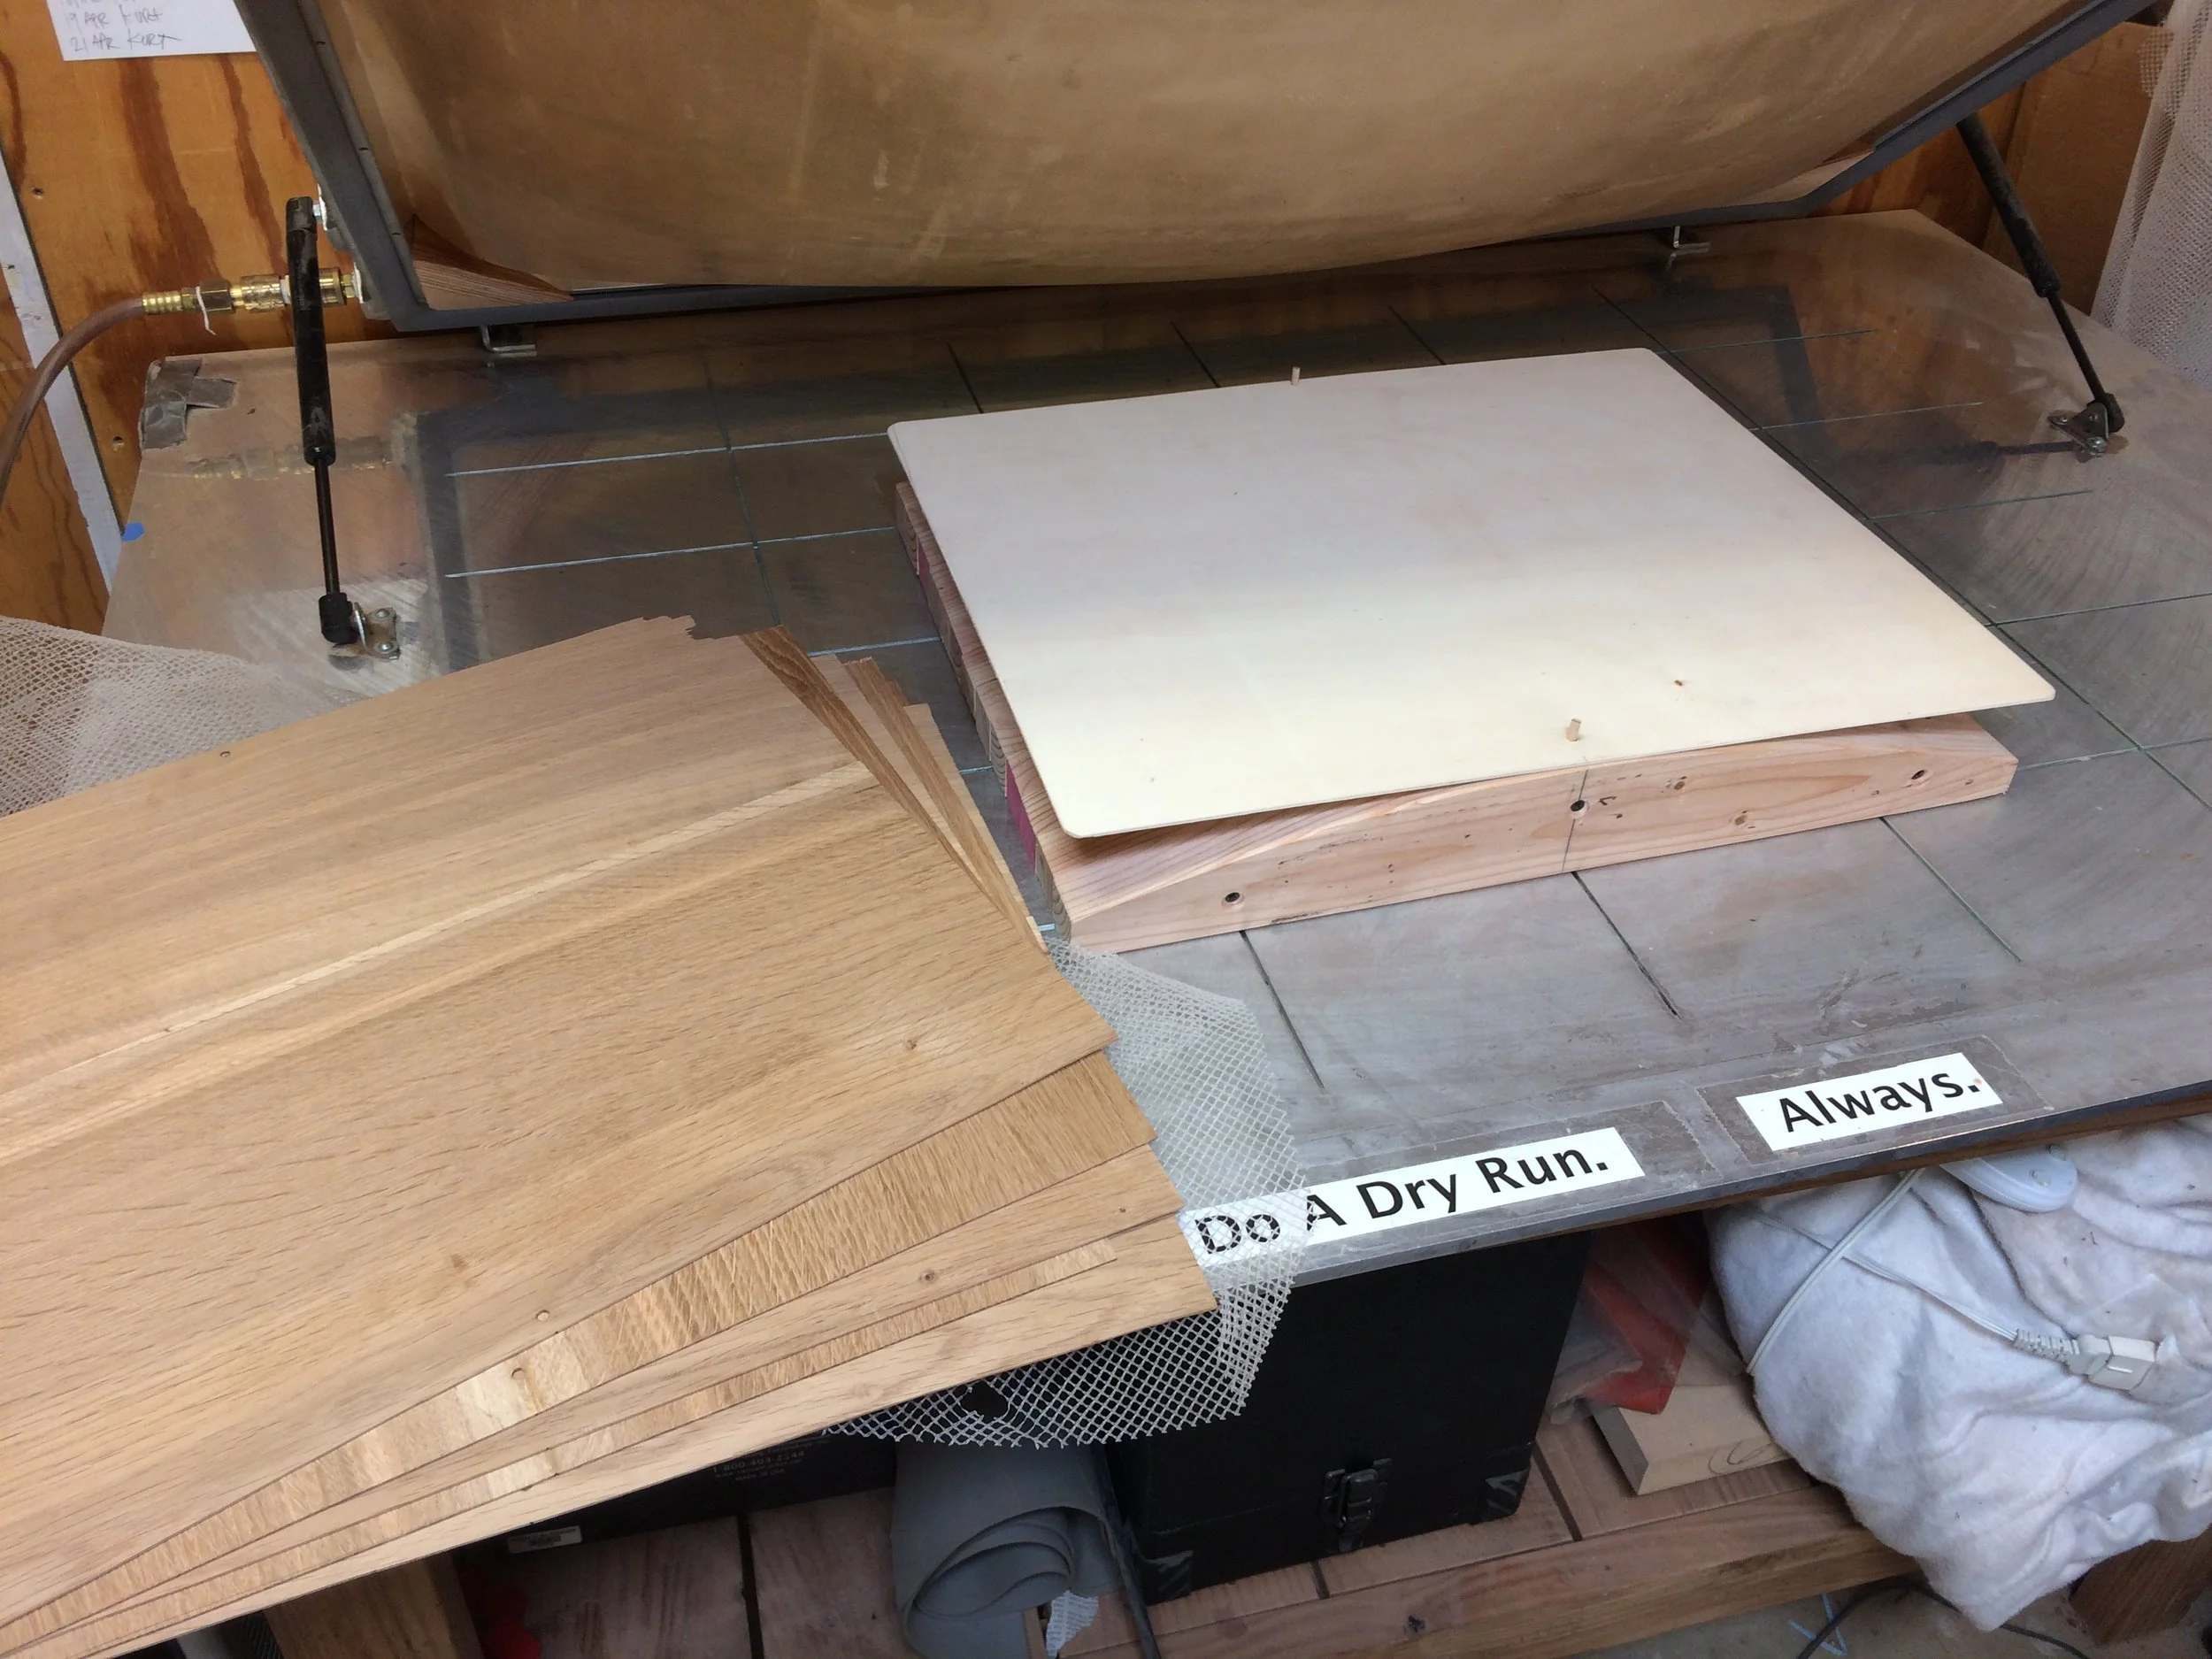
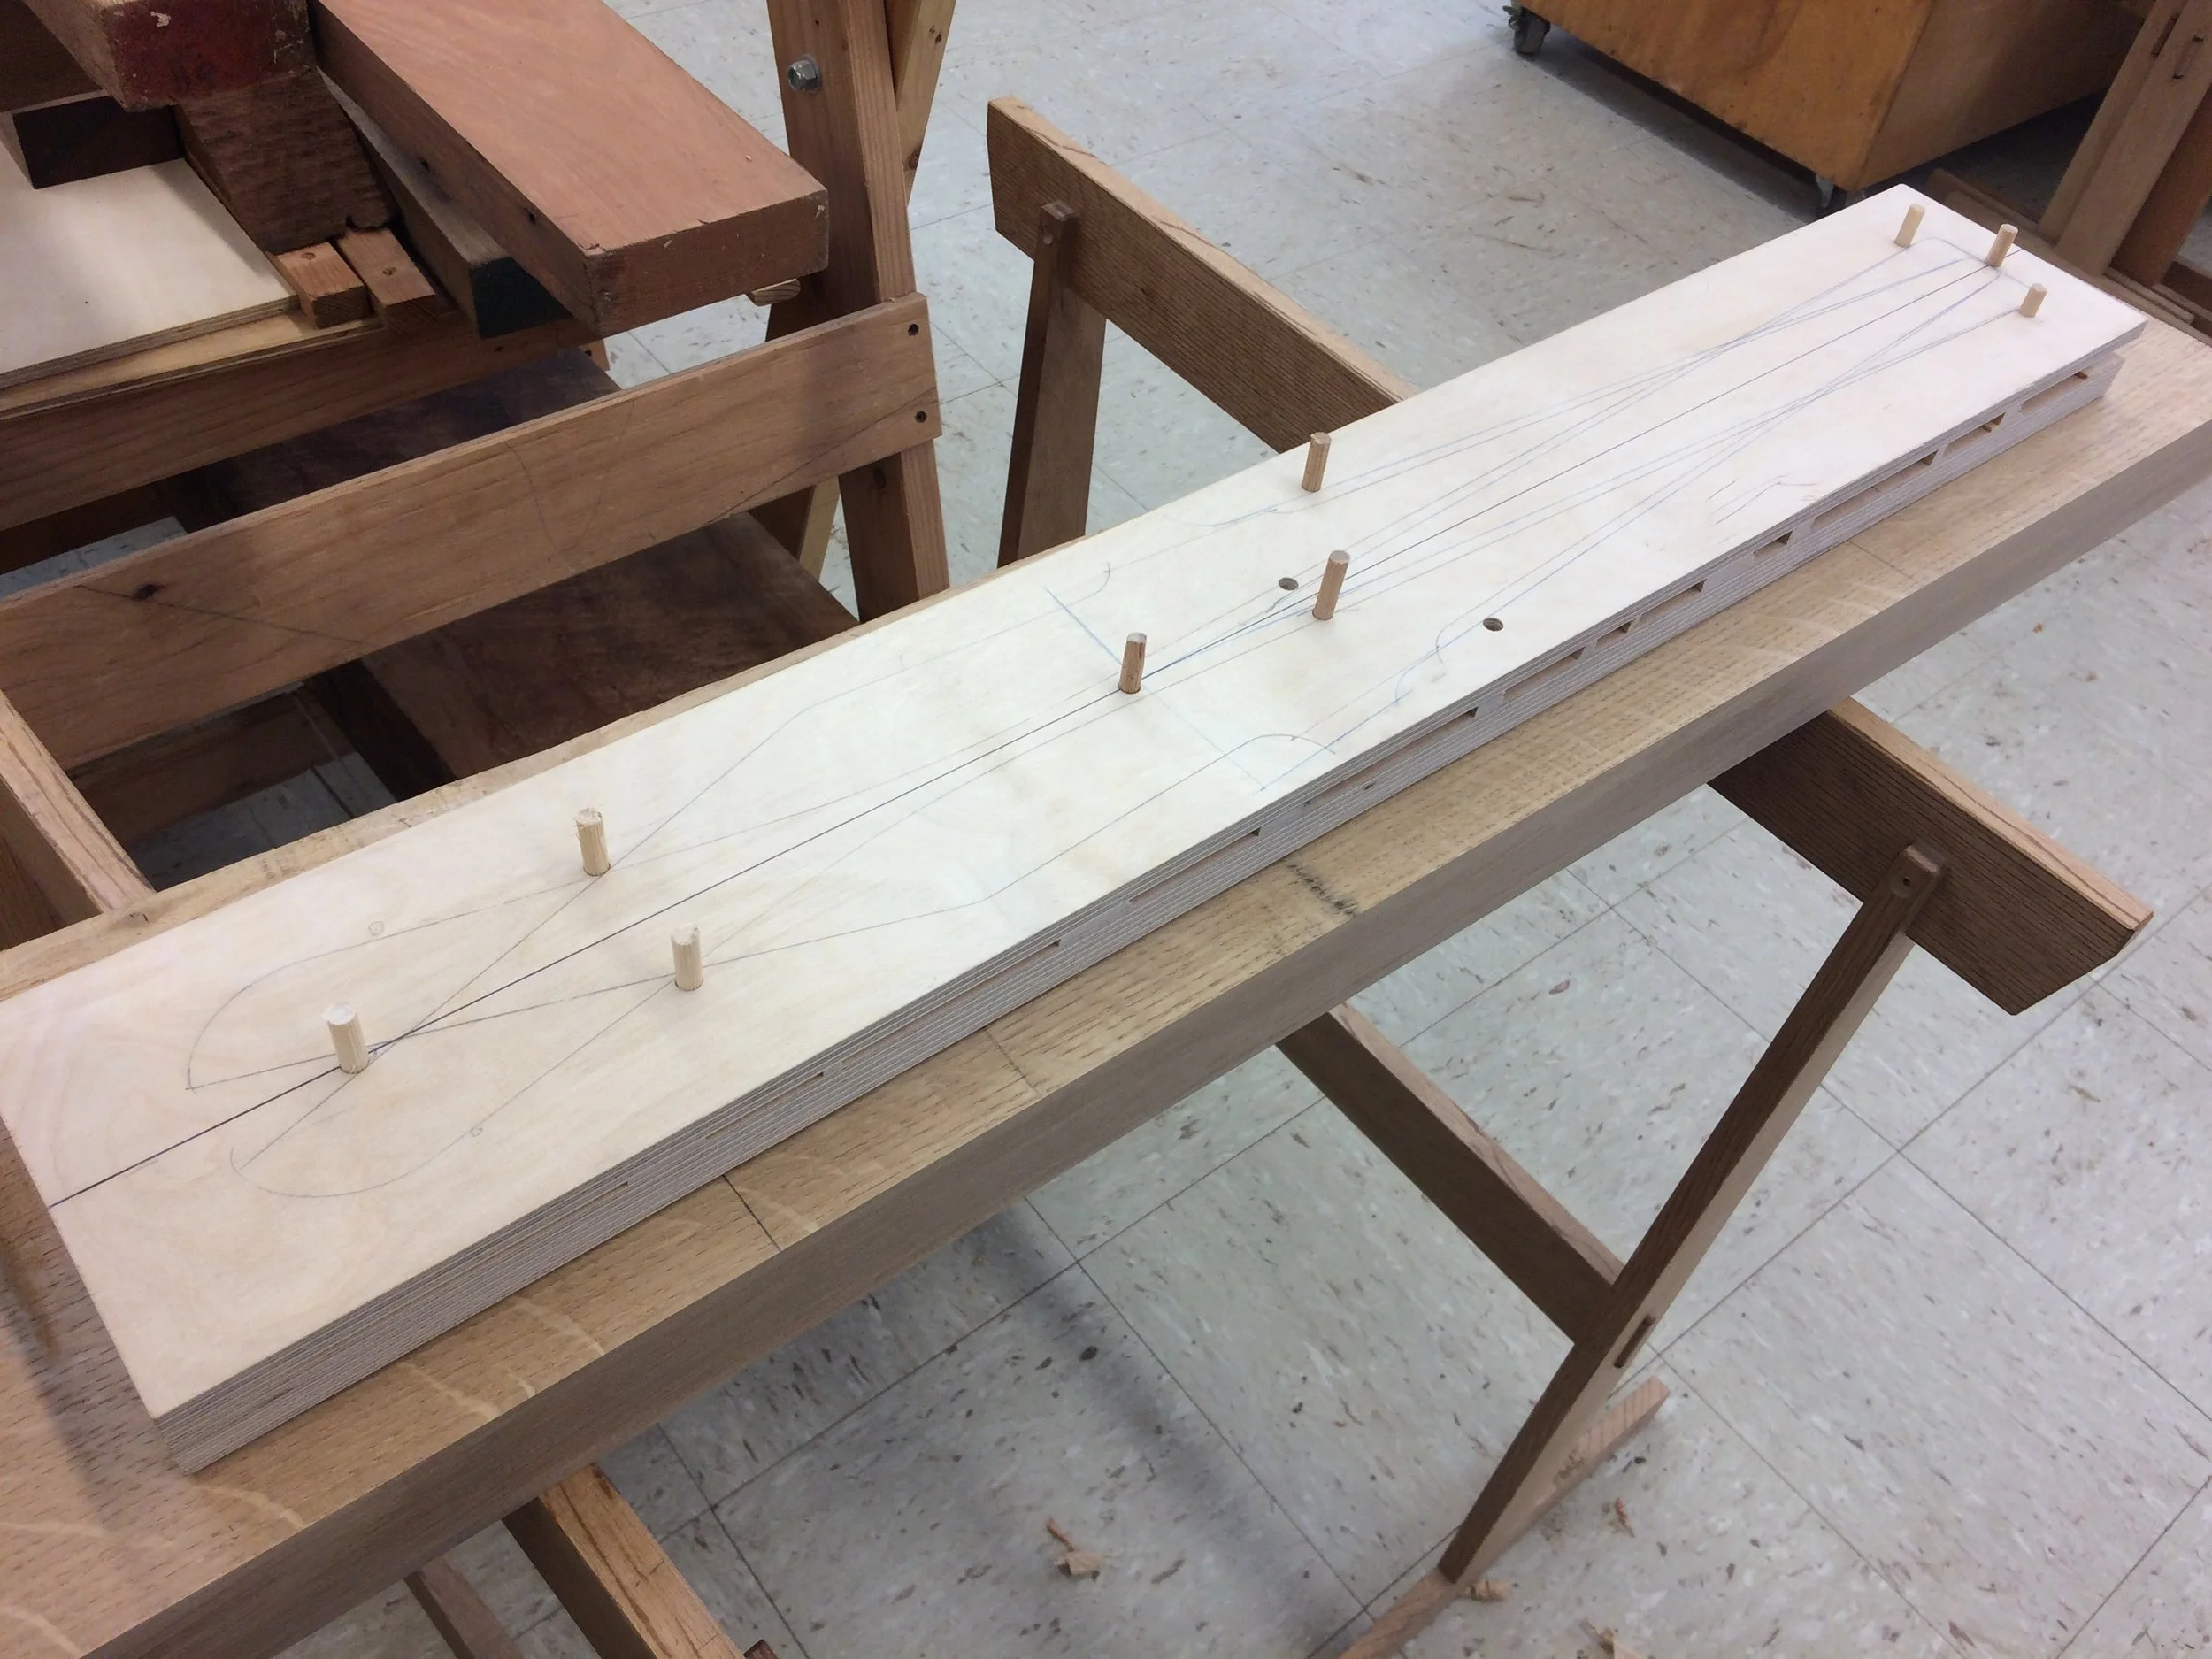
After re-sawing, planing, edge joining, and orienting 112 individual veneers, the final seven-ply stack is prepared for the vacuum press. Located with dowels so the show faces' bookmatched seams are aligned with the center of the buck.

After a few hours in the press, the plywood shells are marked for bandsawing to the final contour.
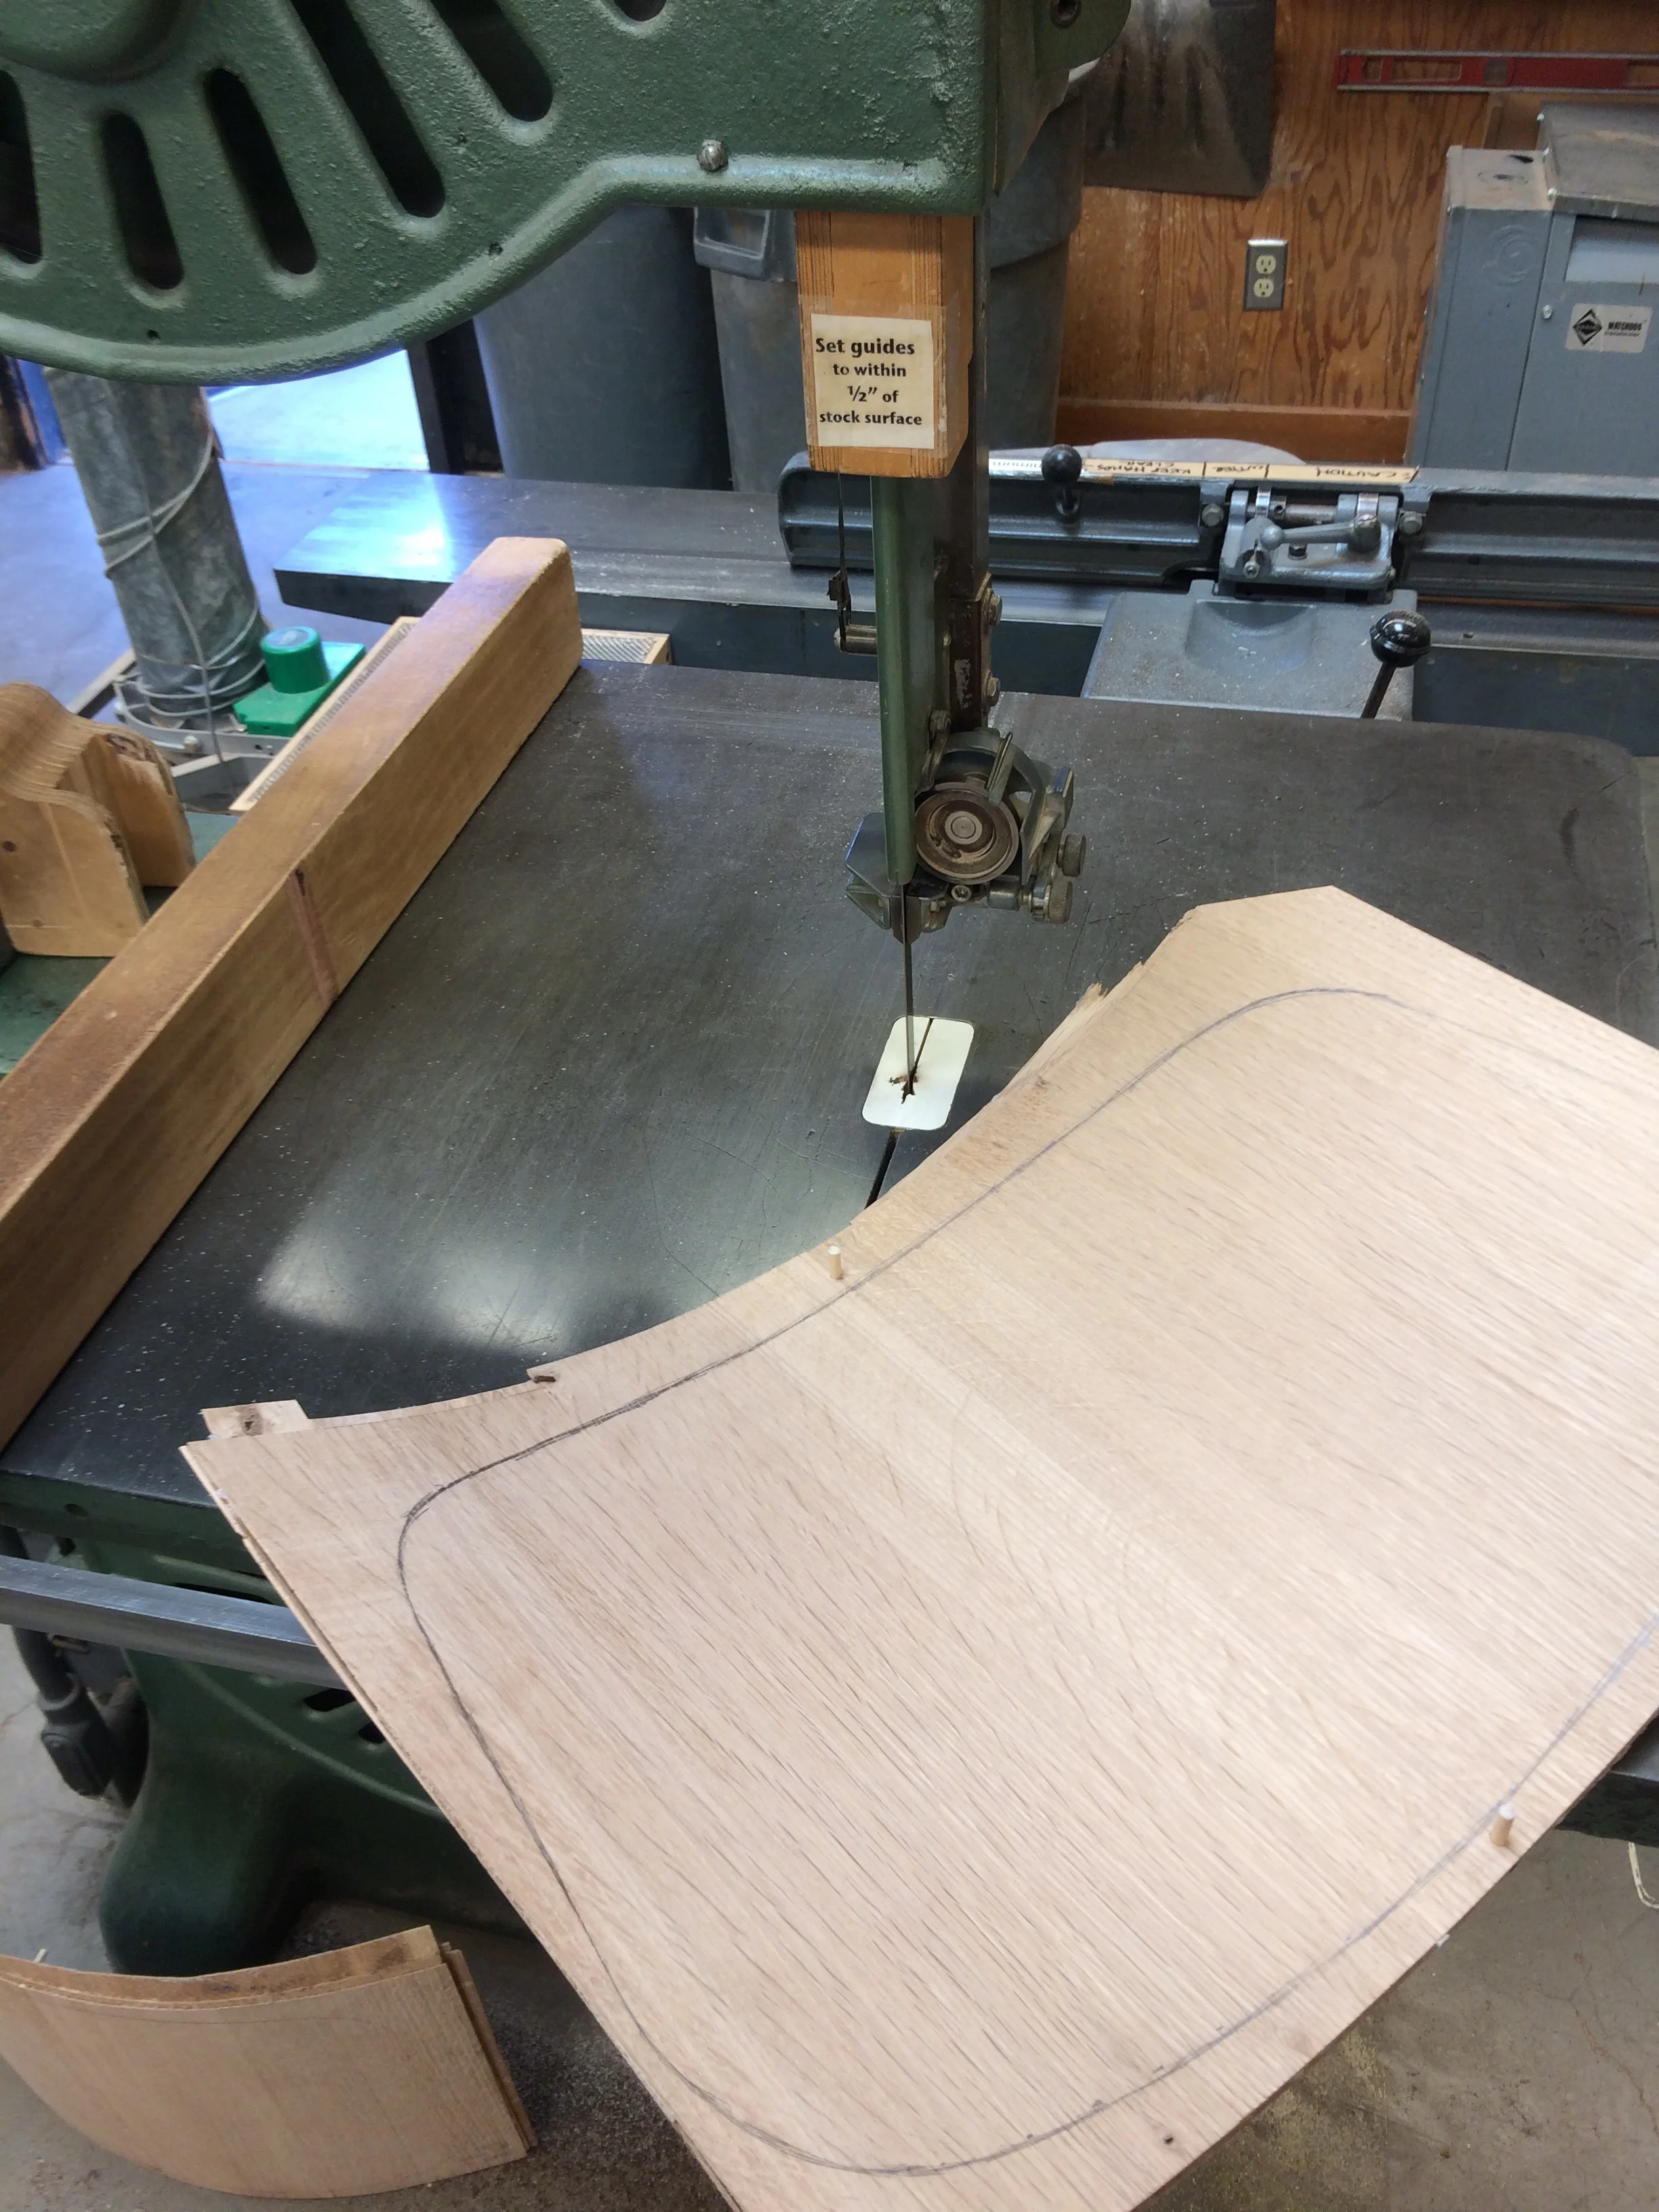
The bandsaw makes quick work of the waste. A compass planes, block plane, and spokeshaves will remove the tool marks and fair the curves.
For ten straight days, this is what I did:
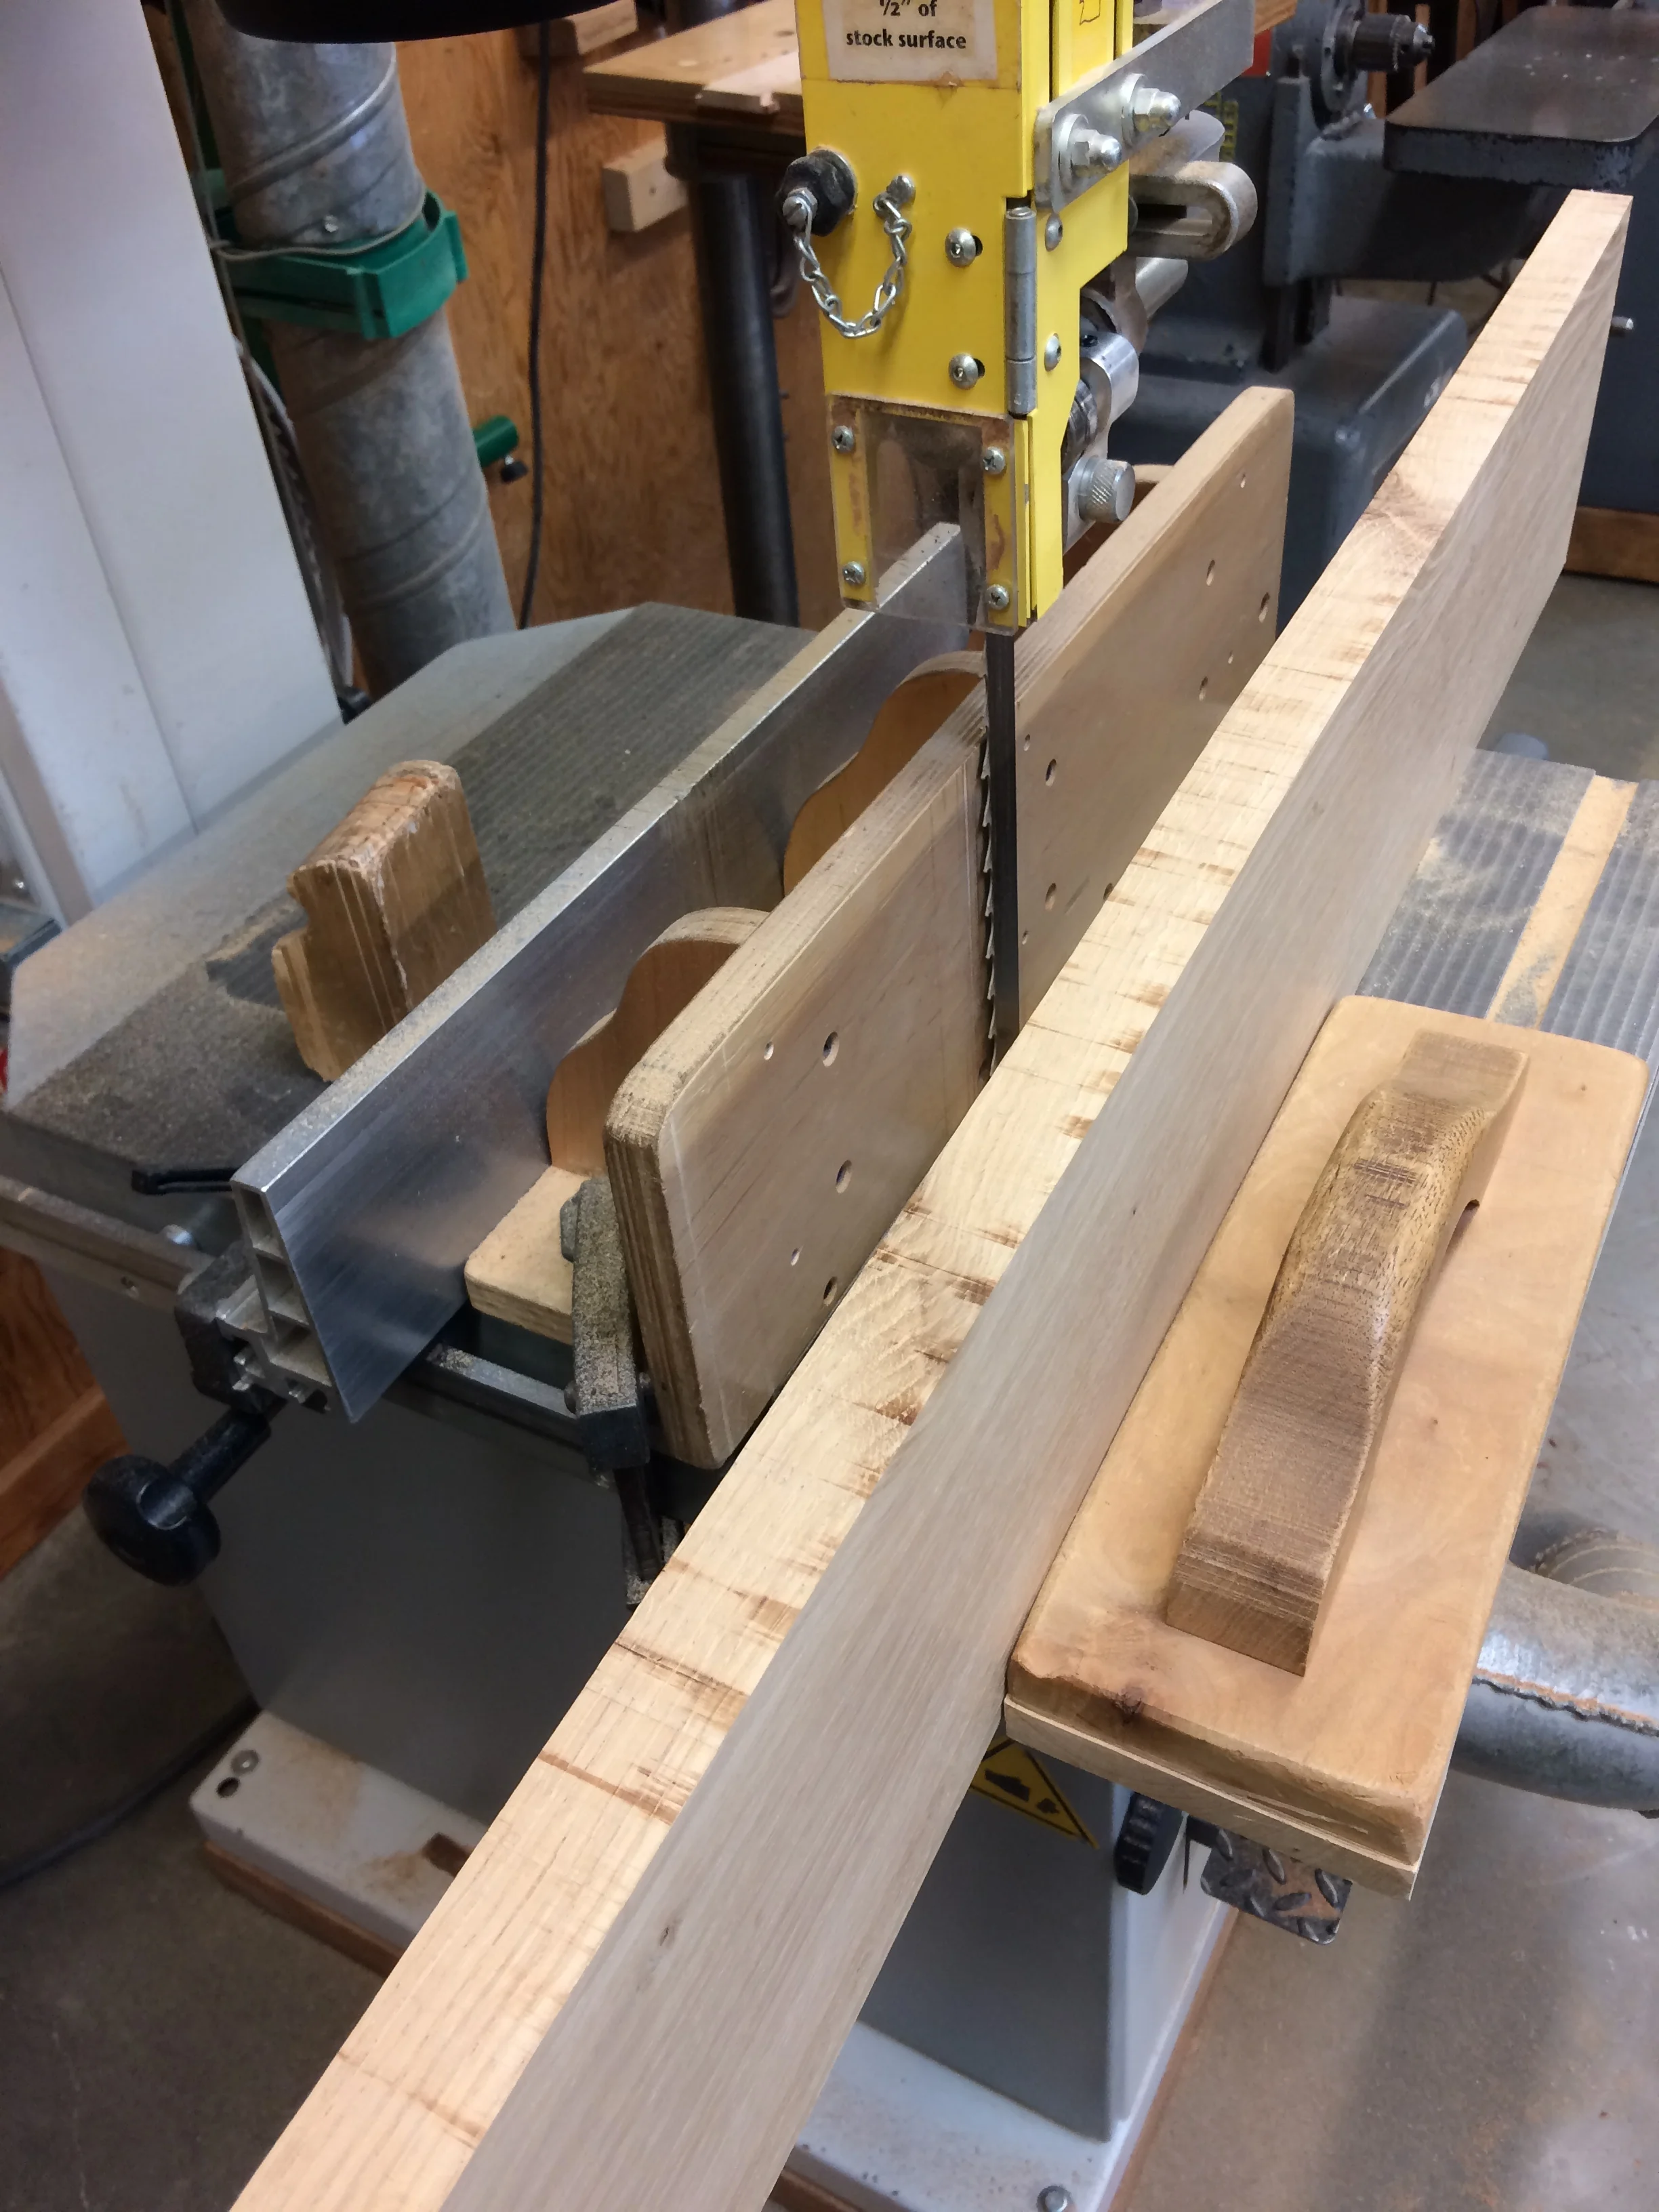
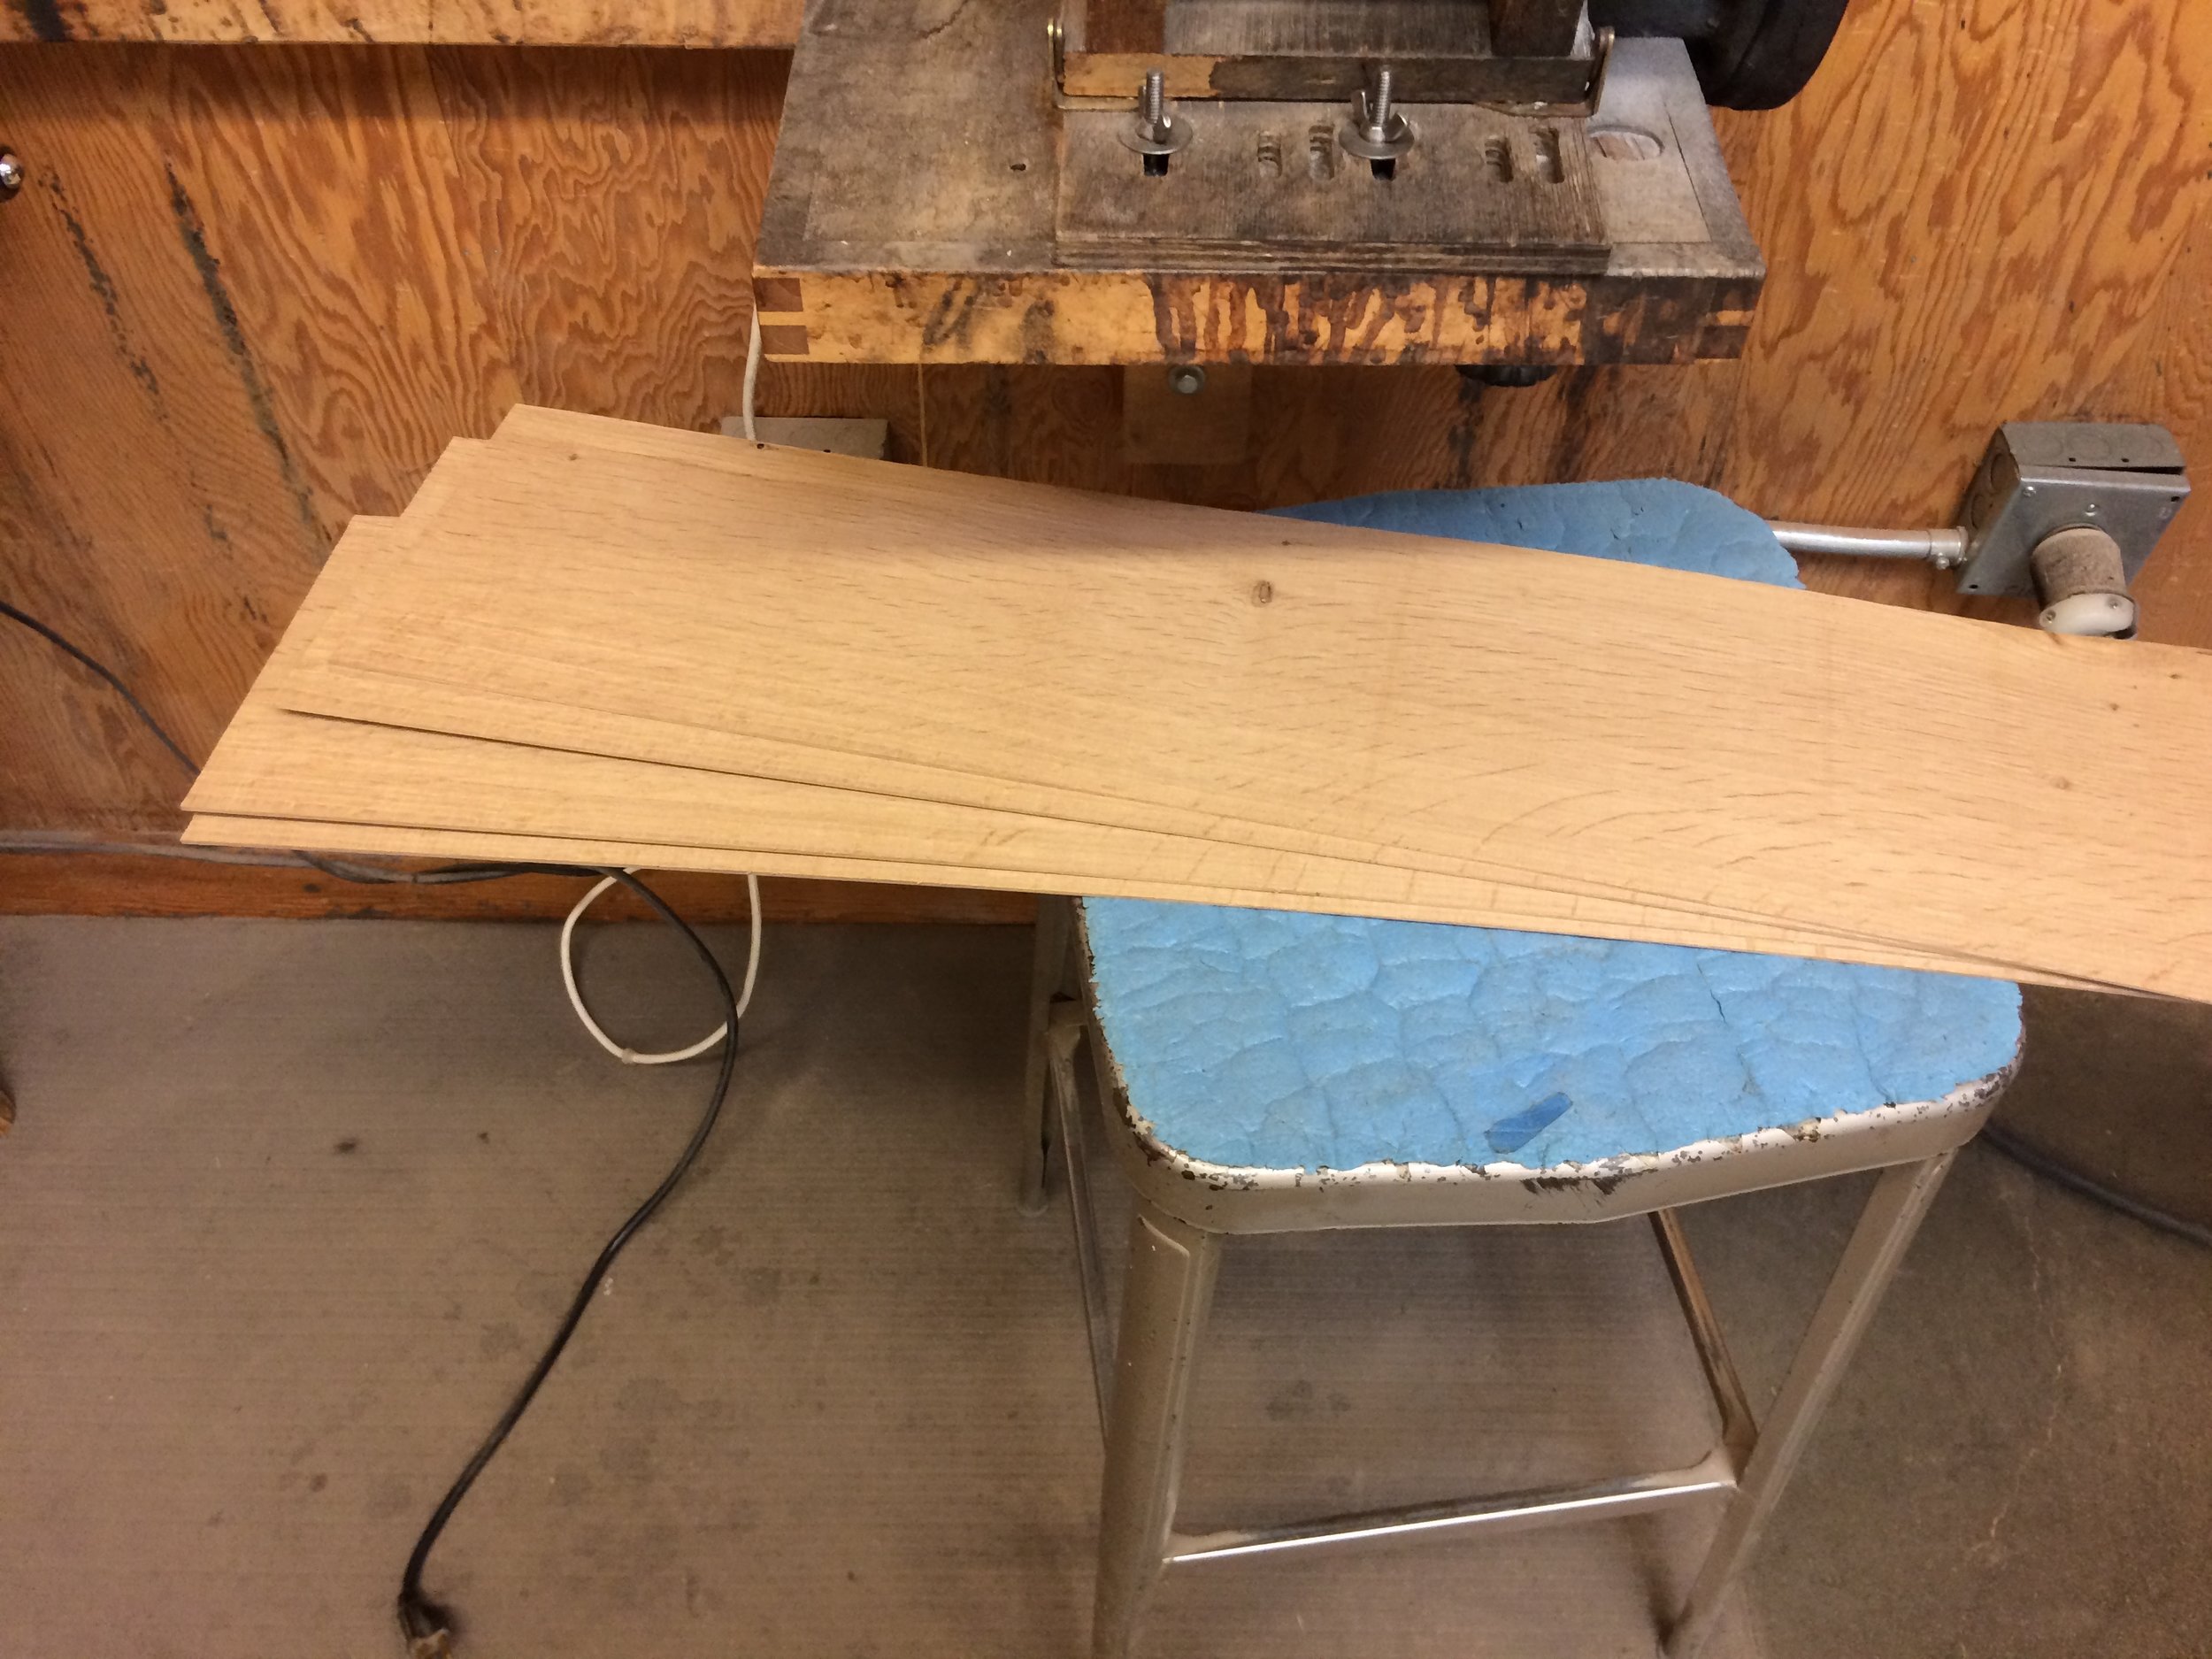
Re-saw the plank to make veneers.
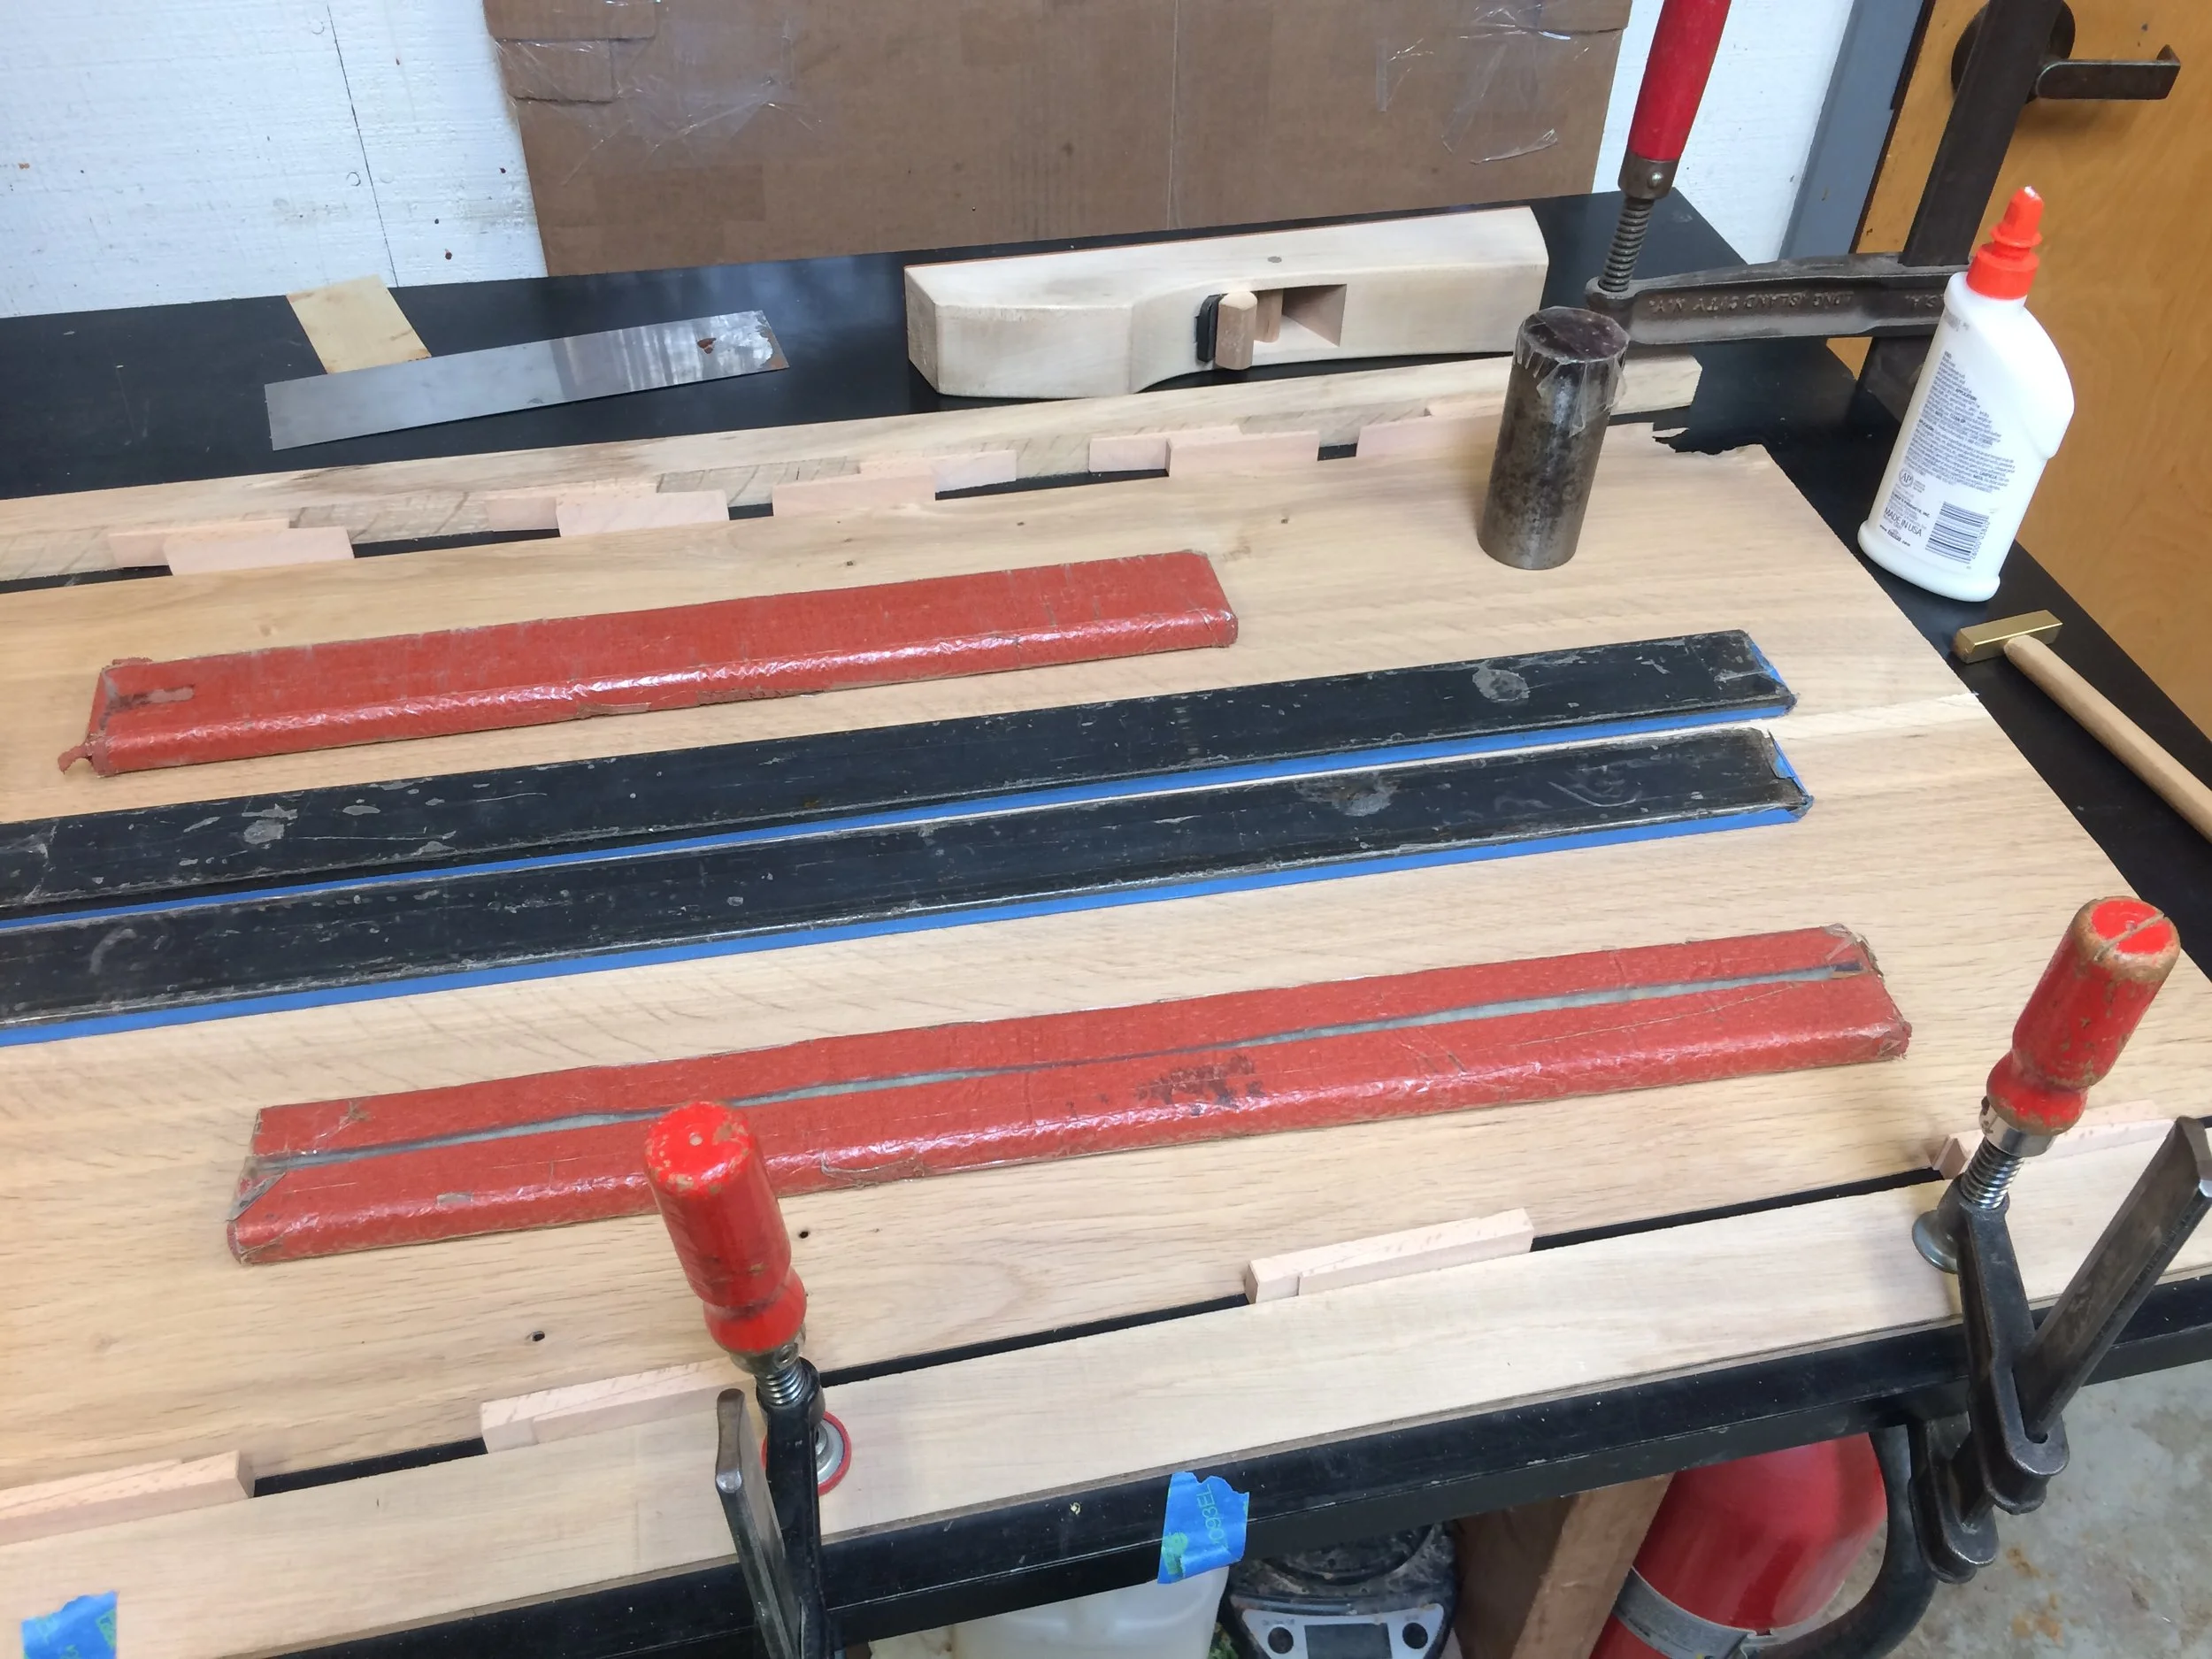
Glue four individual veneers along their edges to create wider sheets that will become one of seven plys per shell piece.
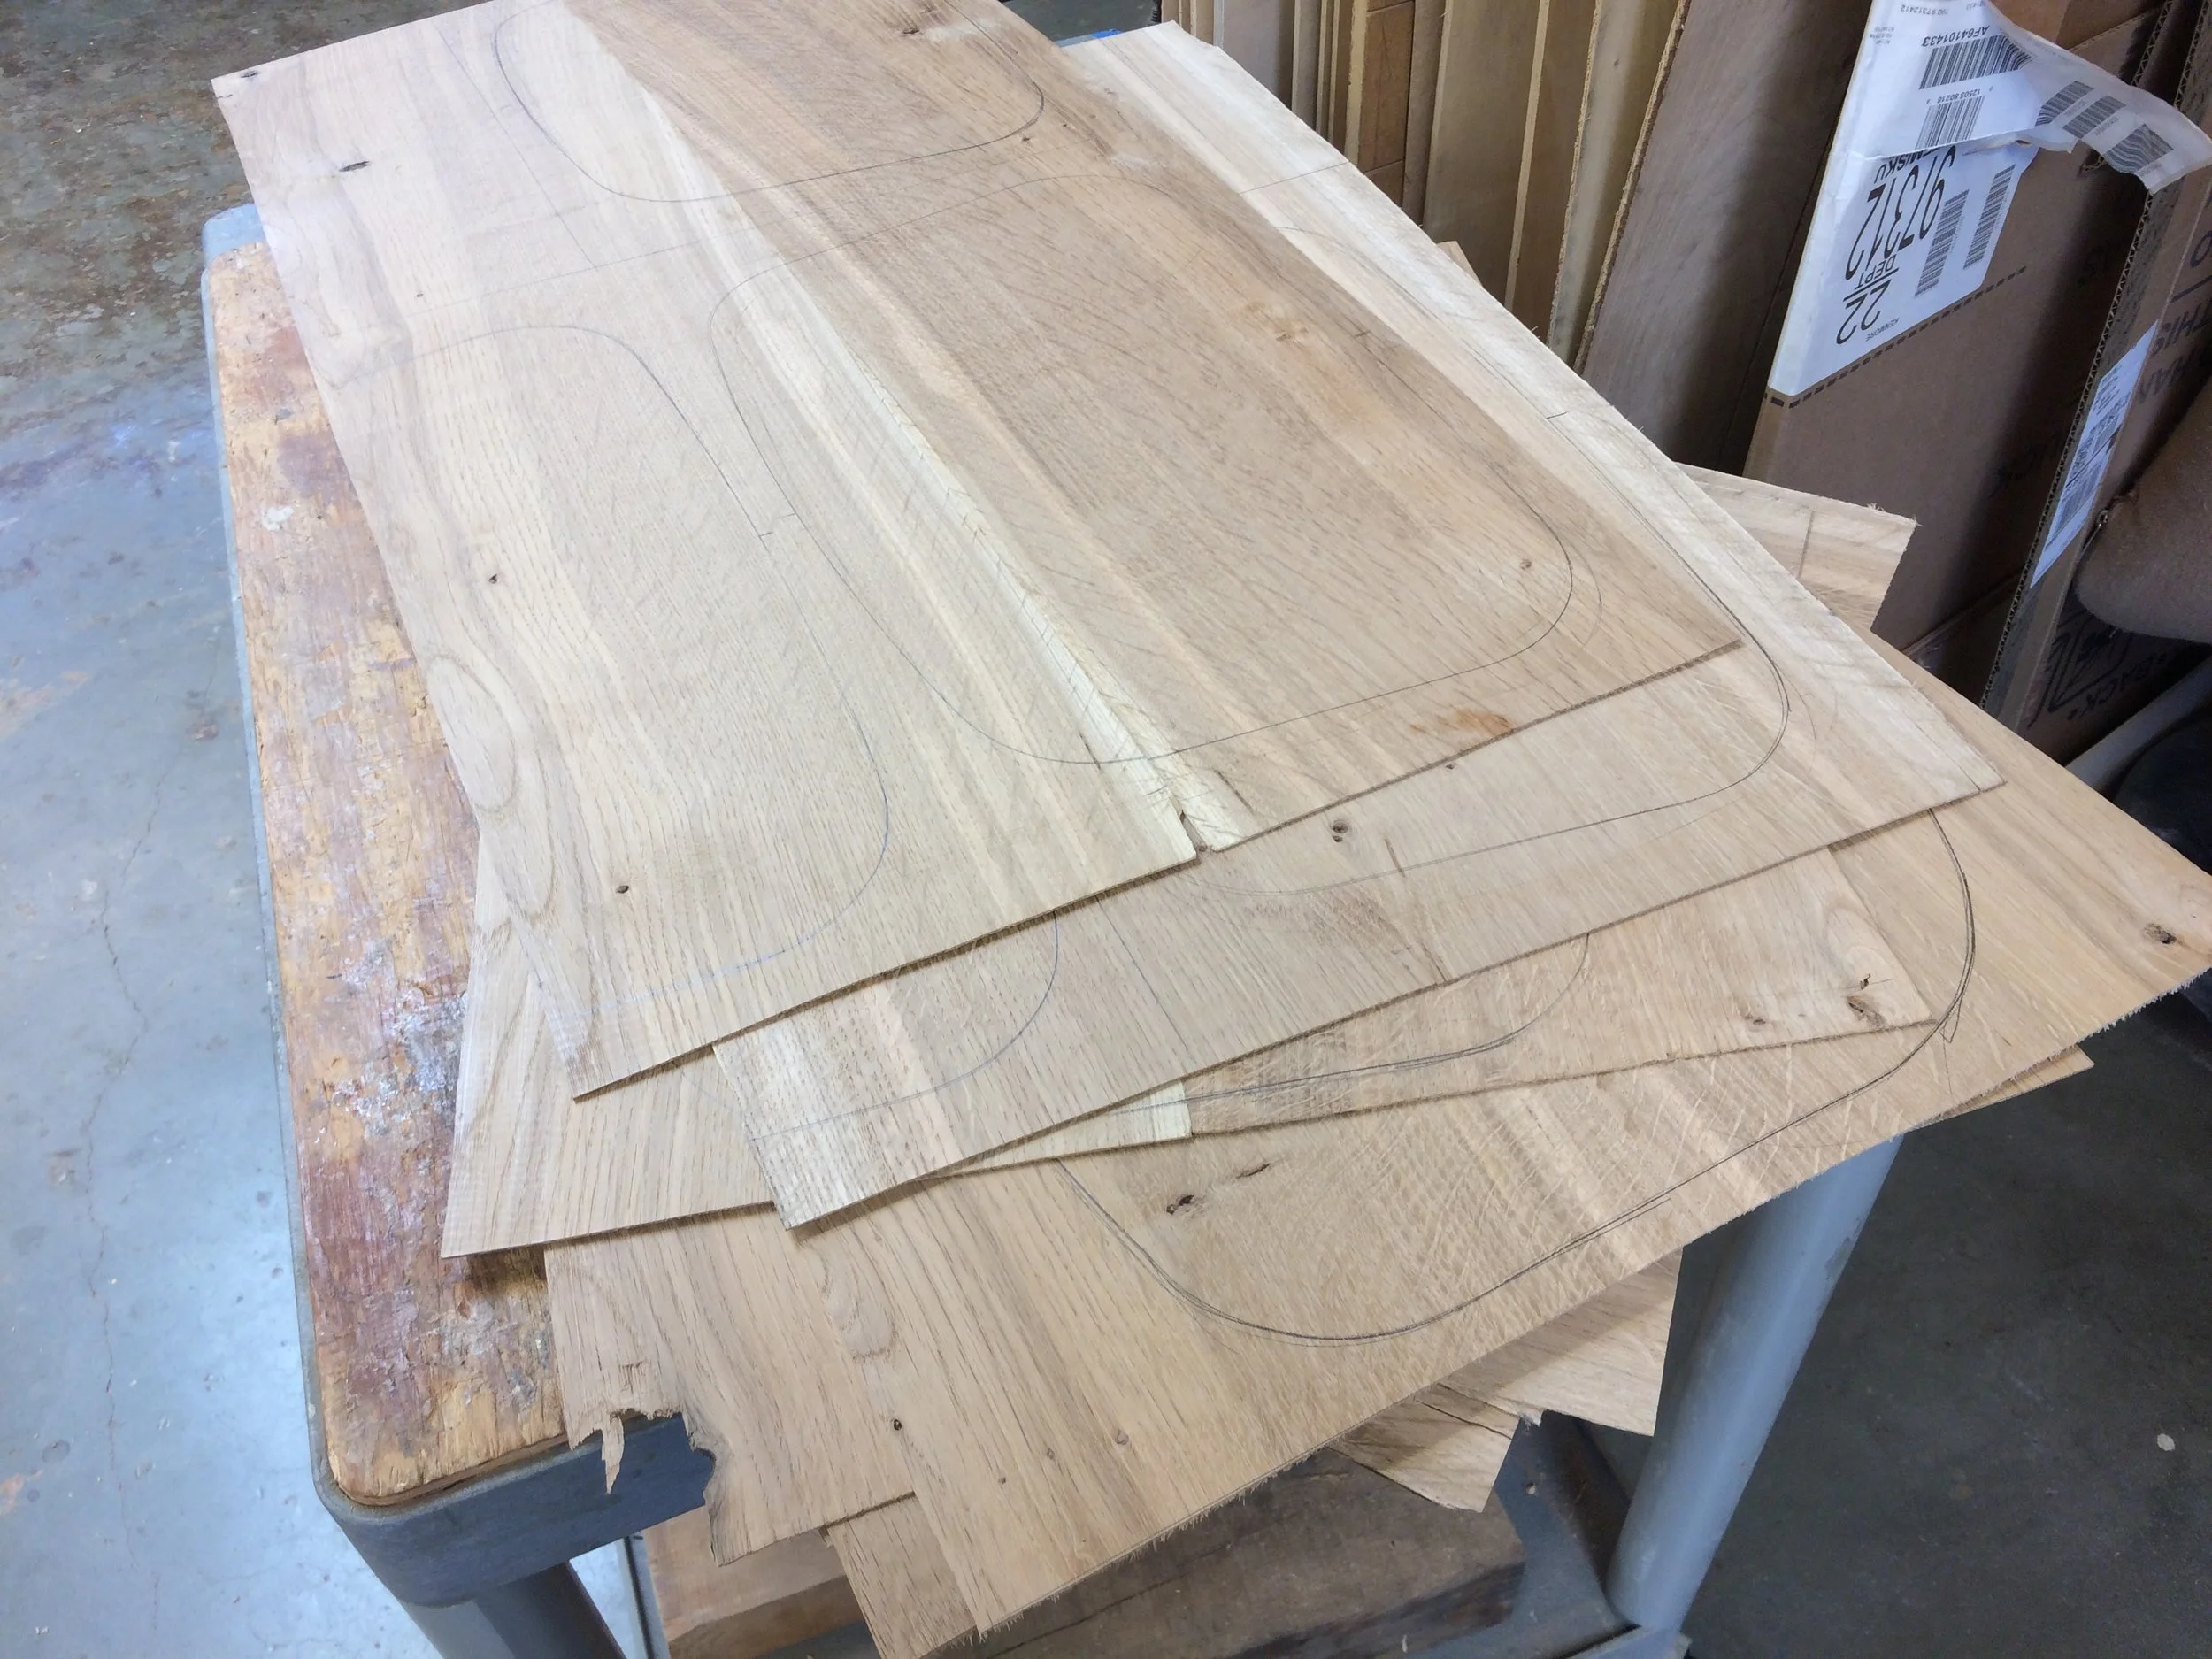
Layout the net shape of the shell pieces.
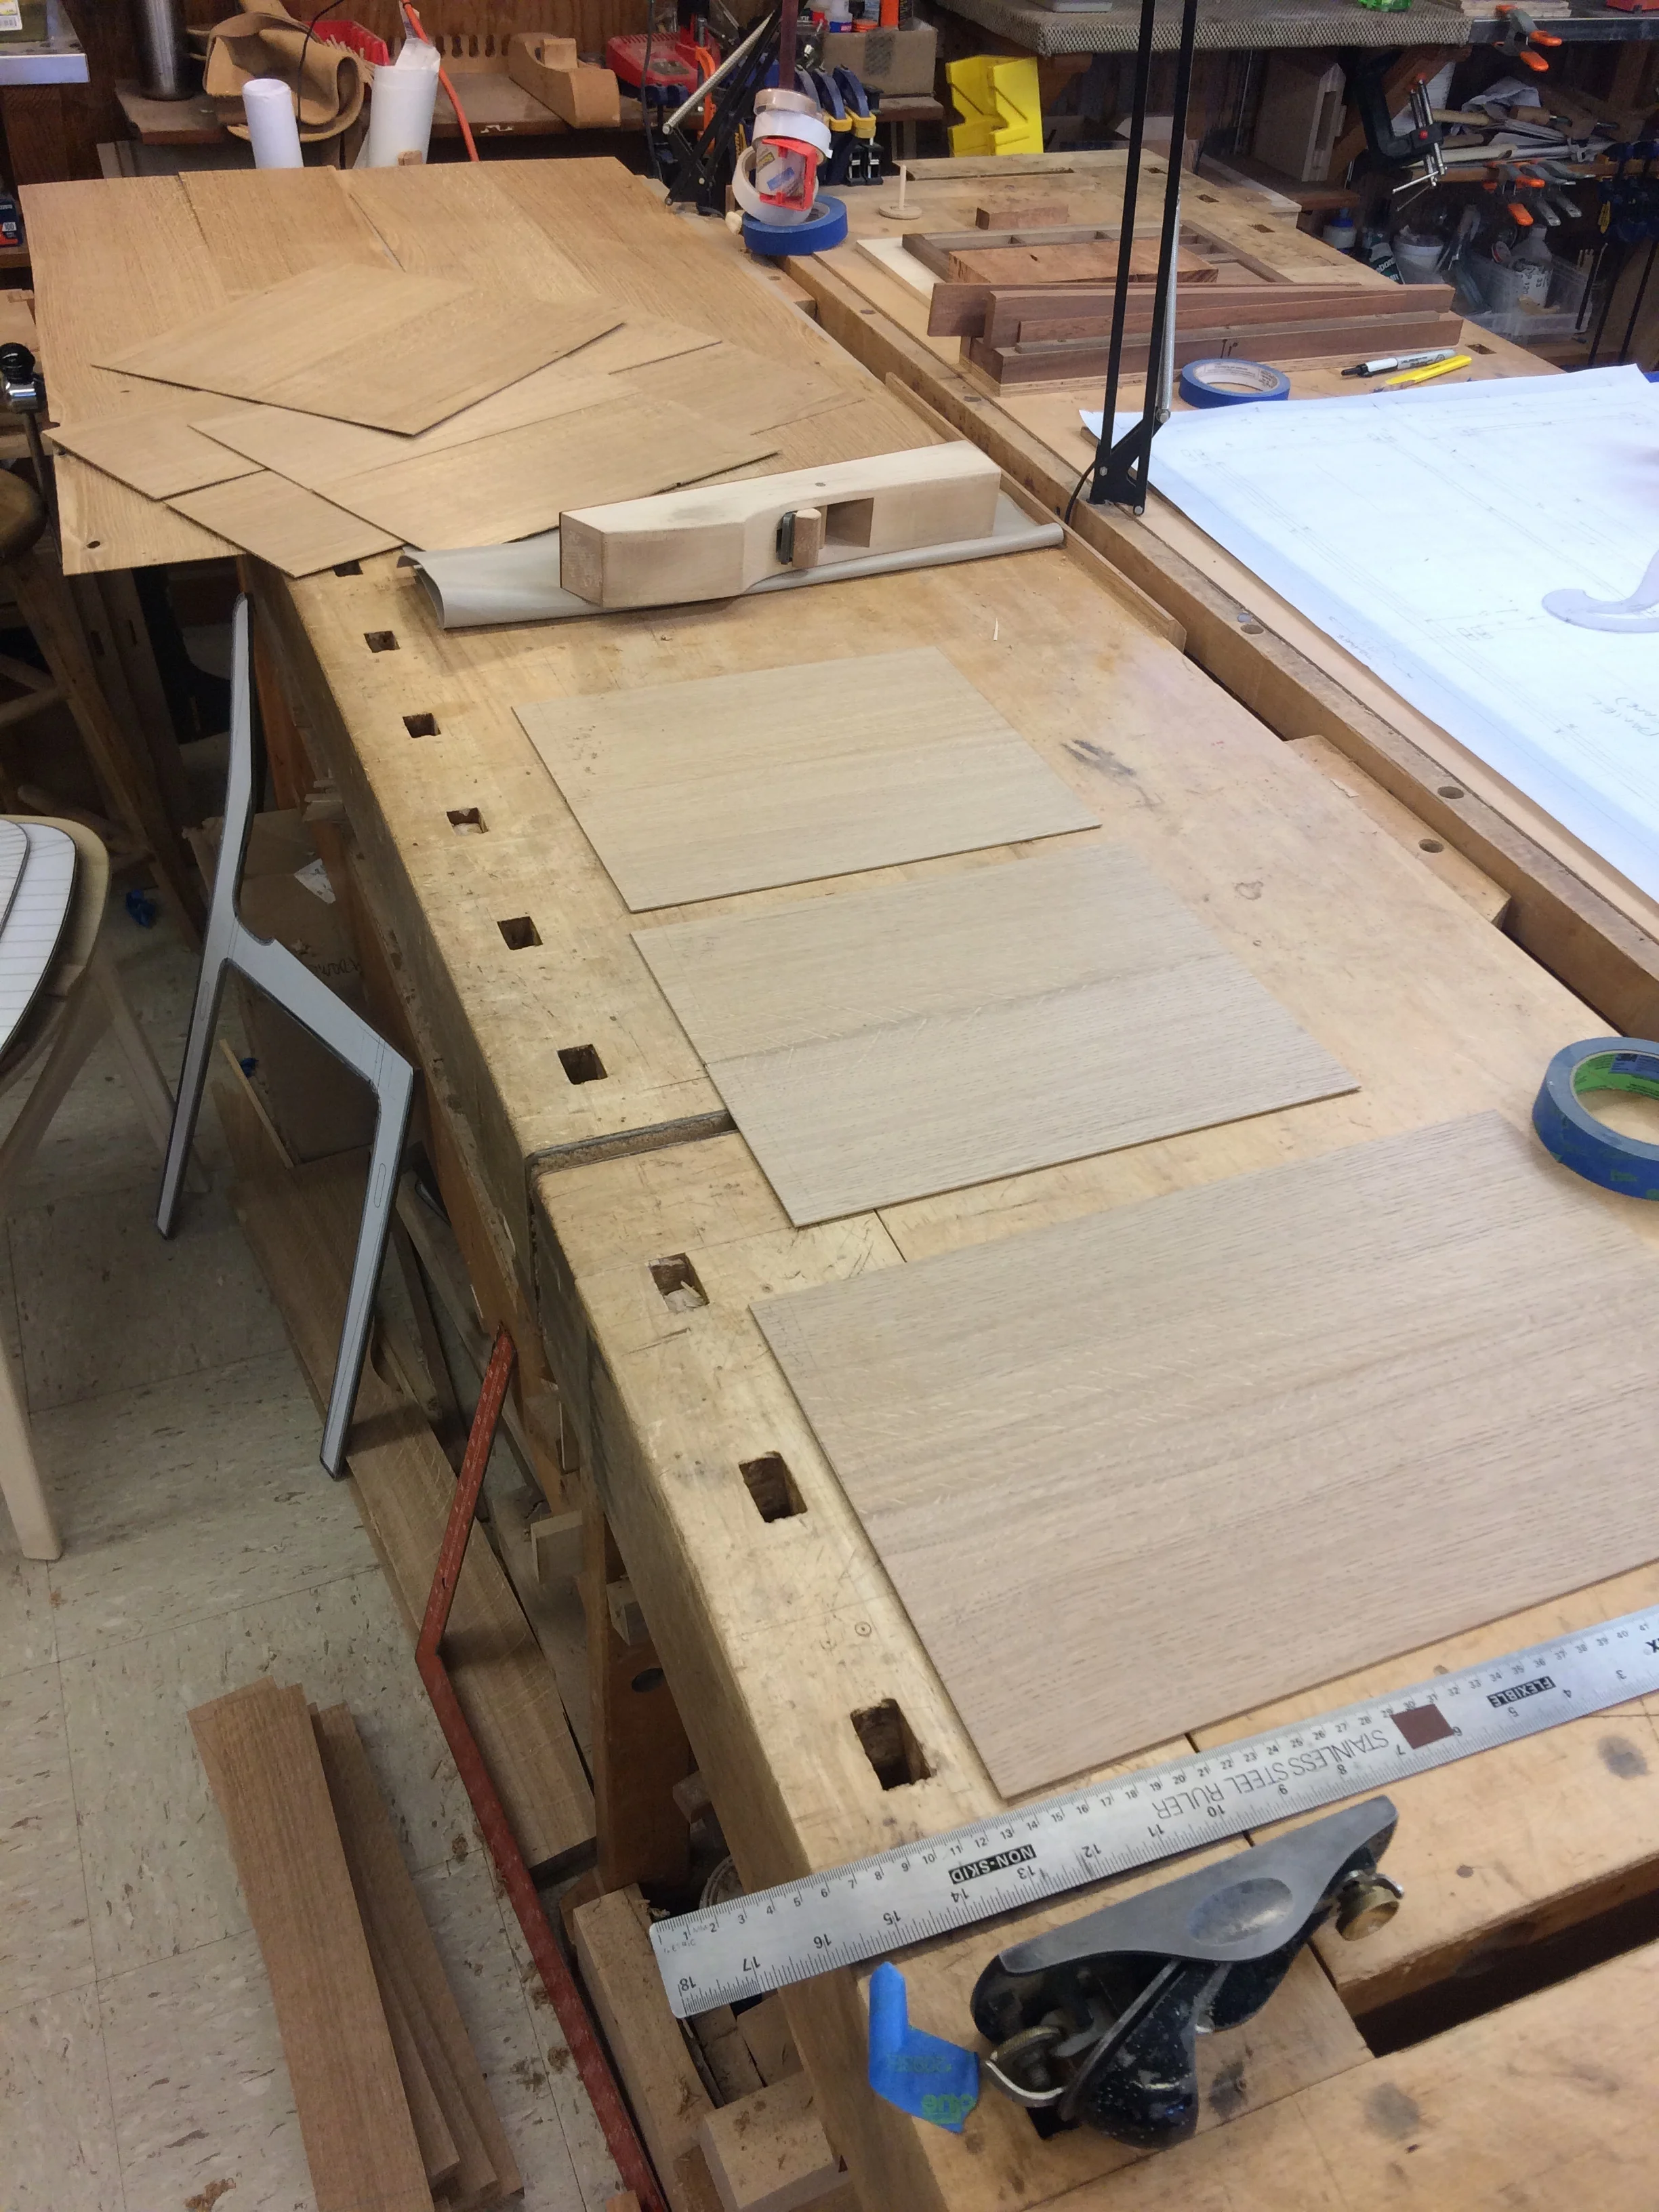
Cut down the sheets to just larger than the net shape of the shell pieces.
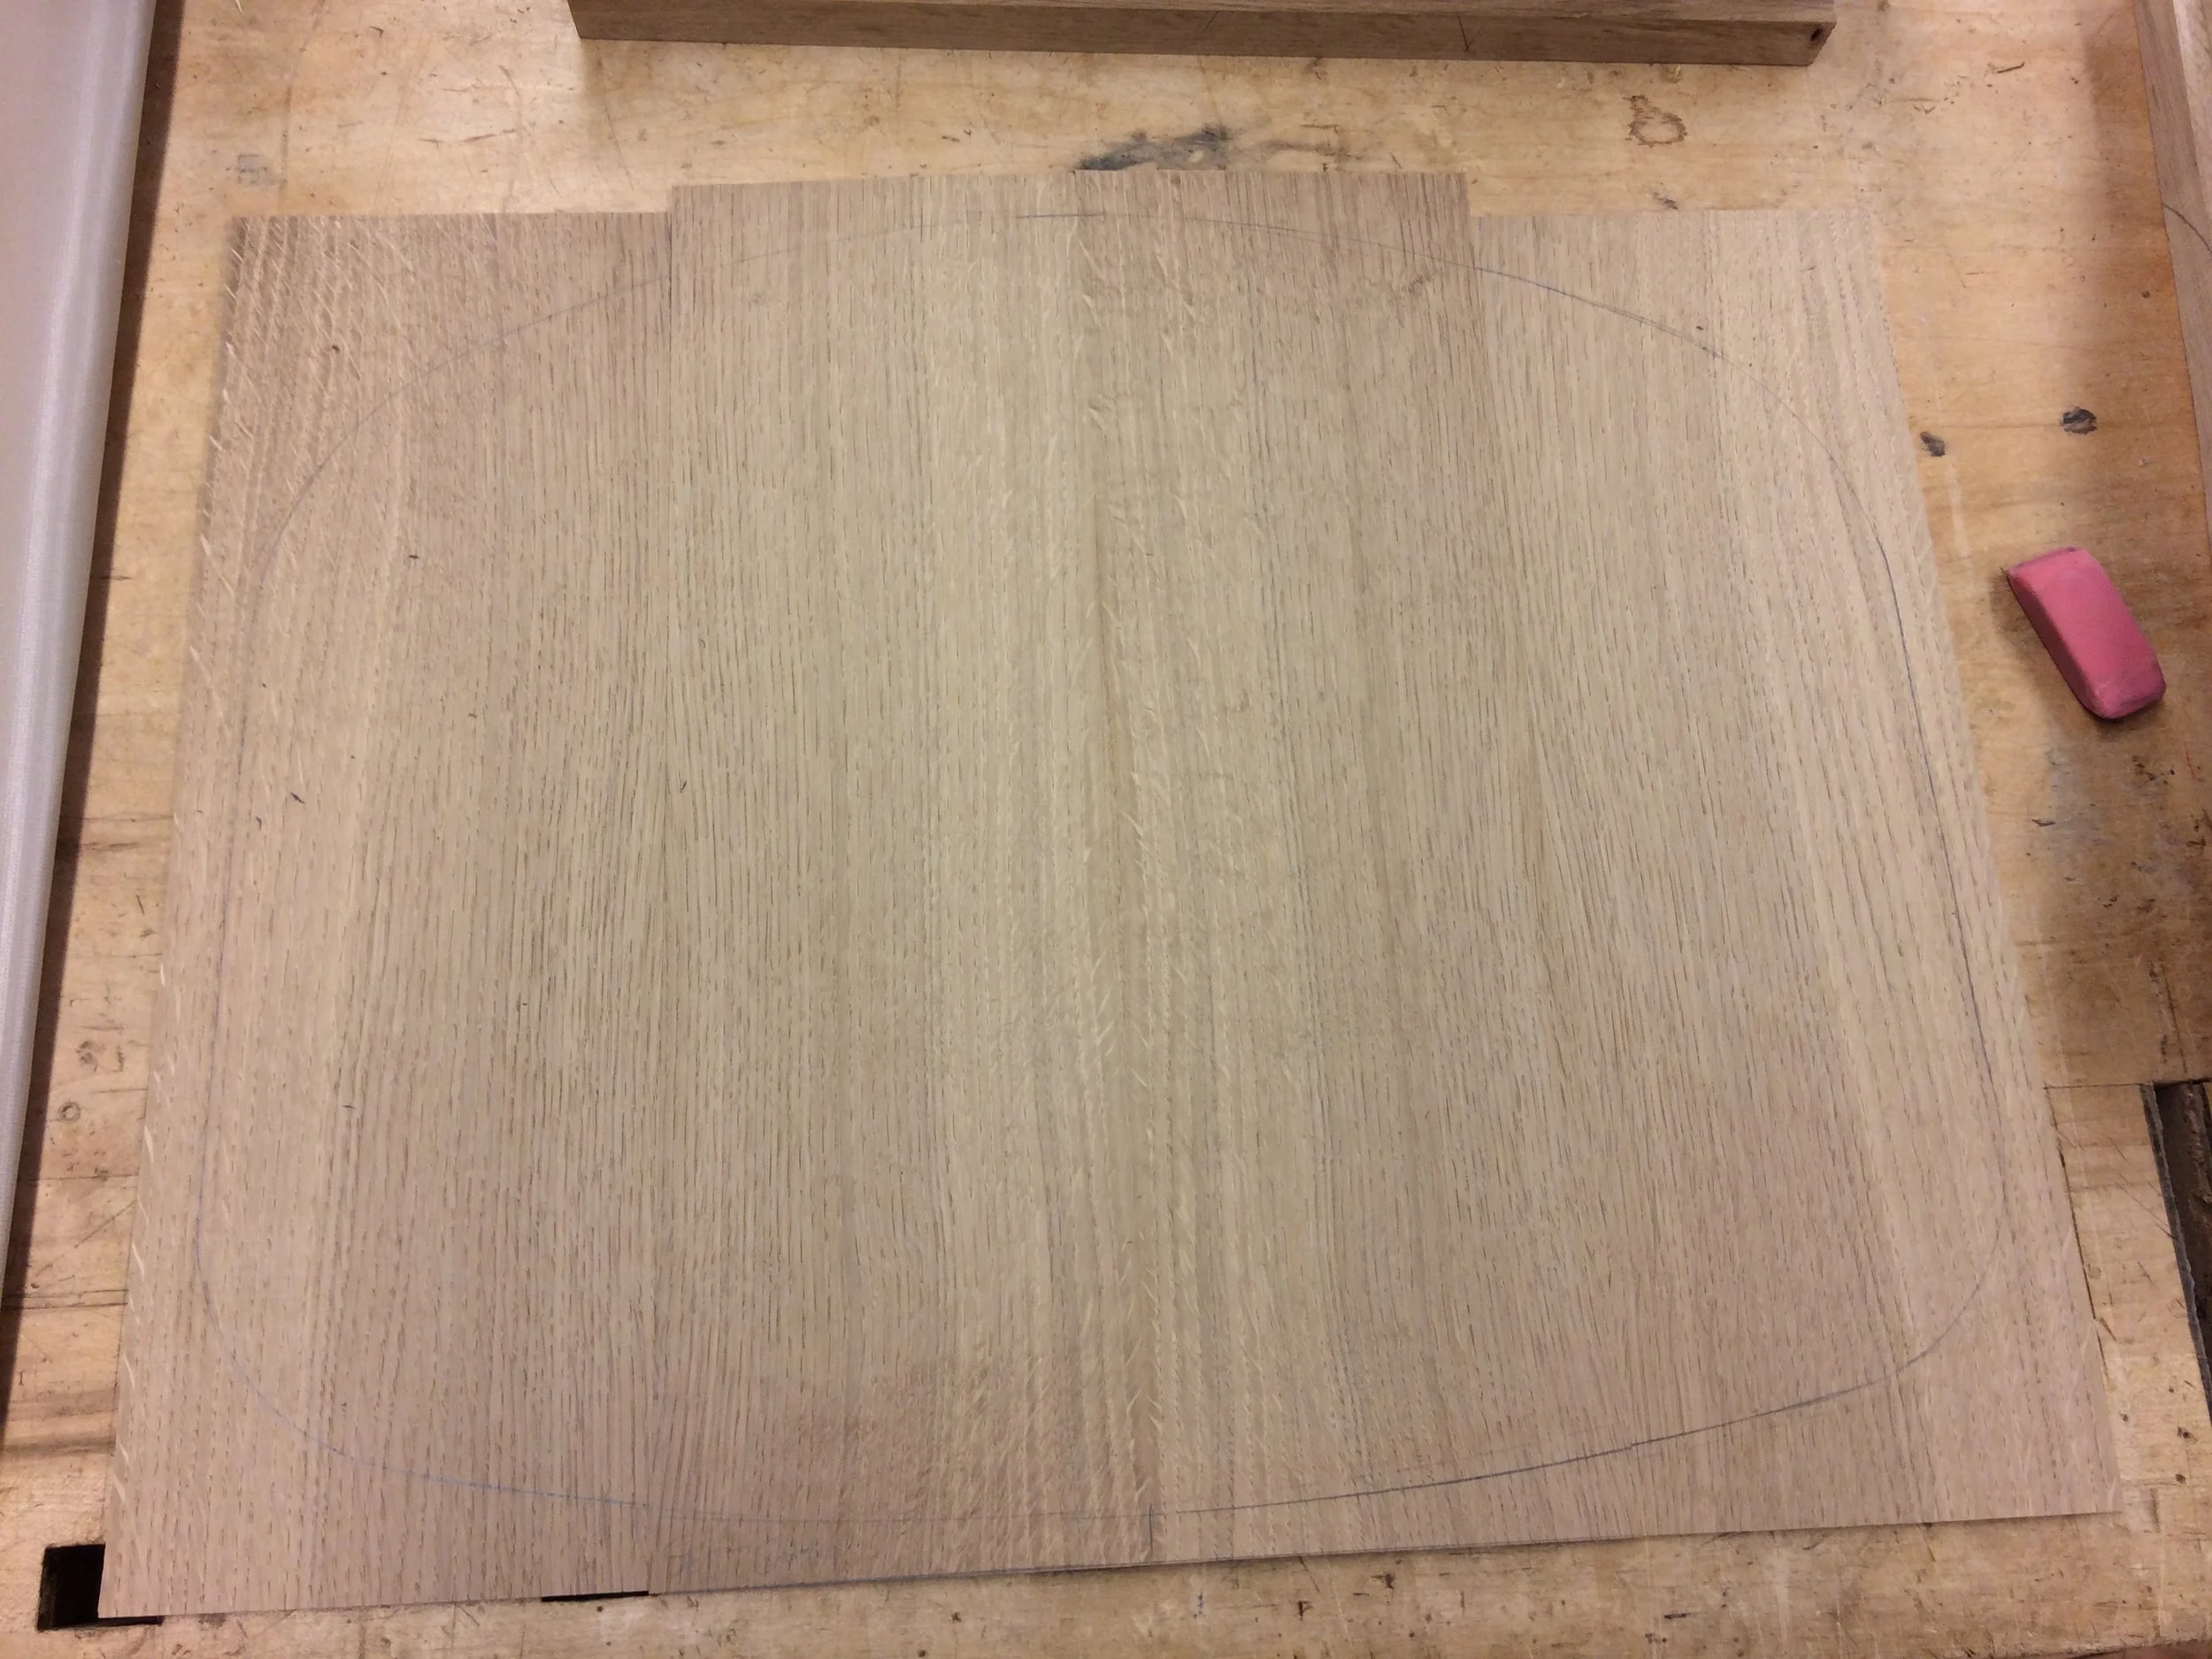
Select the show faces.

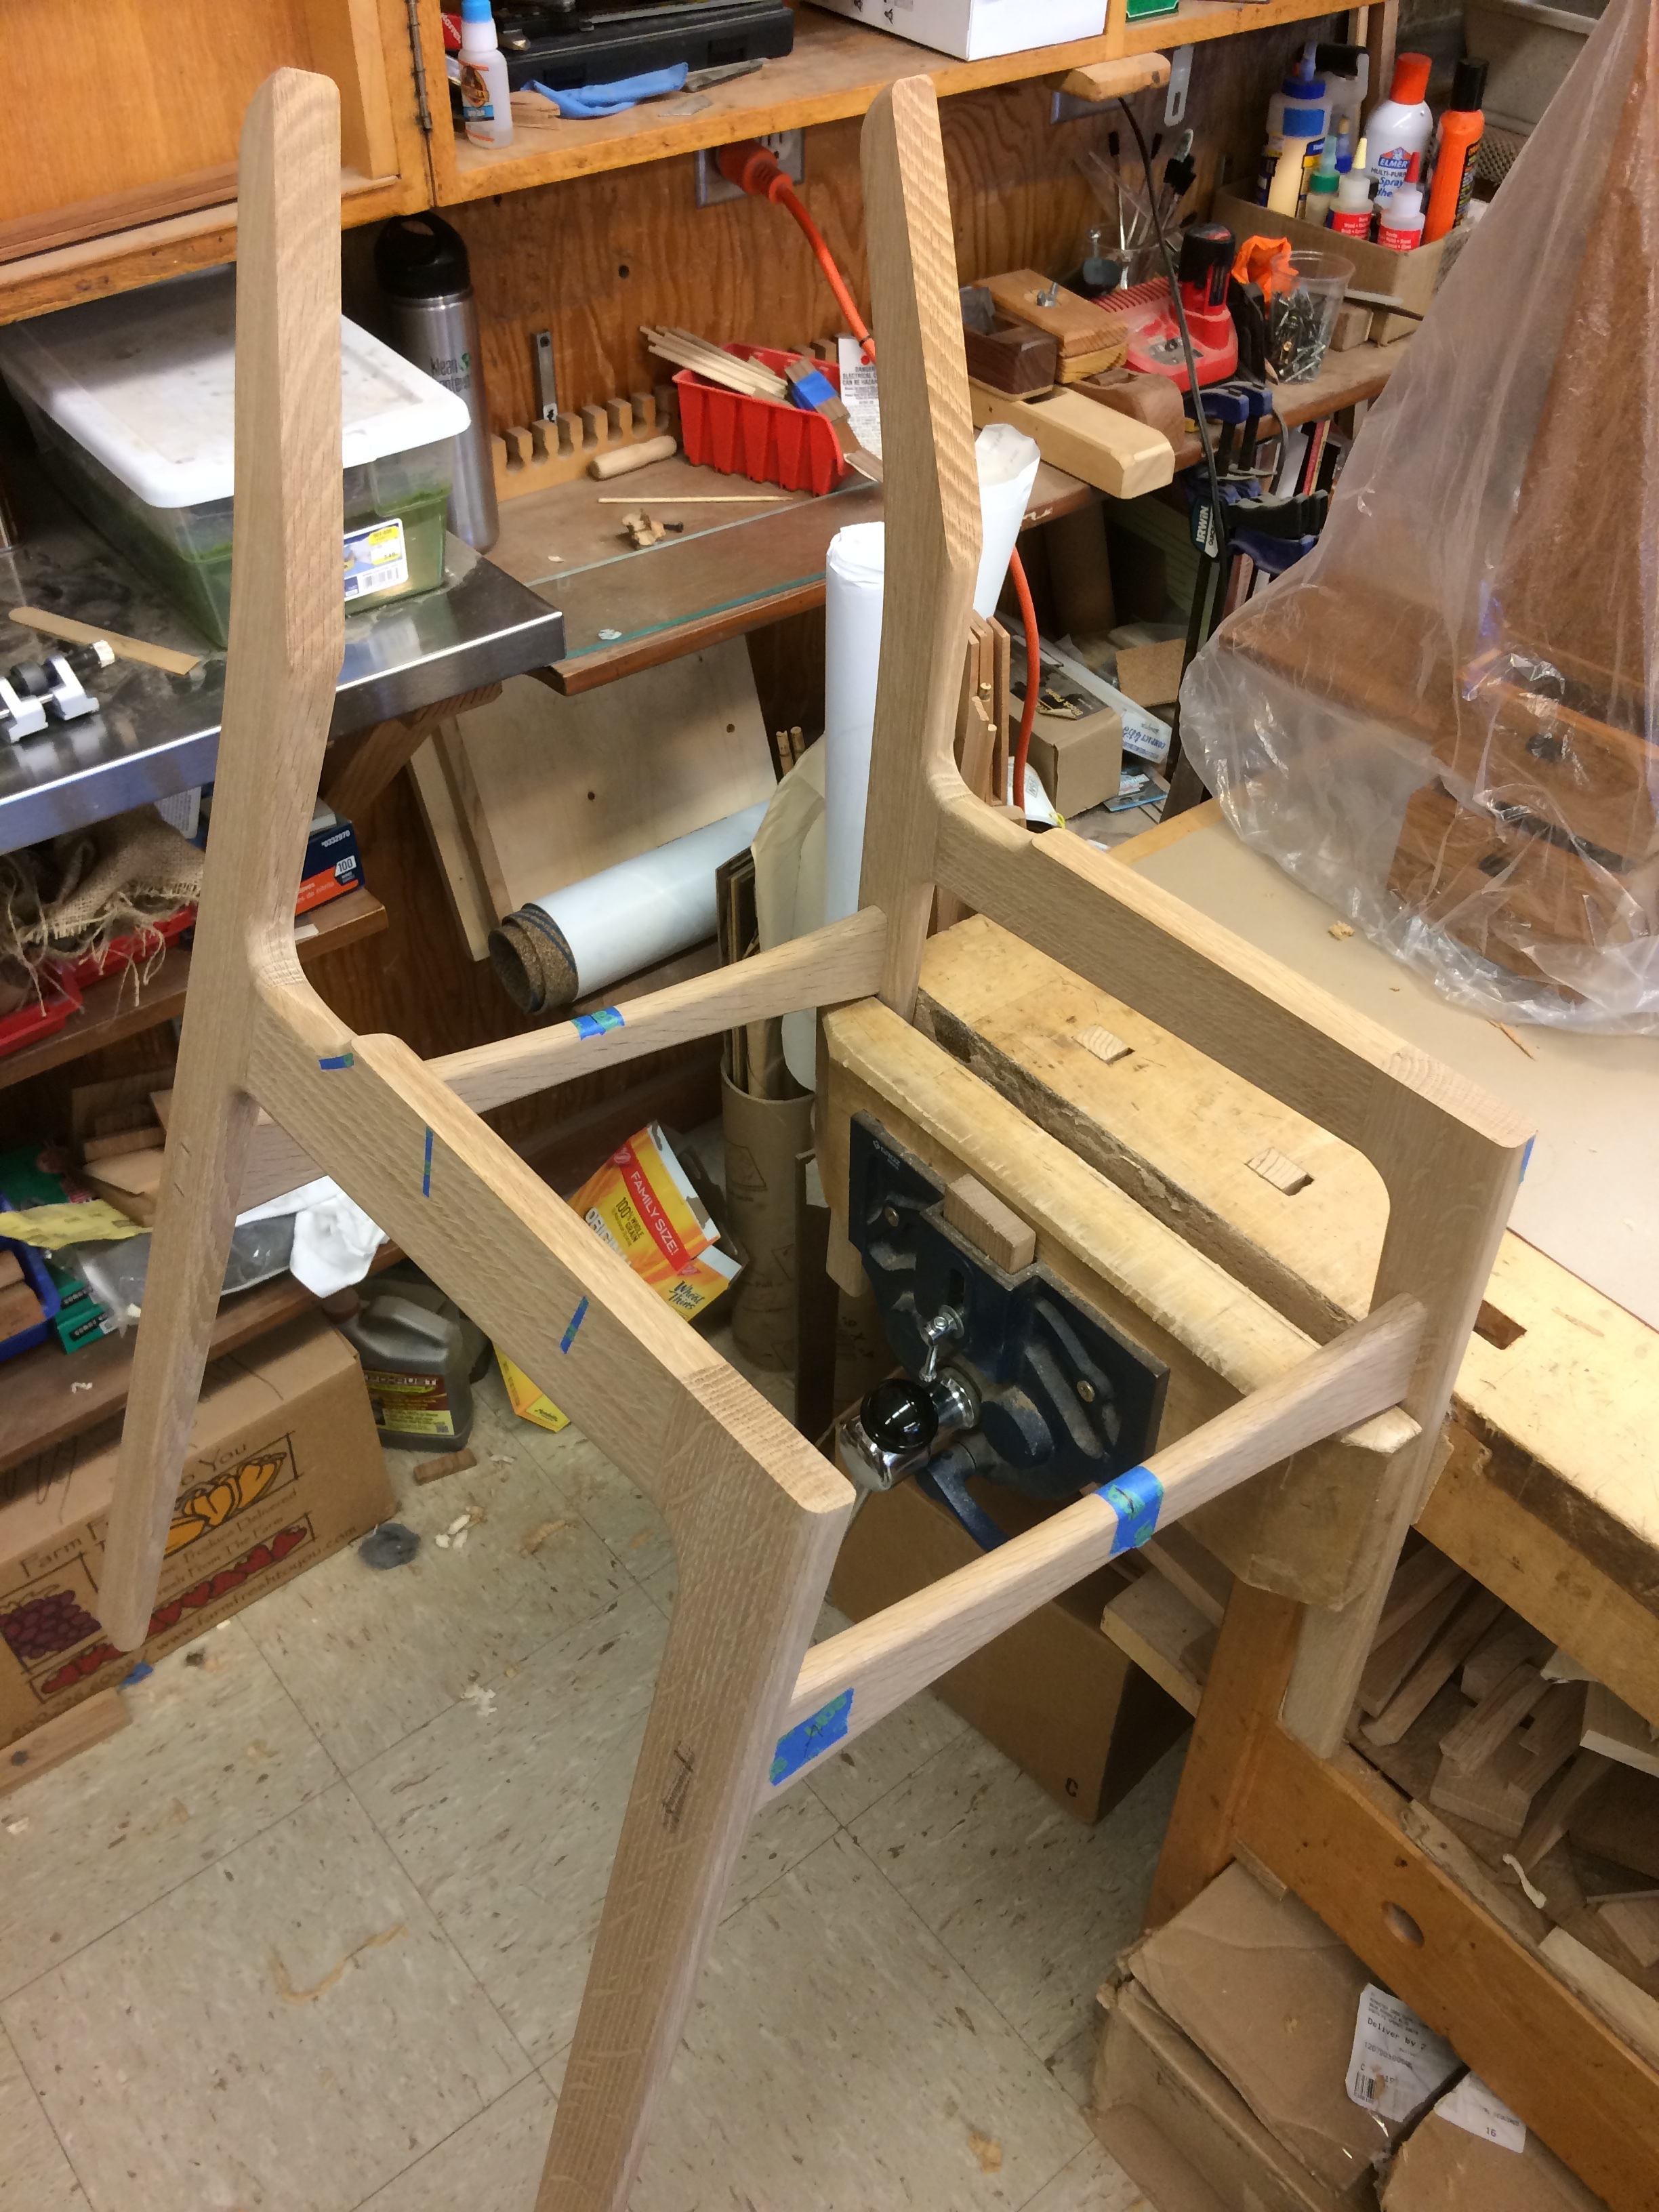
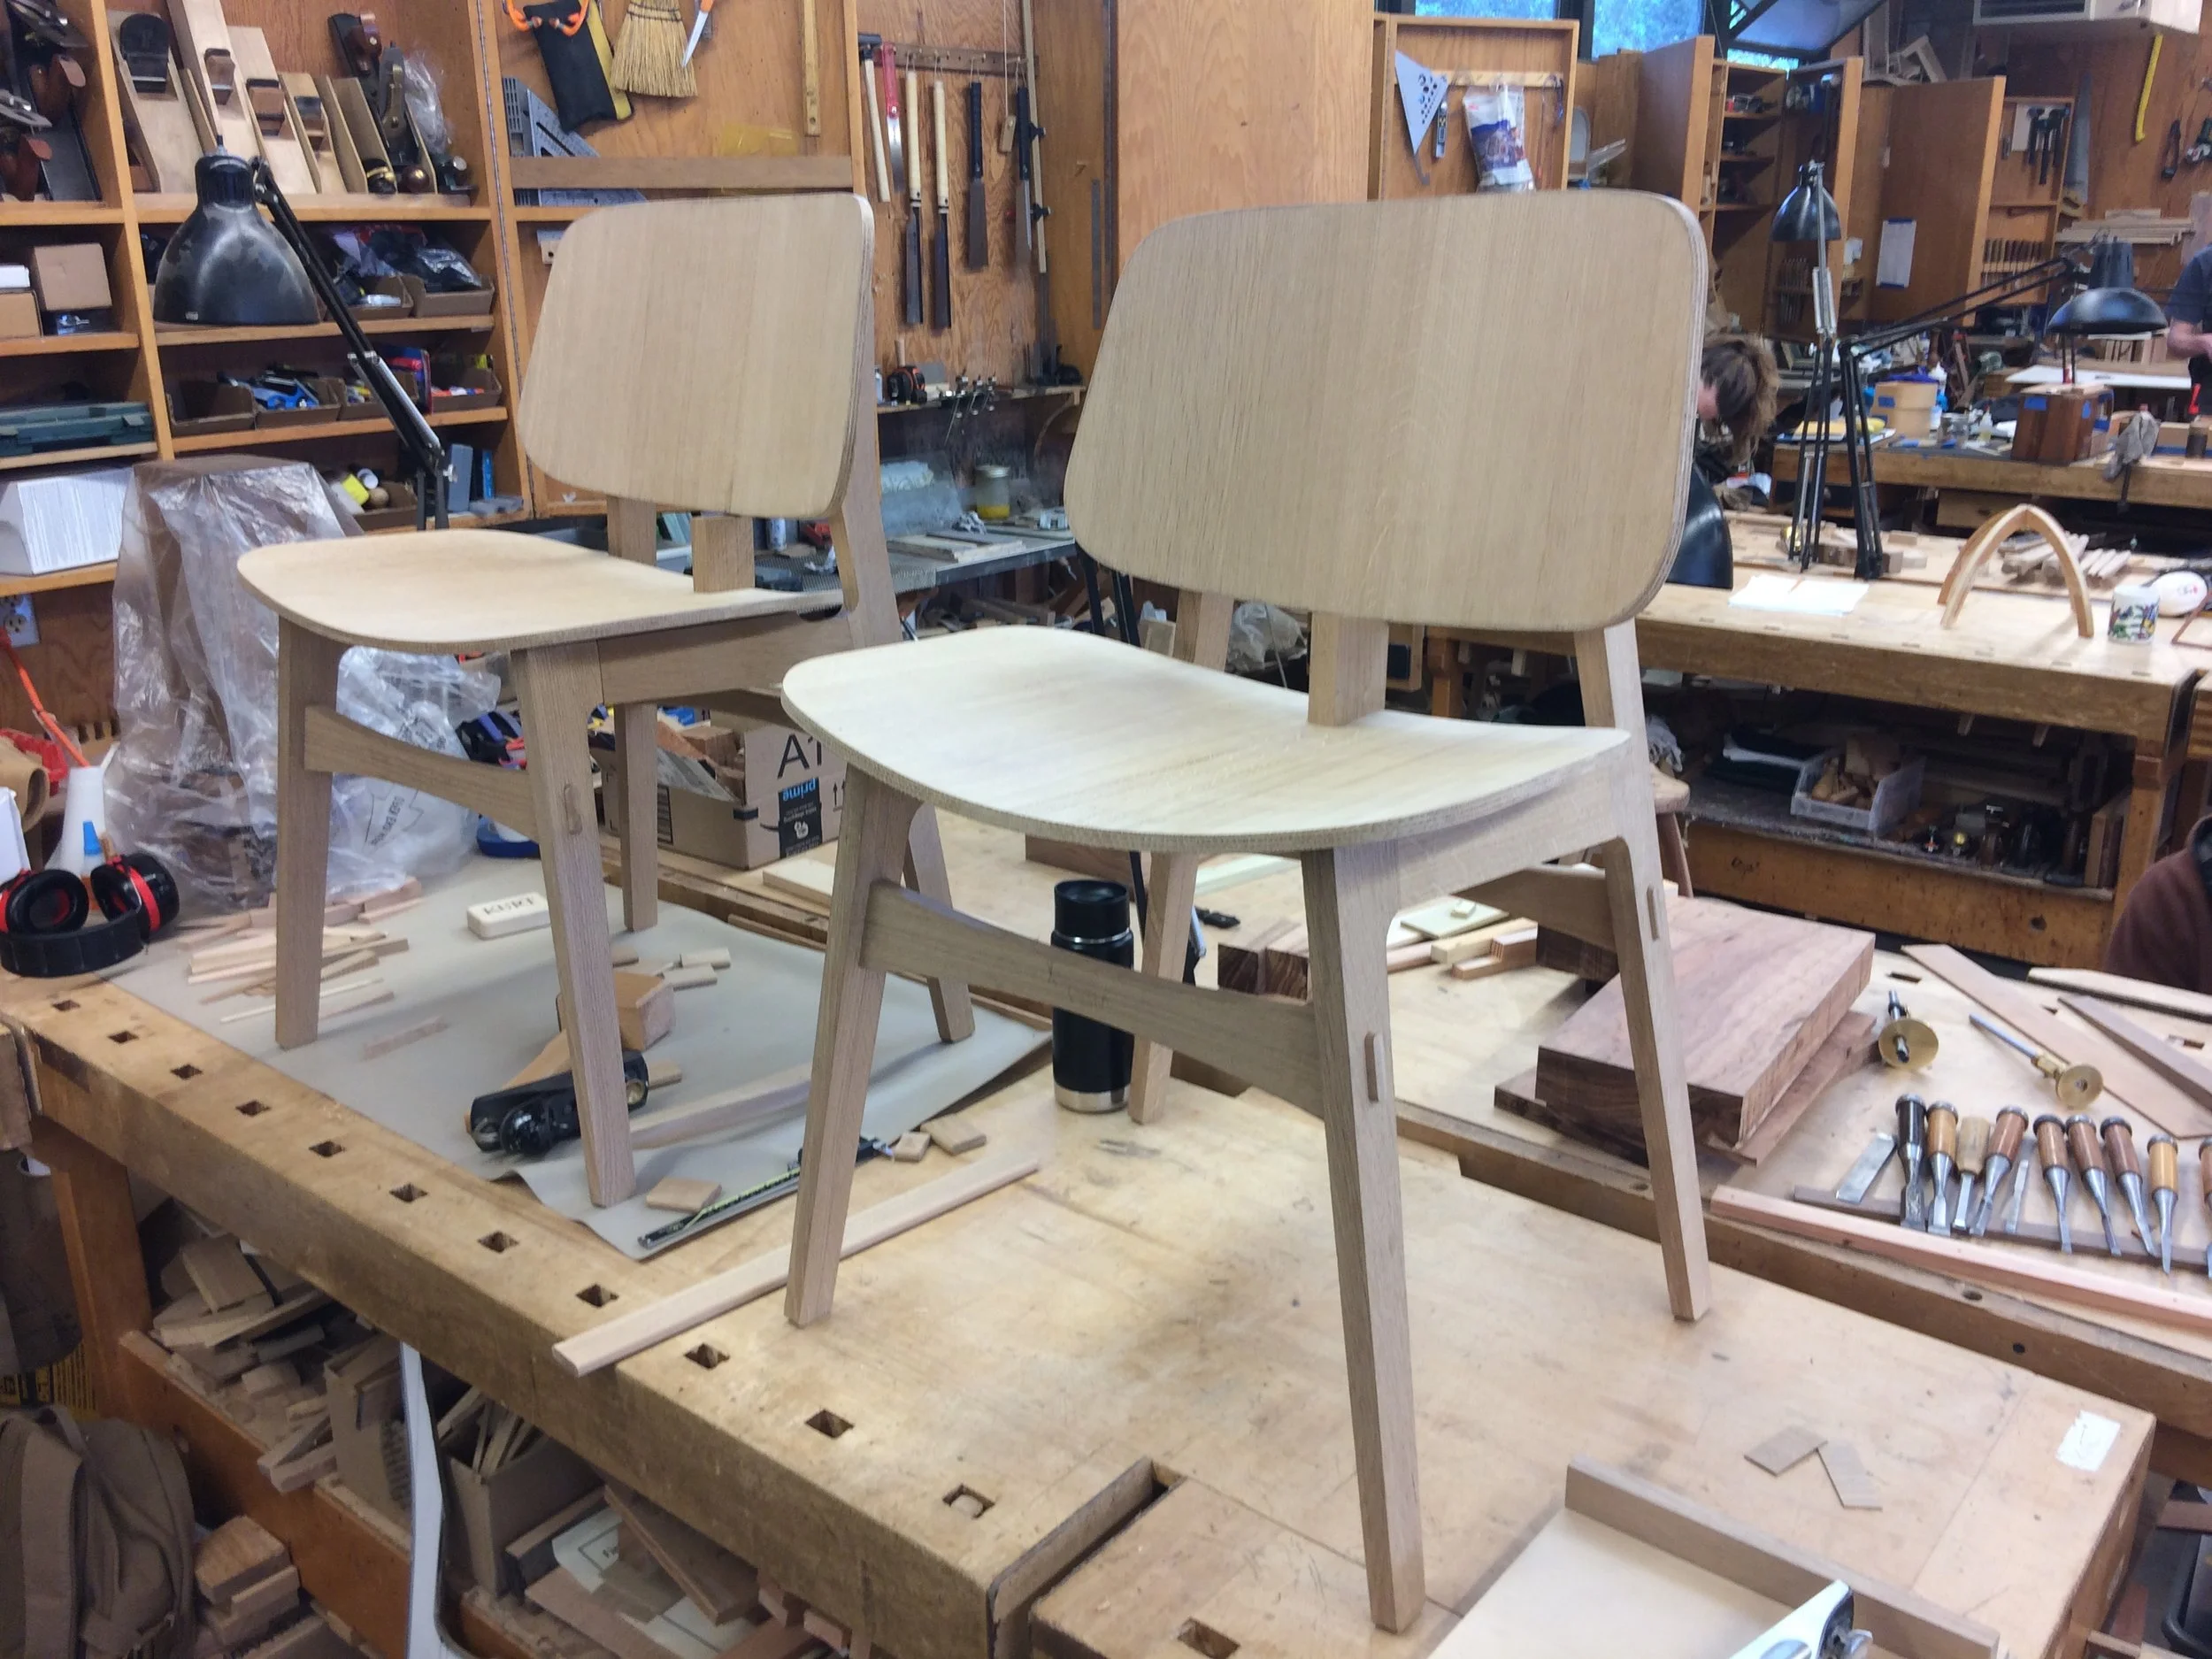
To make sure I understand the joinery, set-ups, fixturing, and order of operations, I am building a version in inexpensive poplar before going further with the white oak.


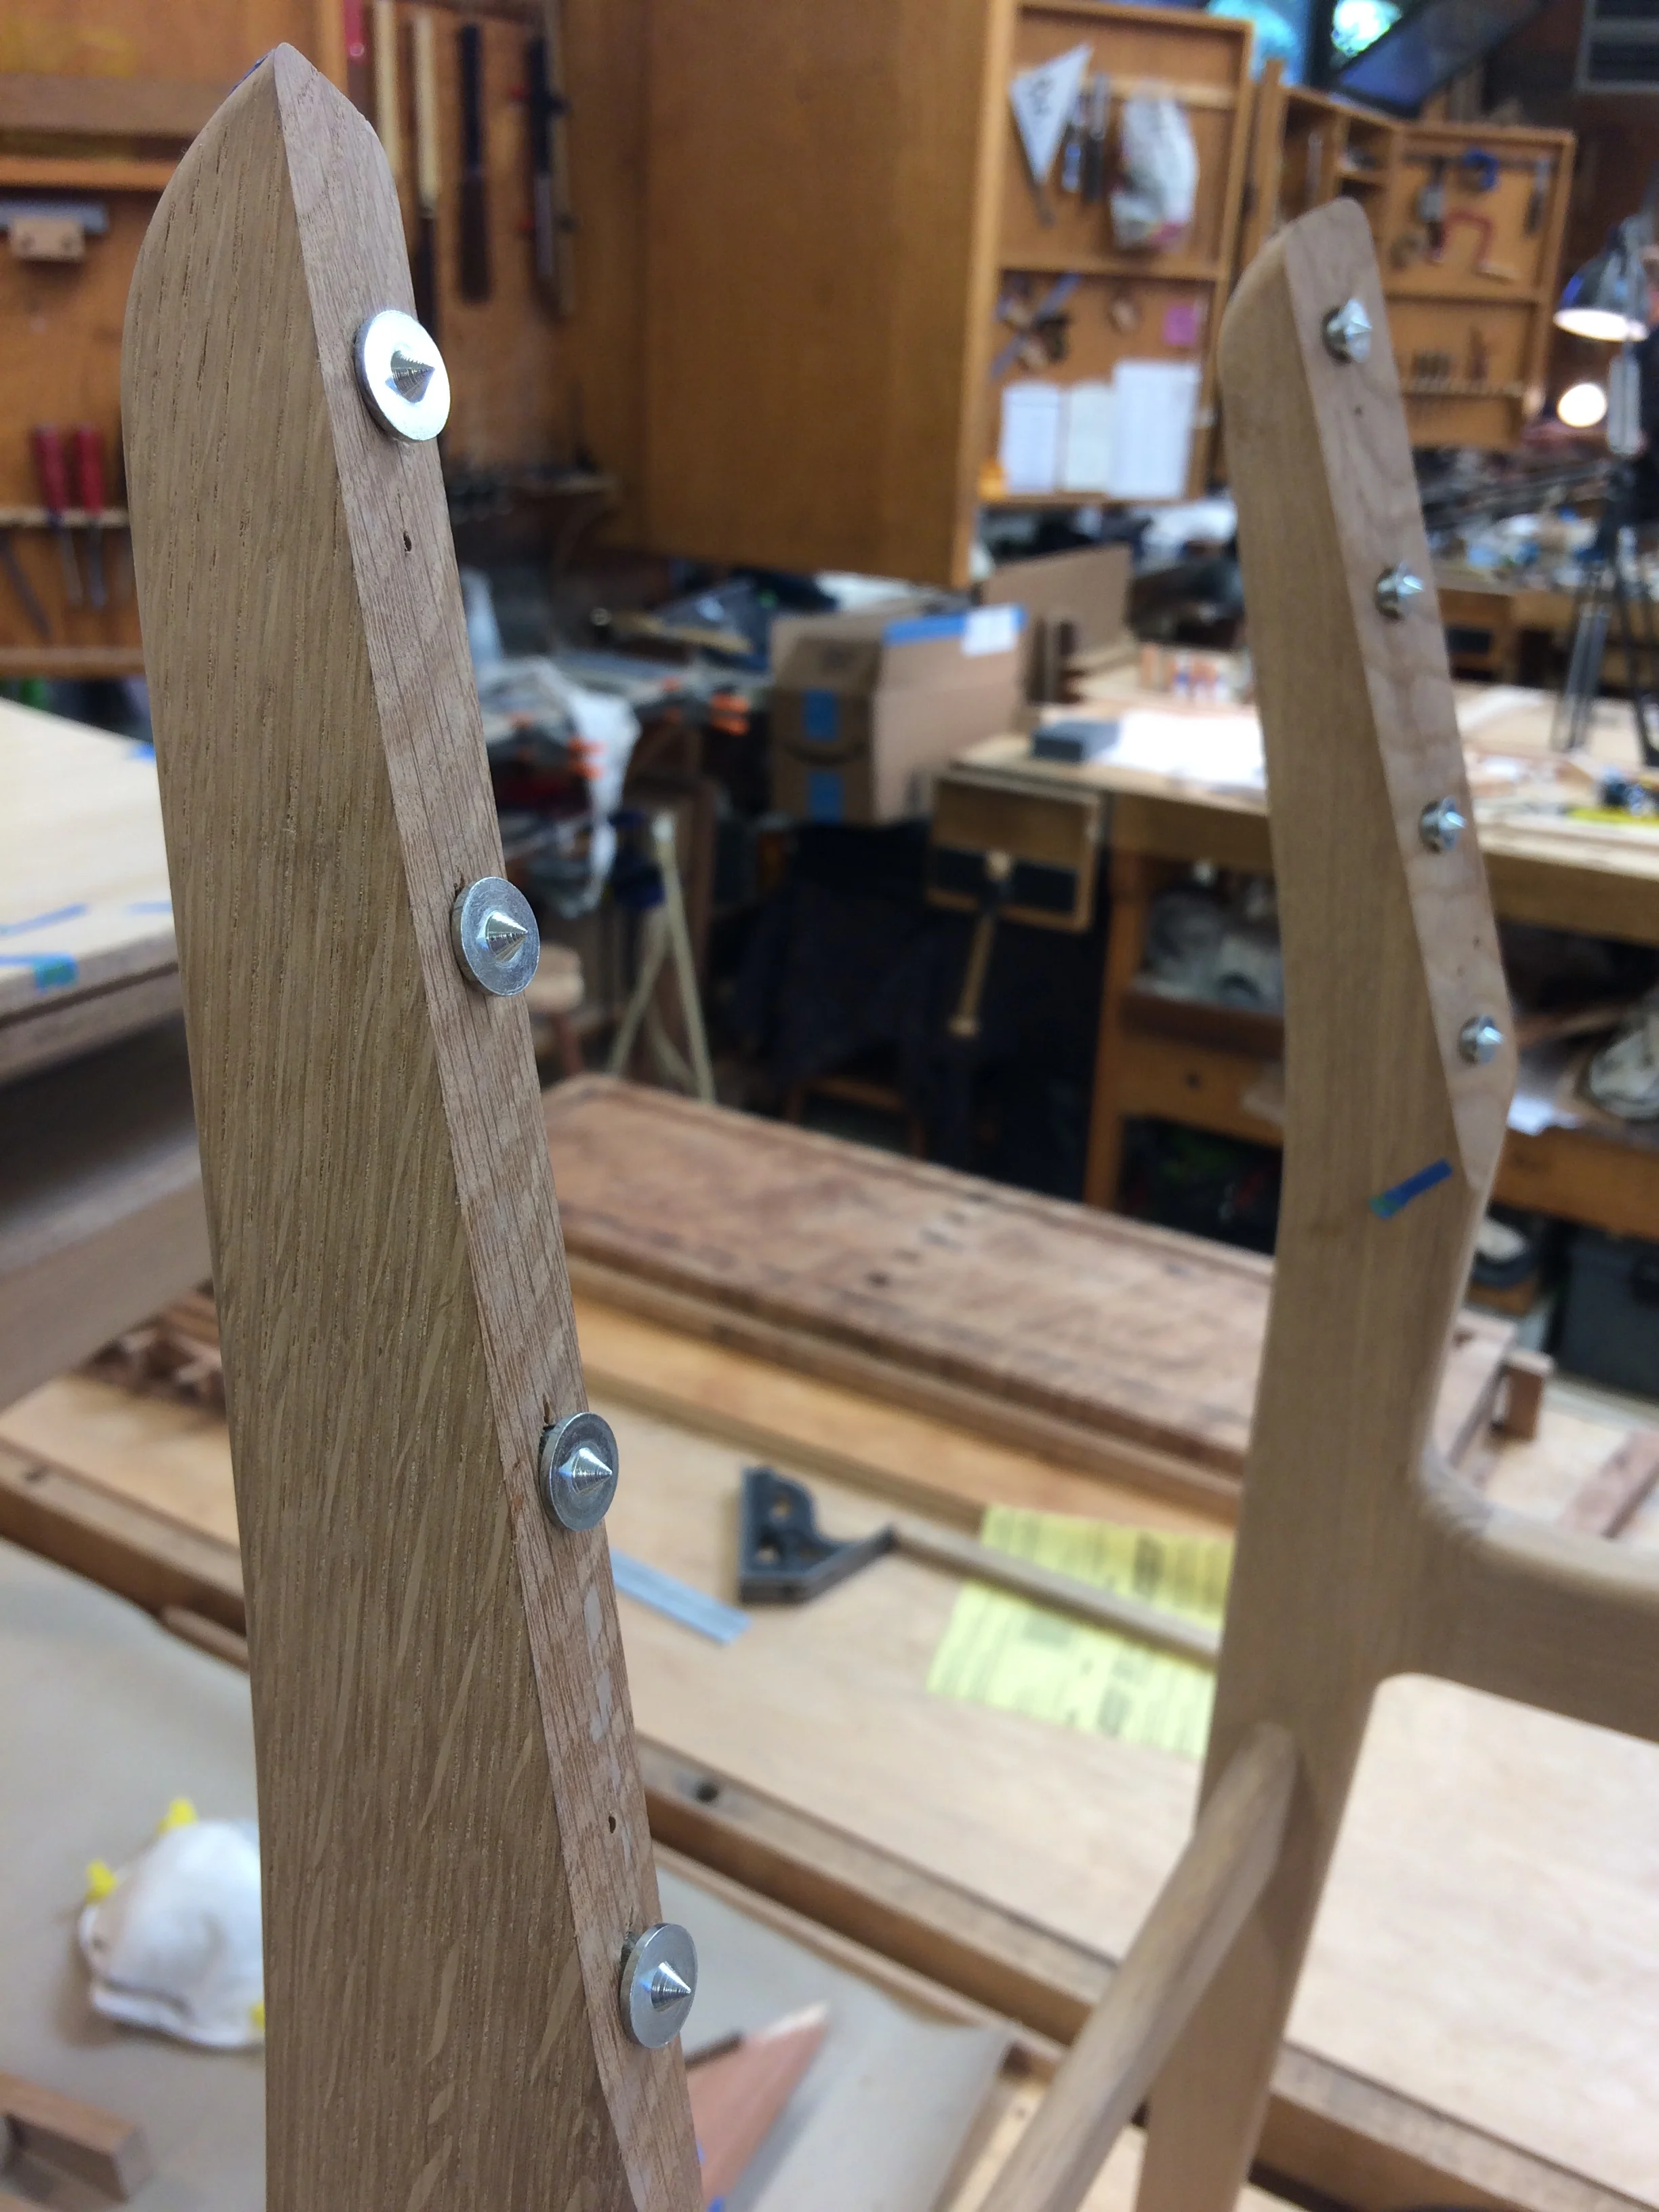
A lesson learned: clamping across the diagonal may give the illusion that a racked frame is brought back to home. However, this position is not held once the clamps are removed. Instead, make subtle adjustments in the position of the pads of the clamps across the front of the frame, checking the diagonals with diagonal sticks.

This will have a happy life in my shop.
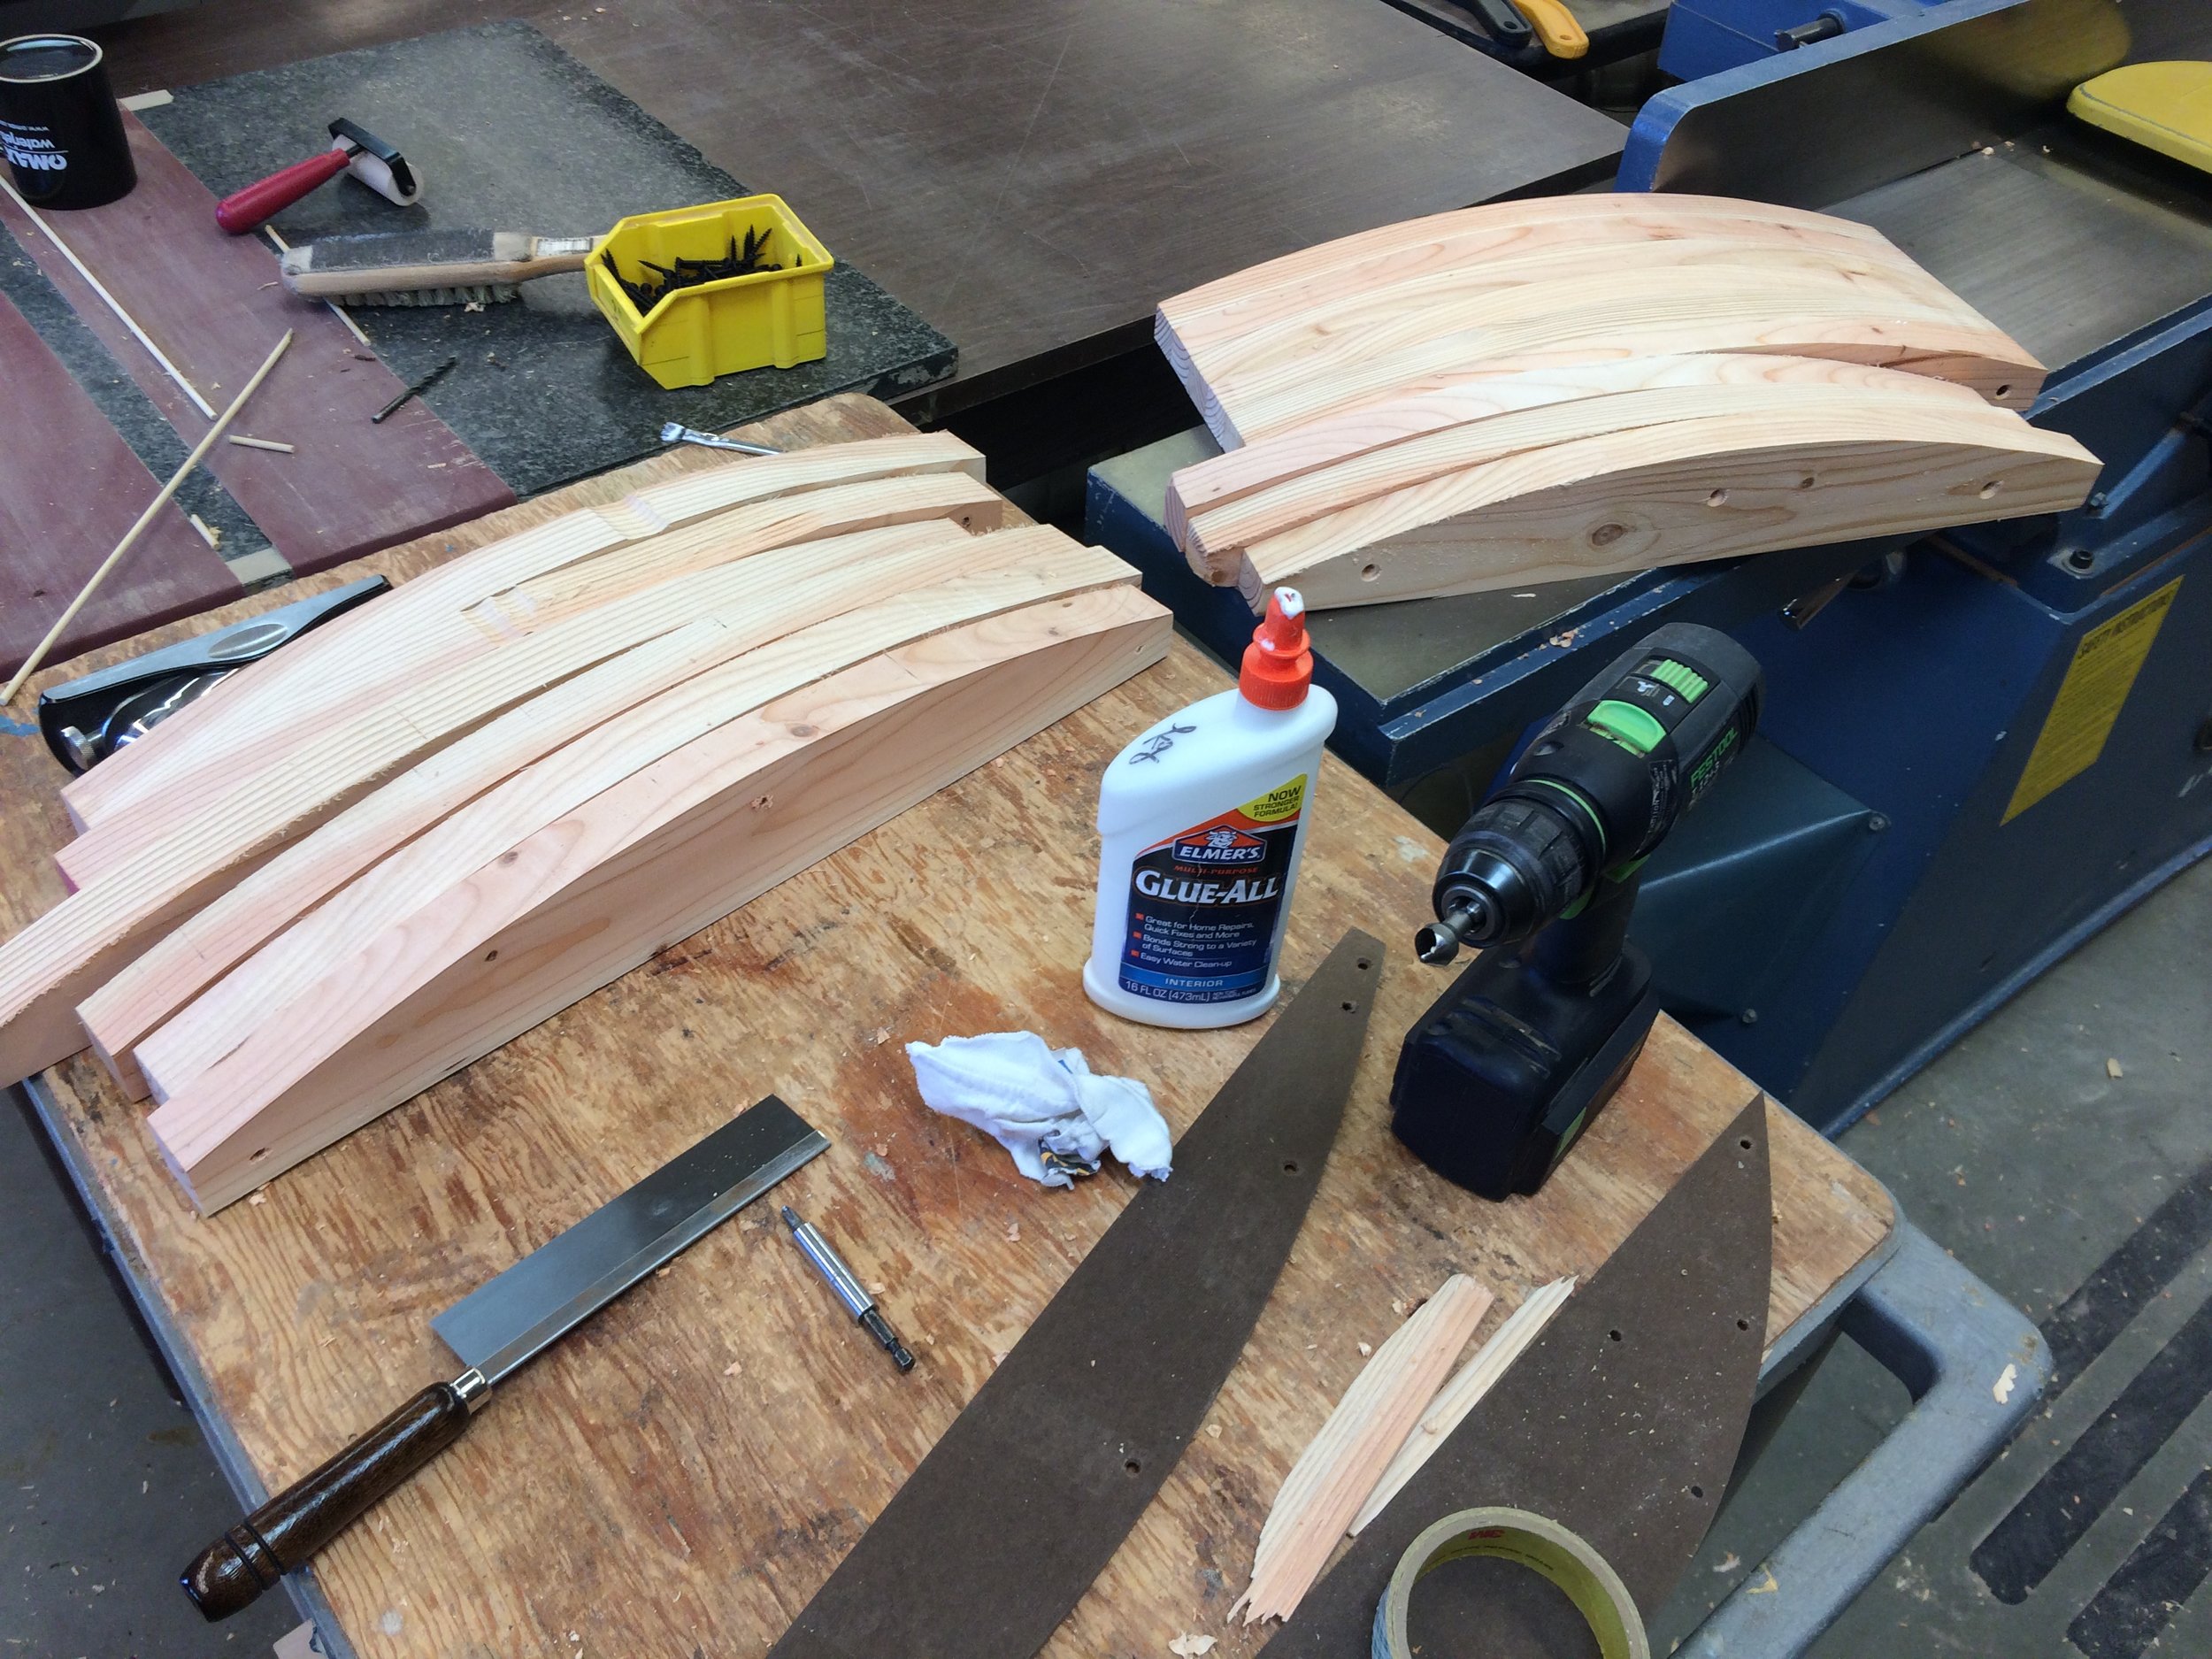
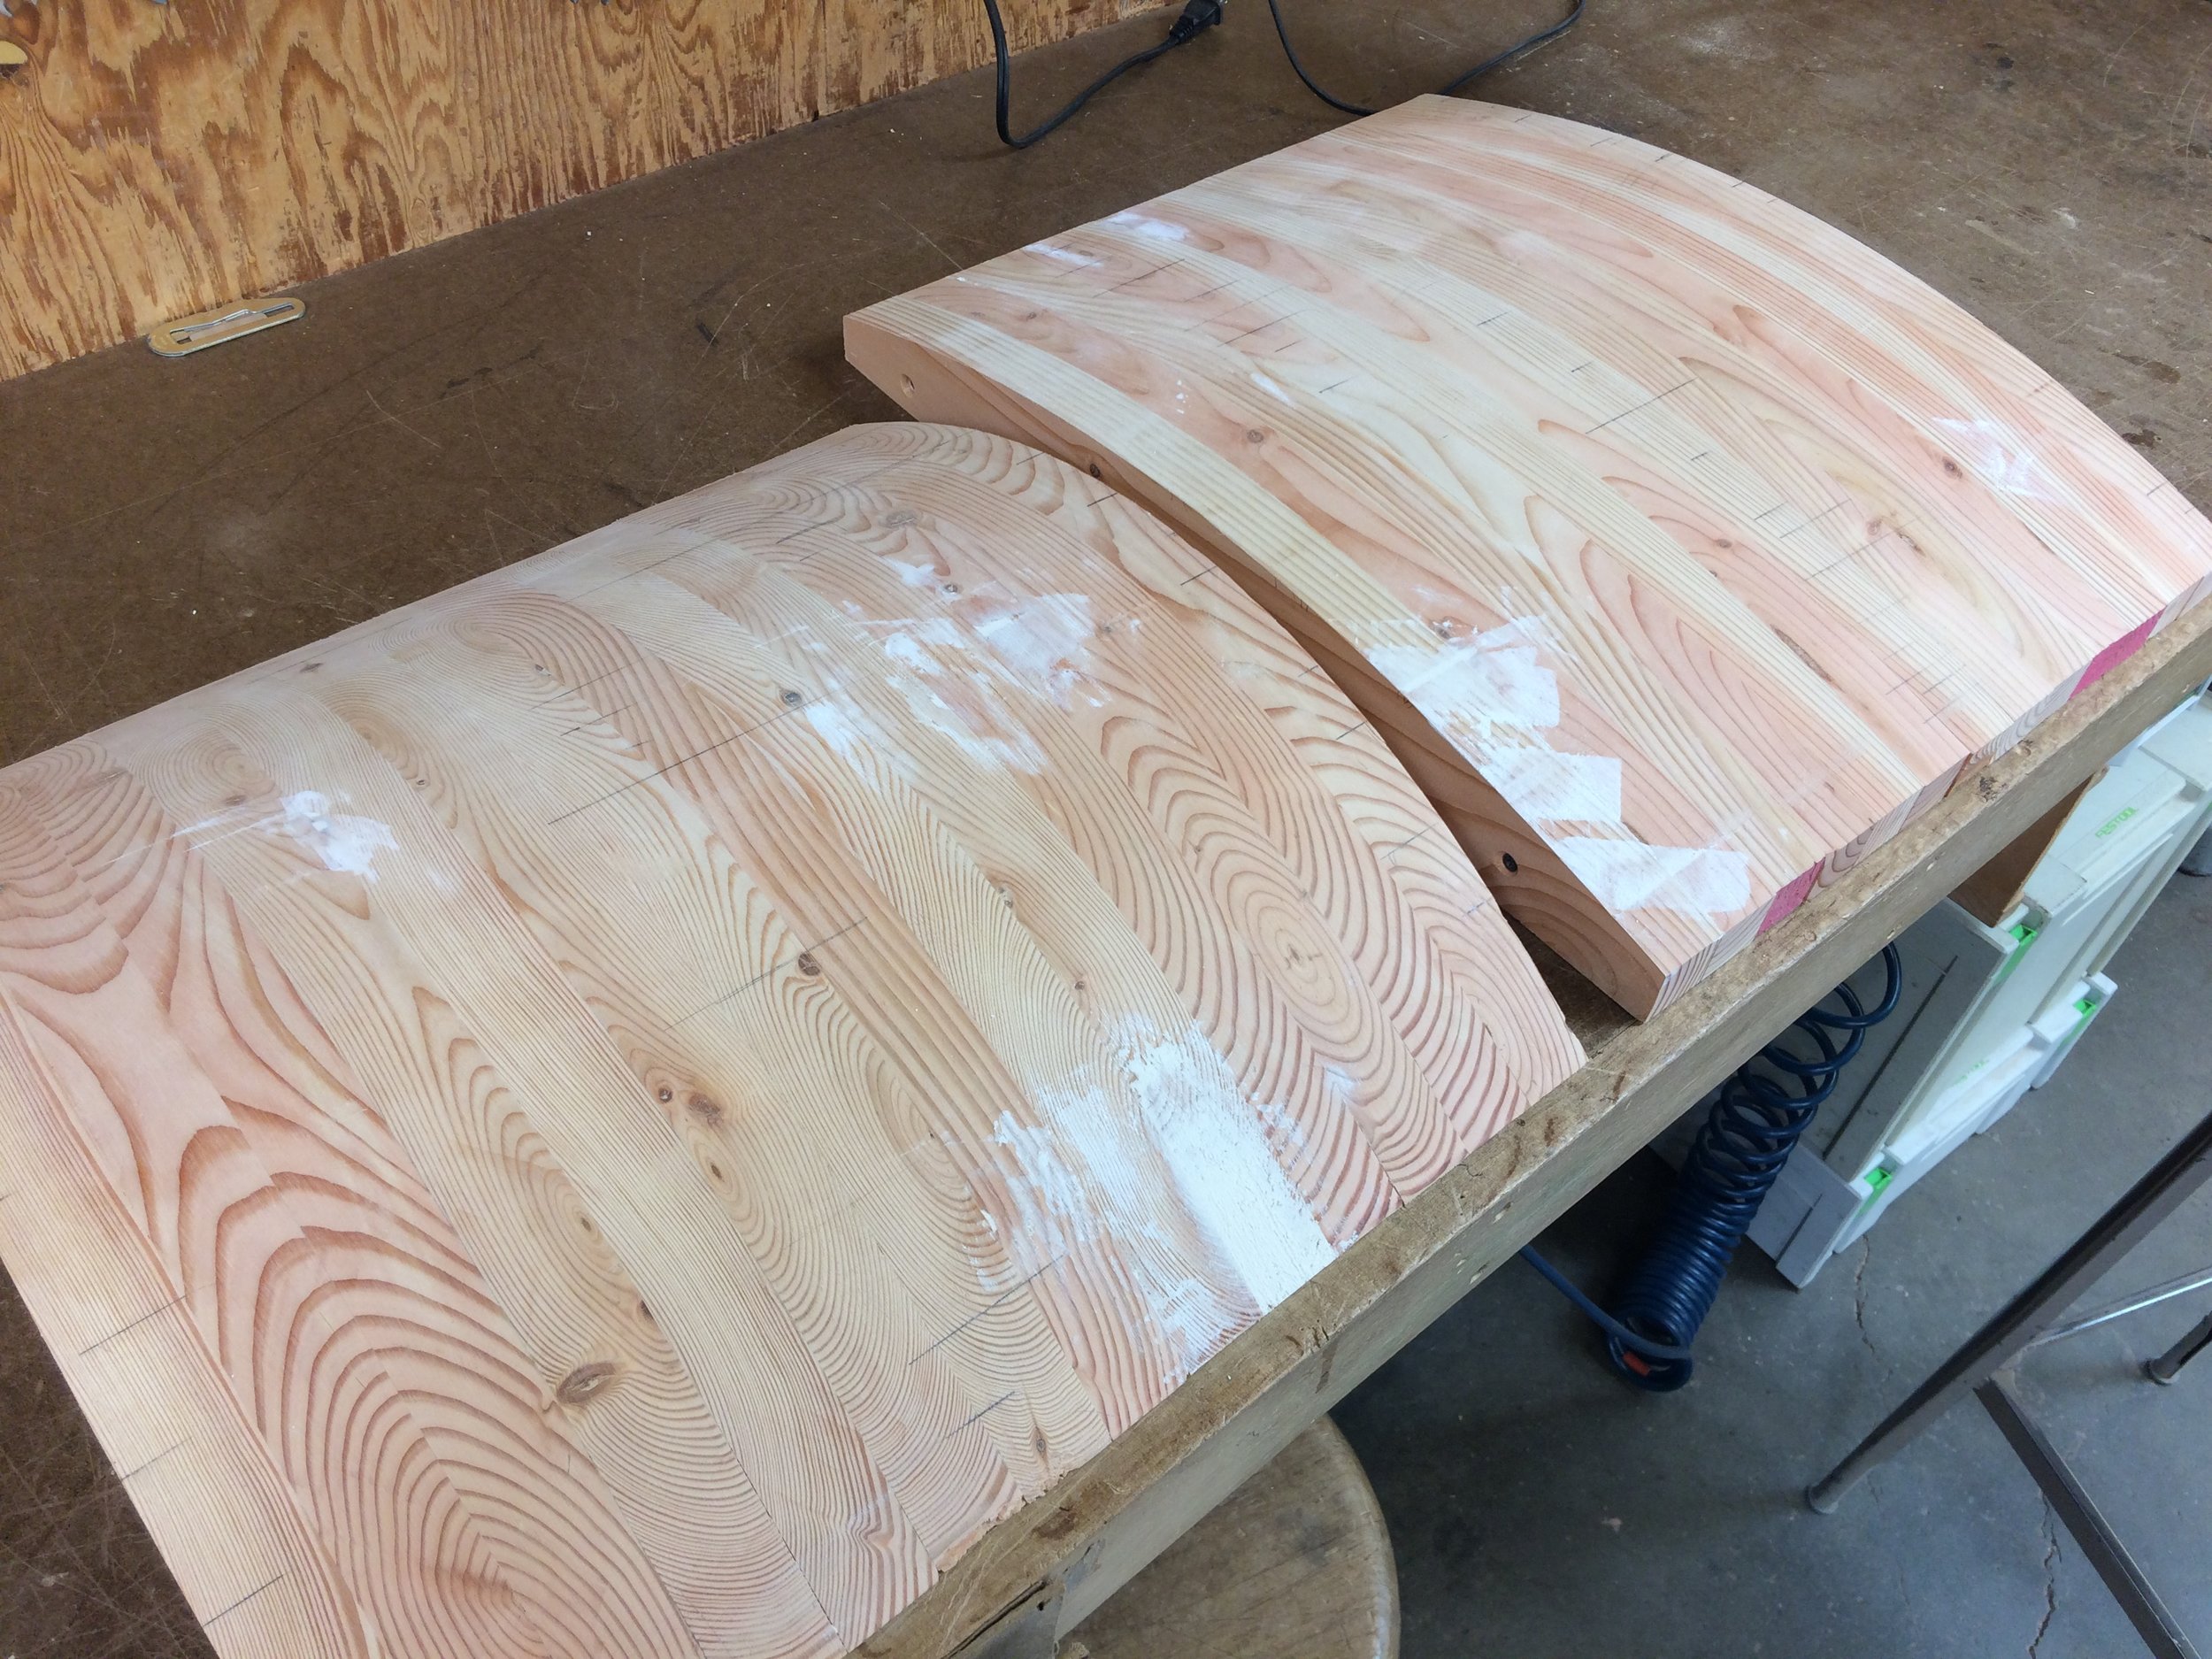
The "screw and glue" method is the standard for building a buck. Pattern routing each new piece against the previous is fine if flush cutting bit is long enough and there is not grain running out along the cut. As much as I prefer to avoid MDF, it would have been a better material for this application. Pattern routing each piece of Douglas fir led to tear-out and inconsistencies in the final surface that had to be sanded and patched.